1. מבוא ומעלהview
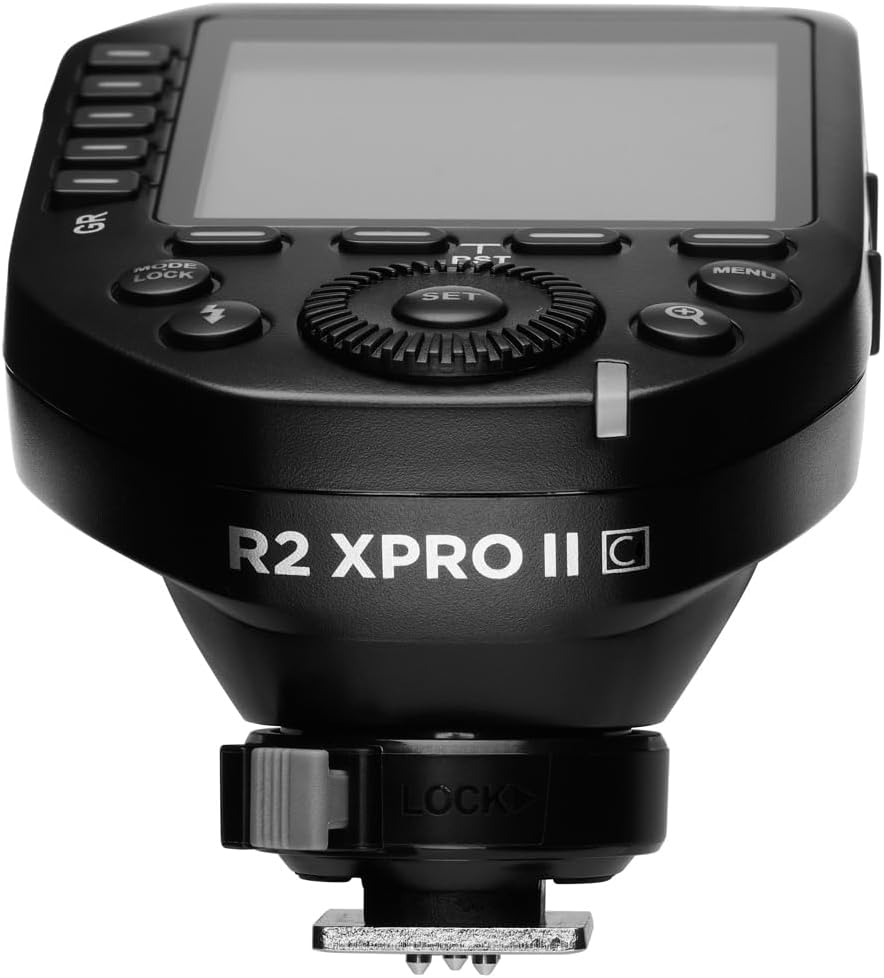
The Flashpoint R2 XPro II is a state-of-the-art 2.4GHz wireless flash trigger designed specifically for Canon cameras. It provides robust and reliable control over your Flashpoint R2 and Godox X-system flashes, enabling precise lighting adjustments for professional photography. This manual details the features, setup, operation, maintenance, and troubleshooting for your R2 XPro II trigger.

Image 1.1: The Flashpoint R2 XPro II Wireless Flash Trigger, showcasinהעיצוב הקומפקטי שלו וצג ה-LCD הברור שלו.
2. מה בקופסה
עם פתיחת החבילה, אנא ודא שכל הפריטים הבאים כלולים:
- Flashpoint R2 XPro II Wireless Flash Trigger for Canon
- מדריך למשתמש (מסמך זה)
- USB-C Cable (for firmware updates)
Note: AA batteries are required for operation and are not included.
3. תכונות מוצר
The Flashpoint R2 XPro II offers a comprehensive set of features designed to enhance your flash photography:
- Reliable 2.4GHz Radio System: Ensures consistent flash firing with minimal misfires, offering a robust connection up to 300-400 feet (90-120 meters).
- טווח שידור מורחב: Control your flashes from significant distances, ideal for complex studio setups or outdoor shoots.
- Versatile Multi-Channel Control: Features 32 channels and 5 dedicated TTL groups (A-E) plus 16 manual groups (0-9, A-F), providing extensive control and customization for multiple flash units.
- תמיכה מלאה ב-TTL: Automatically adjusts flash power for perfectly exposed images, adapting to changing light conditions with Canon cameras.
- סנכרון במהירות גבוהה (HSS): Achieve sync speeds up to 1/8000s, allowing you to freeze fast motion or use wide apertures in bright ambient light.
- Large Dot Matrix LCD Display: Provides clear visibility of settings with adjustable backlight.
- מובנה Bluetooth: Enables smartphone app control for convenient remote adjustments.
- עדכון קושחה: Via USB-C port for future compatibility and feature enhancements.
- Instant Flip Locking Hot Shoe: Securely attaches the trigger to your camera.

Image 3.1: Key features of the Flashpoint R2 XPro II, highlighting its capabilities.
4. התקנה
4.1. התקנת סוללה
The R2 XPro II uses two AA batteries. To install:
- Locate the battery compartment cover on the underside of the trigger.
- החלק את המכסה פתוח.
- הכניסו שתי סוללות AA, תוך הקפדה על קוטביות נכונה (+/-) כפי שמסומן בתוך התא.
- סגור היטב את מכסה תא הסוללות.

Image 4.1: Battery compartment of the R2 XPro II, ready for AA battery insertion.
4.2. הרכבה על מצלמה
To mount the trigger on your camera's hot shoe:
- ודא שהטריגר כבוי.
- Slide the hot shoe foot of the R2 XPro II into your camera's hot shoe.
- Push the locking lever forward to secure the trigger firmly in place.
תמונה 4.2: צד תחתון view of the R2 XPro II, highlighting the hot shoe and locking lever.
4.3. הפעלה ראשונית והגדרות בסיסיות
After mounting, power on the trigger using the ON/OFF switch located on the side. The LCD display will illuminate. You may need to set the channel and group to match your flash units. Refer to Section 5 for detailed operating instructions.
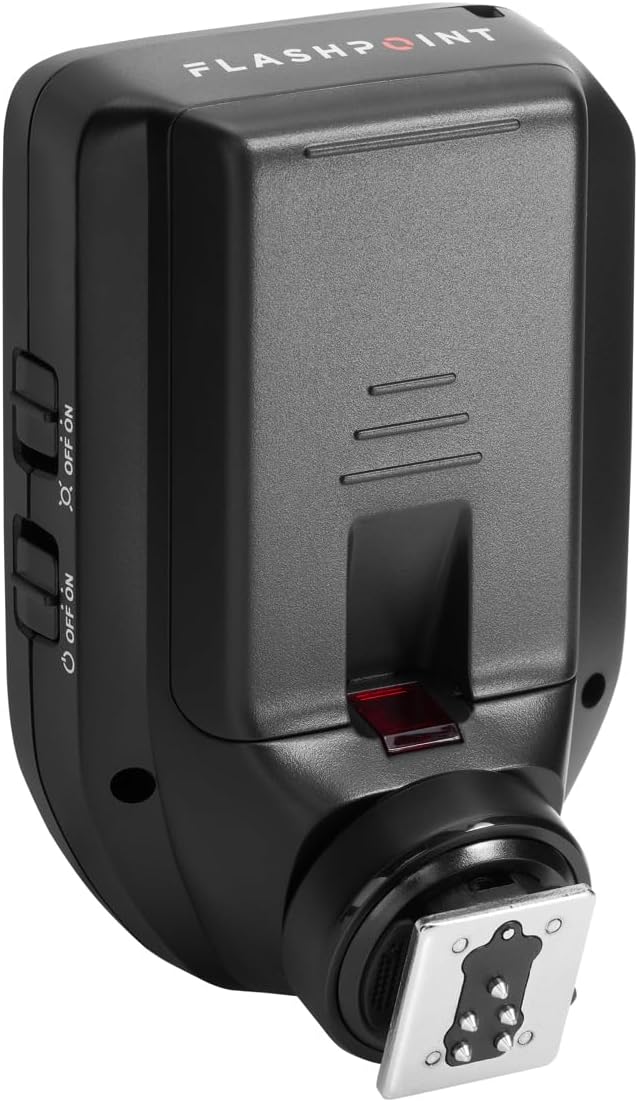
תמונה 4.3: צד view of the R2 XPro II, indicating the location of the power switch.
5. הוראות הפעלה
5.1. הפעלה / כיבוי
Use the dedicated ON/OFF switch on the side of the unit to power the trigger on or off.
5.2. Navigating the Display and Controls
The R2 XPro II features a large LCD display and intuitive buttons for easy navigation.

תמונה 5.1: מלמעלה למטה view of the R2 XPro II display and control layout.
- תצוגת LCD: Shows current channel, group settings, flash mode (TTL/M/Multi), power output, and battery status.
- GR Buttons (Left Side): Used to select and adjust individual groups (A-E).
- לחצן SET: מאשר בחירות וכניסה לתפריטי משנה.
- חוּגָה: Rotates to change values (e.g., power output, channel number).
- כפתור מצב/נעילה: Cycles through flash modes (TTL, Manual, Multi) and locks/unlocks settings.
- כפתור הבזק: Test fire button.
- לחצן MENU: גישה להגדרות המערכת.
- Magnifying Glass Button: Zoom function for detailed group view.
5.3. Setting Channels and Groups
To ensure proper communication, the trigger and your flash units must be set to the same channel and group.
- הקש על תַפרִיט כפתור כדי לגשת להגדרות המערכת.
- Navigate to the Channel (CH) setting using the dial and press מַעֲרֶכֶת.
- Rotate the dial to select the desired channel (1-32) and press מַעֲרֶכֶת כדי לאשר.
- To adjust groups, press the corresponding GR button (A-E) on the left side.
- Use the dial to change the flash mode (TTL/M/Multi) or power output for the selected group.
5.4. TTL Mode Operation
In TTL (Through-The-Lens) mode, the trigger automatically adjusts flash power based on the camera's metering. This is ideal for fast-paced shooting where lighting conditions change frequently.
- Ensure your flash unit is also set to TTL mode.
- On the R2 XPro II, press the MODE/LOCK button until "TTL" is displayed for the desired group(s).
- The trigger will communicate with your camera to determine the appropriate flash output.
5.5. הפעלה במצב ידני
Manual mode provides precise control over flash power, allowing you to set the output from 1/1 to 1/256 in 1/3 stop increments.
- הקש על MODE/LOCK button until "M" (Manual) is displayed for the desired group(s).
- Use the dial to adjust the power output for each group.
- The display will show the current power setting (e.g., M 1/128).
5.6. סנכרון במהירות גבוהה (HSS)
HSS allows you to use flash at shutter speeds faster than your camera's native sync speed (e.g., 1/250s), up to 1/8000s. This is useful for overpowering ambient light or using wide apertures in bright conditions.
HSS is typically enabled automatically when your camera's shutter speed exceeds the normal sync speed while the trigger is in TTL or Manual mode. Ensure your flash unit also supports HSS.
5.7. Using the Test Fire Button
לחץ על הלחצן הייעודי הֶבזֵק button (lightning bolt icon) to test fire all active flash units. This is useful for checking flash readiness and light output before taking a picture.
5.8. Bluetooth and Smartphone App Control
The R2 XPro II features built-in Bluetooth for remote control via a smartphone application. Download the Flashpoint R2 app (or compatible Godox app) from your device's app store. Follow the app's instructions to pair your trigger and control flash settings remotely.
6. תחזוקה
6.1. ניקיון
לניקוי ההדק, השתמשו במטלית רכה ויבשה. עבור לכלוך עיקש, נגבו מעטamp ניתן להשתמש במטלית, אך יש לוודא שלא תיכנס לחות למכשיר. אין להשתמש בכימיקלים חזקים או בחומרי ניקוי שוחקים.
6.2. טיפול בסוללה
- הוציאו את הסוללות אם לא תשתמשו בהדק למשך תקופה ממושכת כדי למנוע דליפה.
- Use high-quality AA alkaline or NiMH rechargeable batteries.
- השלך סוללות משומשות בצורה אחראית בהתאם לתקנות המקומיות.
6.3. אחסון
Store the R2 XPro II in a cool, dry place, away from direct sunlight, extreme temperatures, and high humidity. Keep it in its original packaging or a protective case to prevent damage.
6.4. עדכוני קושחה
Flashpoint periodically releases firmware updates to improve performance, add features, or ensure compatibility with new camera models. To update the firmware:
- Visit the official Flashpoint webאתר לקבלת הקושחה העדכנית ביותר והוראות עדכון.
- Connect the R2 XPro II to your computer using the supplied USB-C cable.
- Follow the instructions provided on the Flashpoint website to complete the update process.

תמונה 6.1: צד view of the R2 XPro II, highlighting the USB-C port for firmware updates.
7. פתרון תקלות
If you encounter issues with your Flashpoint R2 XPro II, refer to the following common problems and solutions:
| בְּעָיָה | סיבה אפשרית | פִּתָרוֹן |
|---|---|---|
| הטריגר לא נדלק. | סוללות מתות או מותקנות בצורה שגויה. | בדוק את קוטביות הסוללה, החלף בסוללות AA חדשות. |
| הבזקים לא יורדים. | Incorrect channel/group settings; trigger not securely mounted; flash unit issues. | Ensure trigger and flashes are on the same channel and group. Check trigger is fully seated on camera hot shoe. Verify flash units are powered on and ready. |
| Inconsistent firing or limited range. | Interference; low battery; obstructions. | Change channel. Replace batteries. Reduce distance or clear line of sight between trigger and flashes. |
| TTL exposure issues. | Flash exposure compensation set incorrectly; firmware outdated. | Check flash exposure compensation settings on both camera and trigger. Update firmware. |
| Display not working or frozen. | תקלת תוכנה; סוללה חלשה. | Remove and reinsert batteries. Replace batteries. If issue persists, contact support. |
8. מפרטים
| תְכוּנָה | עֵרֶך |
|---|---|
| מידות המוצר | 5.25 x 4 x 2.8 אינץ' |
| משקל פריט | 9.3 אונקיות |
| ASIN | B0BZ7PQ2PB |
| מספר דגם של פריט | R2 XPro II |
| תאריך ראשון זמין | 21 במרץ, 2023 |
| יַצרָן | נקודת הבזק |
| תדר אלחוטי | 2.4GHz |
| ערוצים | 32 |
| קבוצות | 5 TTL Groups (A-E), 16 Manual Groups (0-9, A-F) |
| מהירות סנכרון | עד 1/8000 שניות (סנכרון במהירות גבוהה) |
| מקור כוח | 2 x סוללות AA (לא כלול) |
9. אחריות ותמיכה
For information regarding warranty coverage and technical support for your Flashpoint R2 XPro II, please refer to the official Flashpoint webאתר או צרו קשר ישירות עם שירות הלקוחות שלהם. שמרו את קבלת הרכישה כהוכחת קנייה לתביעות אחריות.
Flashpoint Official Webאֲתַר: www.adorama.com/g/flashpoint


