1. הקדמה
The FLYDIGI Vader 2 Pro is a versatile wireless game controller designed for an enhanced gaming experience across multiple platforms. This manual provides essential instructions for setting up, operating, and maintaining your controller.
The controller is compatible with Nintendo Switch, iOS, PC, and Android devices, offering a seamless transition between your preferred gaming systems.
2. המוצר נגמרview
The Vader 2 Pro controller integrates advanced features to optimize gameplay. Key components include dual vibration motors, a 6-axis gyroscope for motion sensing, and customizable RGB lighting.

תמונה 2.1: חזית view of the FLYDIGI Vader 2 Pro Game Controller, showcasinהעיצוב הארגונומי ופריסת הכפתורים שלו.
תכונות עיקריות:
- תאימות מרובת פלטפורמות: Supports Nintendo Switch, iOS, PC, and Android.
- מנועי רטט כפולים: Provides immersive haptic feedback with 3 adjustable levels.
- גירוסקופ בעל 6 צירים: Enables precise motion sensing for compatible games.
- תאורת RGB הניתנת להתאמה אישית: Personalize the controller's aesthetic with millions of color options.
- Configurable Buttons: Four additional M1-M4 buttons on the rear for personalized controls.
- מצבי חיבור מרובים: Bluetooth, 2.4GHz wireless (with dongle), and wired USB connection.

Image 2.2: The Vader 2 Pro controller shown with various compatible devices including a Nintendo Switch, PC laptop, iOS phone, and Android phone, illustrating its multi-platform support.

Image 2.3: The controller highlighting its built-in 6-axis gyro sensor for motion control.
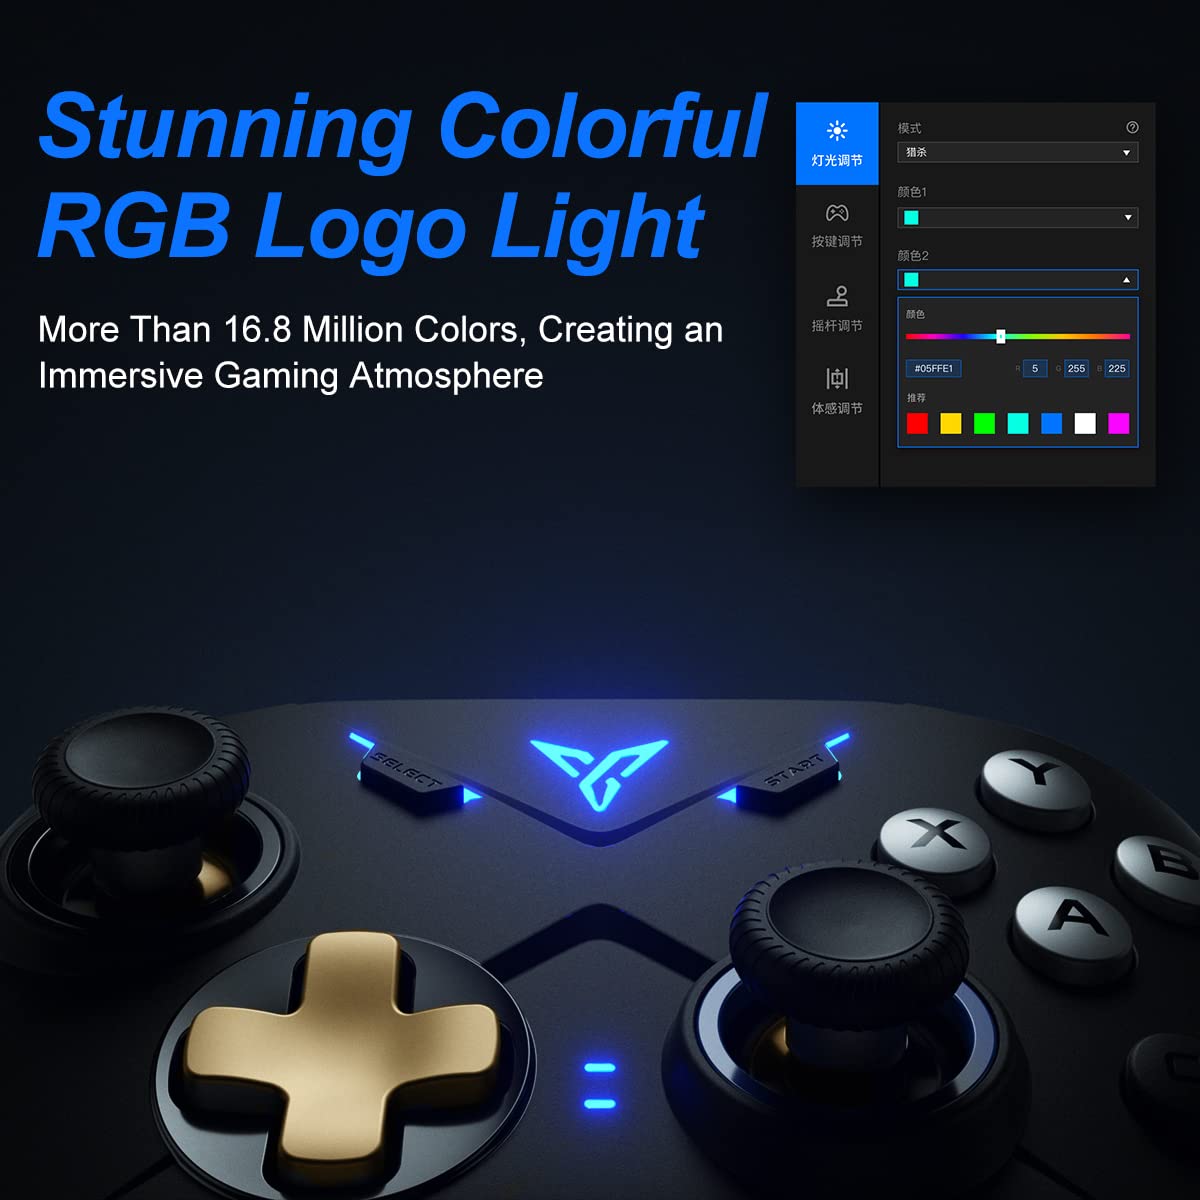
Image 2.4: Close-up of the controller's RGB logo light, demonstrating its customizable color options.

תמונה 2.5: אחורי view of the controller, showing the M1-M4 configurable buttons for personalized gameplay.

Image 2.6: Illustration of the controller's asymmetric dual motor design, indicating vibration feedback.
3. הגדרה וחיבור
The Vader 2 Pro controller offers multiple connection methods depending on your gaming platform. Refer to the table below for specific instructions.

Image 3.1: A table detailing connection instructions for Phone/Tablet, PC/Mac, and Nintendo Switch.
הוראות חיבור:
| הוֹרָאָה | Connect to Phone/Tablet | Connect to PC/Mac | התחבר ל-Switch |
|---|---|---|---|
| שיטת החלפה | Press "+" and "B" buttons simultaneously for 3 seconds. | Press "+" and "A" buttons simultaneously for 3 seconds. | Press "+" and "X" buttons simultaneously for 3 seconds. |
| שיטת חיבור | חיבור בלוטות' | 2.4GHz connector connection or USB wired connection | חיבור בלוטות' |
| מצב תמיכה | מצב Bluetooth | 360 mode, Android mode (Press "+" and "SELECT" to switch) | החלף מצב |
| מצב נוריות חיווי | No. 1 Indicator light on blue | No. 1 Indicator light on white (No. 2 red for Android mode) | No. 1 Indicator light on orange |
Additional Connection Notes:
- For PC/Mac, a 2.4GHz USB dongle is included for wireless connection. A USB-C to A cable is also provided for wired play.
- Ensure your device's Bluetooth is enabled when connecting wirelessly to phones, tablets, or Nintendo Switch.
- For iOS devices running iOS 13.4 or higher, follow the specific pairing instructions: Press and hold '+' and 'C' until the first light blinks orange and the second light stays red. Then, long press '+' for more than 3 seconds until the first light flashes orange. Go to your iOS Bluetooth settings and select the device to connect.

Image 3.2: The included USB wireless dongle and USB-C charging/data cable.
4. הוראות הפעלה
4.1. Button Mapping and Customization
The FLYDIGI Vader 2 Pro controller supports extensive customization through the dedicated FLYDIGI PC Space Station software. This software allows you to:
- Remap buttons, including the M1-M4 rear buttons.
- Adjust joystick curves for precision control.
- Fine-tune motion sensing sensitivity.
- Program macro combos for complex actions.
- Change RGB light settings and effects.
Up to 4 sets of custom configurations can be saved directly on the controller. Download the software from the official FLYDIGI webאֲתַר: flydigi.com/index/down?nav_id=2
4.2. Motion Sensing
The integrated 6-axis gyroscope provides accurate motion control in games that support this feature, enhancing your interactive experience.
4.3. משוב רטט
The asymmetric dual vibration motors offer tactile feedback. You can adjust the vibration intensity to one of three levels to suit your preference.
4.4. תאורת RGB
The controller features a customizable RGB logo light, offering over 16.8 million colors. Use the FLYDIGI PC Space Station software to select your preferred lighting modes and colors.
5. טעינה וחיי סוללה
The Vader 2 Pro controller is equipped with a rechargeable battery designed to provide up to 80 hours of gameplay on a single charge. To charge the controller, connect it to a USB power source using the provided USB-C cable.

Image 5.1: The controller positioned above a charging indicator, symbolizing its rechargeable battery.
פֶּתֶק: Actual battery life may vary based on usage patterns, vibration intensity, and RGB lighting settings.
6. פתרון תקלות
If you encounter issues with your FLYDIGI Vader 2 Pro controller, refer to the following common solutions:
- הבקר לא מתחבר:
- Ensure the controller is in the correct switching mode for your platform (Phone/Tablet, PC/Mac, Switch) as per Section 3.
- Verify that Bluetooth is enabled on your device or that the 2.4GHz dongle is properly inserted into your PC/Mac.
- נסה להפעיל מחדש גם את הבקר וגם את המכשיר שלך.
- For PC connections, if Bluetooth fails, try using the 2.4GHz dongle or a wired USB connection.
- Buttons Not Responding/Mapping Issues:
- Ensure the FLYDIGI PC Space Station software is correctly installed and updated.
- Check your custom profiles within the software to ensure buttons are mapped as intended.
- Reset the controller to factory settings if custom mappings are causing issues (refer to software documentation for this process).
- חיי סוללה קצרים:
- ודא שהבקר טעון במלואו לפני השימוש.
- Reduce vibration intensity or RGB lighting brightness/effects to conserve battery power.
- אם חיי הסוללה מתדרדרים באופן משמעותי עם הזמן, פנו לתמיכת הלקוחות.
- Unstable Wireless Connection:
- Ensure there are no significant obstructions or sources of interference between the controller and your device/dongle.
- Keep the controller within the recommended operating range.
- Update controller firmware via the FLYDIGI PC Space Station software.
7. מפרטים
| תכונה | פְּרָט |
|---|---|
| מספר דגם | VADER2PRO |
| ASIN | B09LCYB48V |
| מידות המוצר | 3.5 x 7.59 x 5.5 אינץ' |
| משקל פריט | 15.84 אונקיות |
| קישוריות | Bluetooth, 2.4GHz Wireless, USB Wired |
| תְאִימוּת | Nintendo Switch, iOS, PC, Android |
| תכונות מיוחדות | Dual Vibration Motors, 6-Axis Gyroscope, RGB Lighting, Configurable M1-M4 Buttons |
| חיי סוללה | עד 80 שעות (בקירוב) |
| תאריך ראשון זמין | 21 בדצמבר 2021 |
8. תחזוקה
To ensure the longevity and optimal performance of your FLYDIGI Vader 2 Pro controller, follow these maintenance guidelines:
- ניקוי: השתמשו במטלית רכה ויבשה לניקוי הבקר. הימנעו משימוש בכימיקלים חזקים או בחומרים שוחקים.
- אִחסוּן: יש לאחסן את הבקר במקום קריר ויבש, הרחק מאור שמש ישיר וטמפרטורות קיצוניות.
- טיפול: הימנעו מהפלת הבקר או מחשיפתו לפגיעות חזקות, שכן הדבר עלול לגרום נזק לרכיבים פנימיים.
- טְעִינָה: Do not overcharge the battery. Disconnect the charging cable once the controller is fully charged.
9. אחריות ותמיכה
For warranty information, technical support, or further assistance, please visit the official FLYDIGI webאתר או צרו קשר עם שירות הלקוחות שלהם. שמרו את קבלת הרכישה שלכם לצורך תביעות אחריות.
Official FLYDIGI Webאֲתַר: www.flydigi.com


