1. הקדמה
The Laserliner ThermoSpot Pocket is a compact, non-contact infrared thermometer designed for quick and accurate surface temperature measurements. It features laser-focus technology for precise targeting and a clear digital display with backlight for easy reading. This manual provides essential information for the safe and effective use of your device.
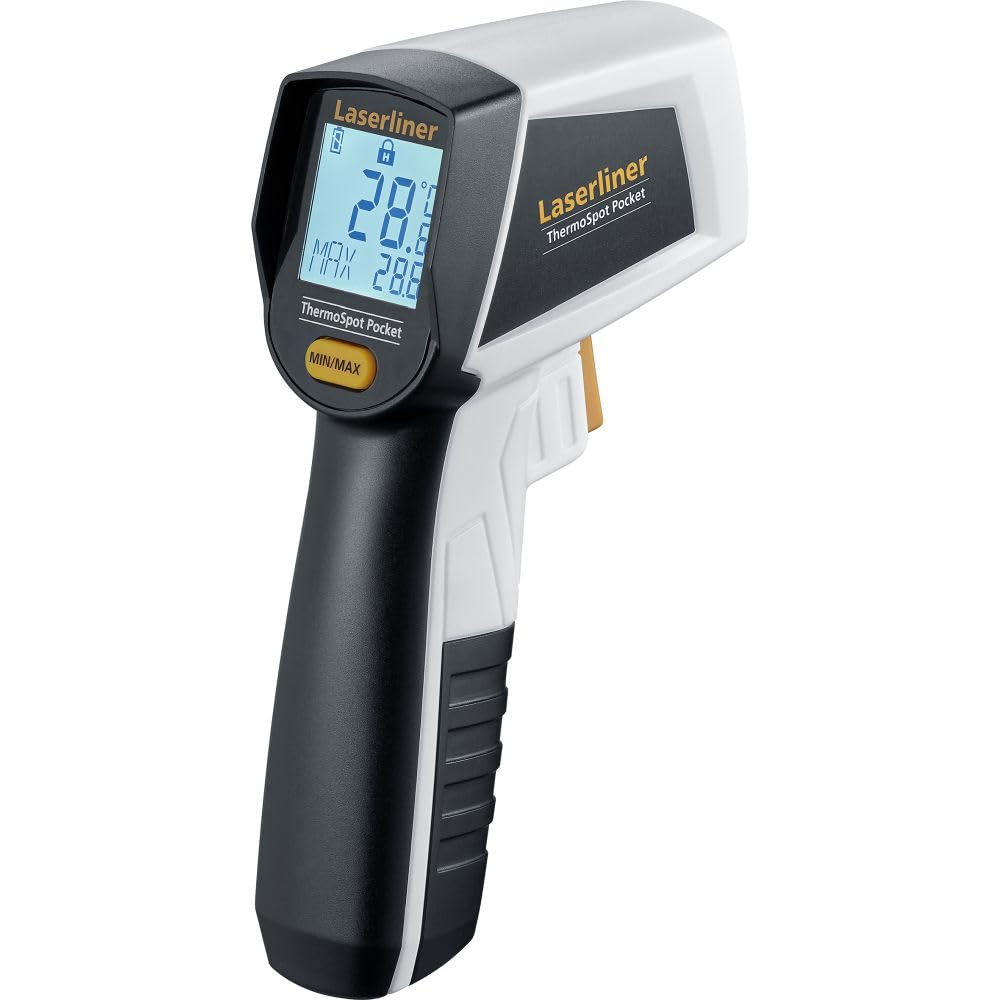
Image 1.1: The Laserliner ThermoSpot Pocket Infrared Thermometer, showing its ergonomic design and digital display. A 9V battery icon indicates its power source.
2. הוראות בטיחות
- קרינת לייזר: This device emits laser radiation. Do not stare directly into the laser beam. Avoid directing the laser beam at people or animals.
- הגנת עיניים: Always use caution when operating the laser. Laser Class 2, < 1 mW, 650 nm.
- בטיחות סוללה: Ensure correct battery polarity. Do not mix old and new batteries. Dispose of batteries responsibly.
- תנאים סביבתיים: Do not expose the device to extreme temperatures, moisture, or direct sunlight. Avoid strong vibrations or impacts.
- ניקוי: נקו את המכשיר בעזרת מטלית רכה ויבשה. אין להשתמש בחומרי ניקוי שוחקים או ממסים.

תמונה 2.1: אחורי view of the thermometer, displaying CE marking, battery type (9V 6LR61), and laser warning labels. The laser warning indicates Class 2, <1mW, 650nm.
3. המוצר נגמרview
The ThermoSpot Pocket features a robust housing and an intuitive interface for ease of use.
- חיישן אינפרא אדום: Measures surface temperature without contact.
- מצביע לייזר: Indicates the center of the measurement area for precise targeting.
- תצוגה דיגיטלית: Shows current temperature, MIN/MAX values, and battery status.
- לְהַפְעִיל: Activates the measurement and laser.
- כפתור מינימום/מקסימום: Toggles between minimum and maximum temperature readings during a measurement session.

Image 3.1: A close-up of the thermometer's digital display, showing temperature readings (e.g., 386.4°C) and MIN/MAX values. The display is illuminated by a backlight for visibility.
4. התקנה
4.1 התקנת סוללה
- אתר את תא הסוללה על ידית המכשיר.
- פתח את מכסה תא הסוללות.
- Insert one 9V battery (type 6LR61) according to the polarity markings inside the compartment.
- סגור היטב את מכסה תא הסוללות.
המכשיר מוכן כעת לשימוש.
5. הוראות הפעלה
5.1 ביצוע מדידה
- Point the infrared sensor towards the surface you wish to measure.
- Press and hold the trigger button. The laser pointer will activate, indicating the center of the measurement area.
- The current temperature will be displayed instantly on the screen.
- שחררו את ההדק כדי לשמור את הערך האחרון שנמדד על הצג.
5.2 Laser-Focus Technology
The integrated laser-focus technology projects a laser dot onto the target surface, precisely indicating the center of the area being measured. This ensures accurate targeting, especially for smaller objects or specific points.

Image 5.1: Graphic representation of the Laser-Focus feature, showing a red laser beam originating from the device.
5.3 Optics 12:1
The device features 12:1 optics, meaning that at a distance of 12 units, the measurement spot diameter is 1 unit. For example, at a distance of 12 cm, the measurement spot is 1 cm in diameter. This ratio is crucial for understanding the measurement area relative to the distance from the target.
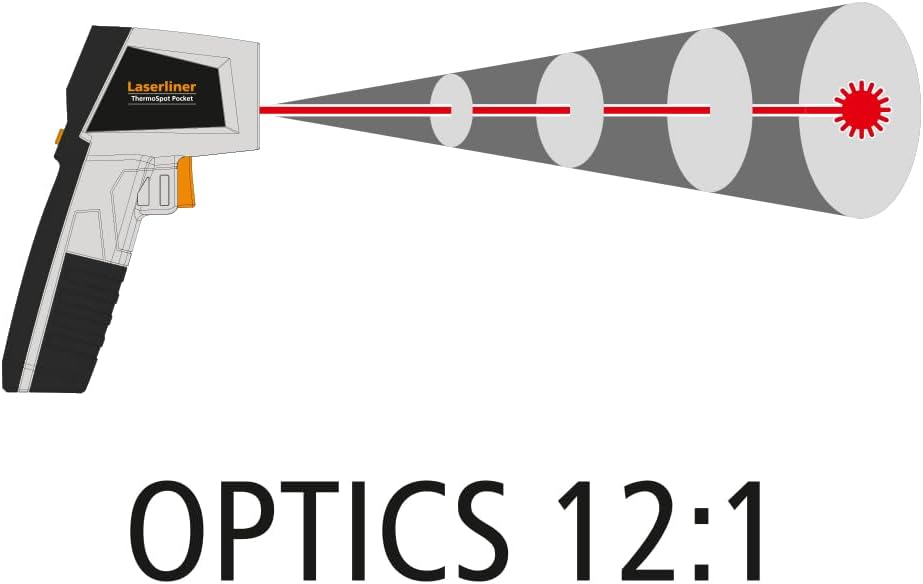
Image 5.2: Diagram illustrating the 12:1 optics ratio, showing how the measurement spot size increases with distance from the thermometer.
5.4 פונקציית מינימום/מקסימום
While holding the trigger, press the MIN/MAX button to cycle through the minimum and maximum temperatures recorded during the current measurement session. This is useful for identifying temperature fluctuations over an area.

Image 5.3: The thermometer being used to measure a ceiling vent, with the display showing both current and MIN/MAX temperature values.
5.5 יישום Examples
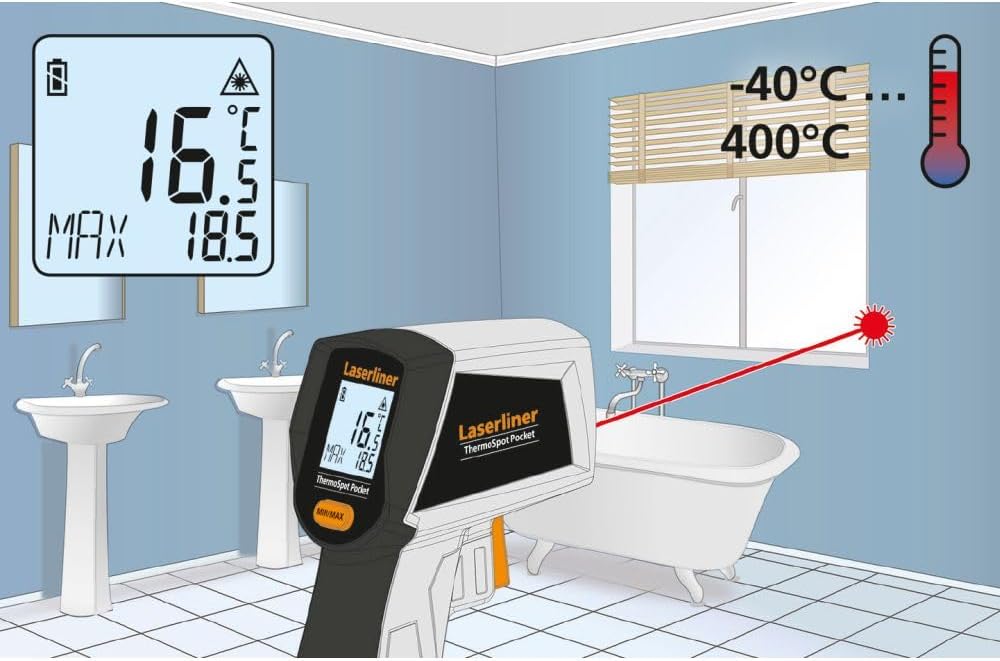
Image 5.4: The thermometer measuring the temperature of a window in a bathroom, demonstrating its use for checking insulation or surface temperatures in various environments. The display shows 16.5°C with a MAX of 18.5°C, and the temperature range of -40°C to 400°C is indicated.

Image 5.5: The thermometer measuring the temperature of a motorcycle engine, highlighting its utility for automotive diagnostics or checking hot surfaces. The display shows 120.6°C with a MAX of 124.2°C.
6. תחזוקה
- ניקוי: Keep the lens and sensor clean for accurate readings. Use a soft, lint-free cloth. Do not use harsh chemicals or abrasive materials.
- אִחסוּן: When not in use, store the device in a dry, cool place, away from direct sunlight and extreme temperatures.
- החלפת סוללה: Replace the 9V battery when the low battery indicator appears on the display.
- טיפול כללי: טפלו במכשיר בזהירות כדי למנוע נזק כתוצאה מנפילות או פגיעות.
7. פתרון תקלות
| בְּעָיָה | סיבה אפשרית | פִּתָרוֹן |
|---|---|---|
| No display/Device does not turn on | סוללה מתה או מותקנת בצורה שגויה. | בדוק את קוטביות הסוללה או החלף את סוללת 9V. |
| קריאות לא מדויקות | Dirty lens/sensor; object too far/too close; emissivity issue (not adjustable on this model, but general IR thermometer issue). | Clean the lens/sensor. Ensure proper distance based on 12:1 optics. Measure a known temperature source to verify. |
| לייזר לא נראה | תקלה בלייזר או אור סביבתי חזק מאוד. | Check battery. Use in less bright conditions. If issue persists, contact support. |
8. מפרטים
- דֶגֶם: 082.440A
- טווח טמפרטורות: -40 מעלות צלזיוס עד 400 מעלות צלזיוס
- אופטיקה: 12:1
- לייזר: Class 2, < 1 mW, 650 nm
- ספק כוח: 1 x 9V battery (6LR61)
- לְהַצִיג: Digital, with backlight
- מידות (L x H x P): 95 מ"מ x 132 מ"מ x 37 מ"מ
- מִשׁקָל: 144 Grams (including battery)
- מאפיינים מיוחדים: Compact design, Laser-Focus, MIN/MAX function
- חוֹמֶר: פּלָסטִי
9. אחריות ותמיכה
The Laserliner ThermoSpot Pocket comes with a אחריות לשנה, reflecting the manufacturer's commitment to quality and durability. For warranty claims, technical support, or service inquiries, please refer to the contact information provided with your purchase documentation or visit the official Laserliner webאֲתַר.
Ensure you retain your proof of purchase for warranty validation.


