מָבוֹא
This manual provides essential information for the safe and efficient operation of your Nedis UPSD2000VBK Uninterruptible Power Supply. Please read these instructions carefully before installation and use, and retain them for future reference. This UPS is designed to provide backup power and protect your electronic devices from power outages, surges, and fluctuations.
הוראות בטיחות
- שימוש פנימי בלבד: מערכת UPS זו מיועדת לשימוש פנימי בסביבה מבוקרת. אין לחשוף אותה לגשם, שלג או אור שמש ישיר.
- אוורור: Ensure adequate ventilation around the UPS. Do not block ventilation openings. Maintain at least 20 cm of clearance from walls or other obstructions.
- מקור כוח: Connect the UPS to a properly grounded AC power outlet. Do not remove the grounding prong.
- לְהַעֲמִיס יוֹתֵר מִדַי: Do not overload the UPS. The total power consumption of connected equipment must not exceed the UPS's rated capacity (1200 W).
- בטיחות סוללה: The UPS contains internal batteries. Do not attempt to open the UPS casing or service the batteries yourself. Refer all servicing to qualified personnel.
- מגע נוזלי: Avoid placing liquids on or near the UPS. In case of accidental spillage, immediately disconnect the UPS from the power source and contact support.
- ניתוק חירום: Ensure the AC power outlet for the UPS is easily accessible for quick disconnection in an emergency.
המוצר נגמרview
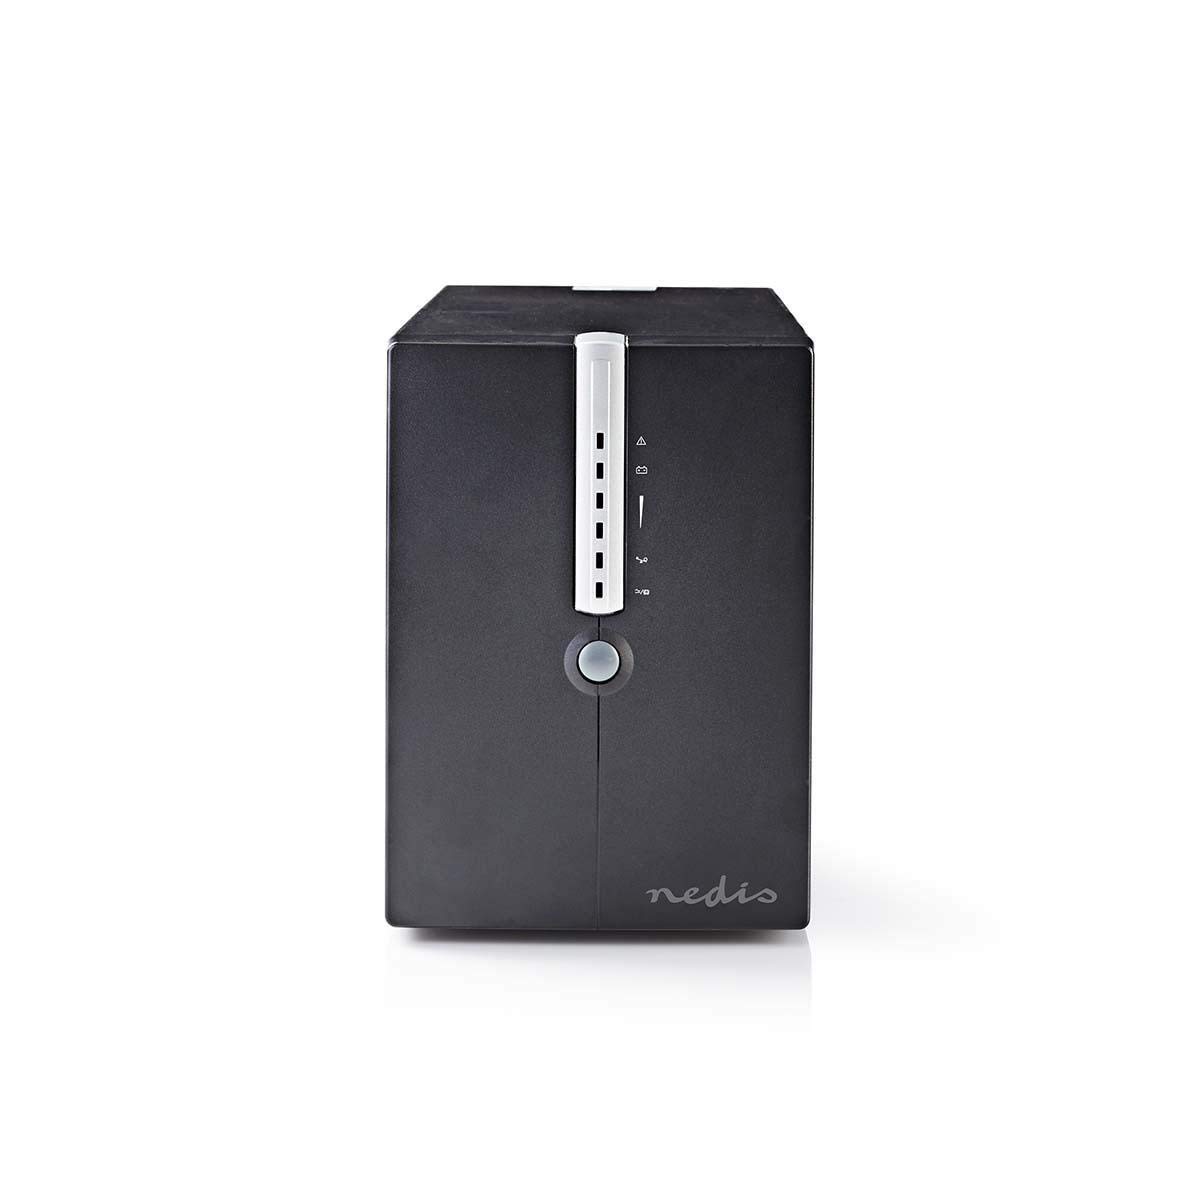
The Nedis UPSD2000VBK is a compact and efficient uninterruptible power supply. Familiarize yourself with its components before proceeding with installation.

איור 1: חזית וצד view of the Nedis UPSD2000VBK. This image displays the main power button and the vertical strip of LED indicators on the front panel, along with ventilation grilles on the side.
איור 2: אֲחוֹרִי view of the Nedis UPSD2000VBK. This image highlights the four power outlets, the USB communication port, and the RJ45 network protection ports (IN/OUT), along with the main power input and cooling fan.
מרכיבי מפתח:
- פאנל קדמי: Power button, LED status indicators (AC mode, battery mode, fault, battery level).
- לוח אחורי: AC input, 4 x Schuko output sockets, USB communication port, RJ45 network protection ports (IN/OUT).
- פְּנִימִי: Sealed lead-acid batteries, inverter, charger, control circuitry.
הגדרה
1. פורקים
- הוצא בזהירות את ה-UPS מאריזתו.
- בדקו את היחידה לאיתור נזקים כלשהם במהלך המשלוח. אם נמצא נזק, אל תפעילו את היחידה ופנו לסוכן.
2. מיקום
- Place the UPS on a flat, stable surface in a well-ventilated area.
- הימנעו ממקומות עם אבק רב, לחות או טמפרטורות קיצוניות.
- ודא שטמפרטורת הסביבה היא בין 0°C ל-40°C (32°F ו-104°F).
3. התקני חיבור
- חבר את כבל החשמל של מערכת ה-UPS לשקע קיר מוארק.
- Plug your computer, monitor, and other critical devices into the output sockets on the rear of the UPS. Ensure the total load does not exceed 1200 W.
- אופציונלי: Connect a USB cable from the UPS to your computer for monitoring software functionality (software not included, typically available from manufacturer's webאֲתַר).
- אופציונלי: Connect network cables through the RJ45 IN/OUT ports to protect your network devices from surges.
4. טעינה ראשונית
For optimal performance, charge the UPS for at least 8 hours before initial use. Leave the UPS connected to the AC power outlet with no load connected during this period.
פועל
1. הפעלה/כיבוי
- להדליק: לחץ והחזק את לחצן ההפעלה בלוח הקדמי למשך כ-3 שניות עד שתשמע צפצוף והמחוונים יידלקו.
- לכבות: Press and hold the power button for approximately 3 seconds until you hear a beep and the indicators turn off.
2. הבנת מחוונים ואזעקות
The front panel features LED indicators and an audible alarm to communicate the UPS status:
- AC Mode (Green LED): Solid green indicates the UPS is operating on utility power and charging the battery.
- Battery Mode (Yellow LED): Flashing yellow indicates the UPS is operating on battery power. An audible alarm will sound periodically.
- Fault (Red LED): Solid red indicates a fault condition. Refer to the troubleshooting section. An audible alarm may sound continuously.
- מחווני רמת הסוללה: A series of LEDs typically indicates the remaining battery capacity.
3. פעולה במצב סוללה
When utility power fails, the UPS automatically switches to battery mode, providing power to connected devices. The duration of battery backup depends on the load connected. During battery mode, save your work and shut down your equipment properly to prevent data loss.
תַחזוּקָה
1. טיפול בסוללה
- To maximize battery life, keep the UPS connected to an AC outlet at all times.
- Perform a full discharge/recharge cycle every 3-6 months if the UPS is rarely used on battery power.
- Batteries are consumable items and will eventually require replacement. Contact qualified service personnel for battery replacement.
2. ניקיון
- Disconnect the UPS from the AC power outlet and all connected devices before cleaning.
- Use a soft, dry cloth to wipe the exterior surfaces. Do not use liquid or aerosol cleaners.
- ודאו שפתחי האוורור נקיים מאבק ופסולת.
3. אחסון
- If storing the UPS for an extended period, turn it off and disconnect it from all power sources.
- אחסן במקום קריר ויבש.
- Recharge the UPS battery every 3 months to prevent battery degradation.
פתרון בעיות
Review the following common issues and solutions before contacting technical support.
| בְּעָיָה | סיבה אפשרית | פִּתָרוֹן |
|---|---|---|
| ה-UPS לא נדלק. | אין קלט חשמל AC. הסוללה ריקה לחלוטין. | Check AC power cord connection. Ensure wall outlet has power. Allow UPS to charge for 8 hours. |
| מערכת ה-UPS מצפצפת ברציפות במצב AC. | Overload condition. Internal fault. | Reduce connected load. Disconnect non-essential devices. If problem persists, contact support. |
| UPS עובר למצב סוללה לעתים קרובות. | Unstable utility power. Low battery capacity. | Check utility power quality. Allow battery to fully charge. Consider battery replacement if old. |
| מכשירים מחוברים מאבדים חשמל במהלך ההפעלהtage. | UPS overloaded. Battery depleted. | Ensure total load is within capacity. Allow UPS to recharge. |
מפרטים
| תכונה | מִפרָט |
|---|---|
| דֶגֶם | UPSD2000VBK |
| מותג | נדיס |
| יְכוֹלֶת | 2000 VA / 1200 W |
| קלט כרךtage | 120 וולט (AC) |
| שקעי פלט | 4 (Schuko type) |
| מידות (L x W x H) | 14.5 x 40 x 20.5 ס"מ |
| מִשׁקָל | 30 ק"ג |
| סוג סוללה | Sealed Lead-Acid (internal, non-user replaceable) |
| זמן טעינה | 8 שעות עד 90% קיבולת (טיפוסית) |
| טמפרטורת הפעלה | 0 מעלות צלזיוס עד 40 מעלות צלזיוס |
| לַחוּת | 0-90% RH (לא מתעבה) |
| יציאת תקשורת | USB |
| הגנת רשת | RJ45 (IN/OUT) |
אחריות ותמיכה
למידע על אחריות, תמיכה טכנית או פניות לשירות, אנא עיינו בכרטיס האחריות המצורף למוצר שלכם או בקרו באתר הרשמי של Nedis. website. Do not attempt to repair the unit yourself, as this may void your warranty and pose safety risks. Always contact qualified service personnel for assistance.


