1. הקדמה
This manual provides detailed instructions for the installation, operation, and maintenance of your Zebronics H61 Motherboard. Please read this manual thoroughly before proceeding with installation to ensure proper setup and functionality.
The Zebronics H61 Motherboard is designed to support Intel LGA 1155 socket processors (i7/i5/i3/Pentium/Celeron series) and DDR3 dual-channel memory. It features an Intel H61 chipset, providing a stable and efficient platform for your computing needs.
2. מידע בטיחות
- תמיד נתק את אספקת החשמל לפני התקנה או הסרה של רכיבים כלשהם.
- Handle the motherboard by its edges to avoid electrostatic discharge (ESD) damage. Use an anti-static wrist strap if available.
- ודא אוורור נאות בתוך מארז המחשב כדי למנוע התחממות יתר.
- אין לחשוף את לוח האם ללחות או לטמפרטורות קיצוניות.
- Refer to the component manufacturer's manuals for specific installation instructions for your CPU, RAM, and other peripherals.
3. תכולת החבילה
ודא שכל הפריטים נמצאים בחבילה:
- Zebronics H61 Motherboard
- מגן קלט / פלט
- כבל/י נתונים SATA
- Driver CD (for operating systems that do not automatically install drivers)
- מדריך למשתמש (מסמך זה)
4. מפרטים
| תכונה | תֵאוּר |
|---|---|
| דֶגֶם | H61 |
| ערכת שבבים | Intel H61 Express |
| שקע מעבד | LGA 1155 |
| מעבדים תואמים | Intel i7/i5/i3/Pentium/Celeron processors (2nd and 3rd Generation) |
| חריצי זיכרון | 2 x DDR3 Dual-channel slots |
| תמיכה בזיכרון | DDR3 1066/1333/1600MHz, up to 16GB |
| ממשק גרפי | 1 x PCI-Express x16 slot |
| חריצי הרחבה | חריץ PCI Express x1 אחד |
| אִחסוּן | 4 x SATA II ports |
| LAN | Realtek 8106E 10/100 Mbps Ethernet |
| שֶׁמַע | 6-Channel HD Audio Codec onboard (5.1 surround sound support) |
| יציאות קלט/פלט אחוריות | 1 x HDMI, 1 x VGA, 6 x USB 2.0, 1 x RJ45, 1 x 3-in-1 Audio Jacks (Line-in, Line-out, Mic-in), PS/2 (Keyboard/Mouse) |
| גורם צורה | ATX |
| מידות | 25 x 20 x 3 ס"מ |
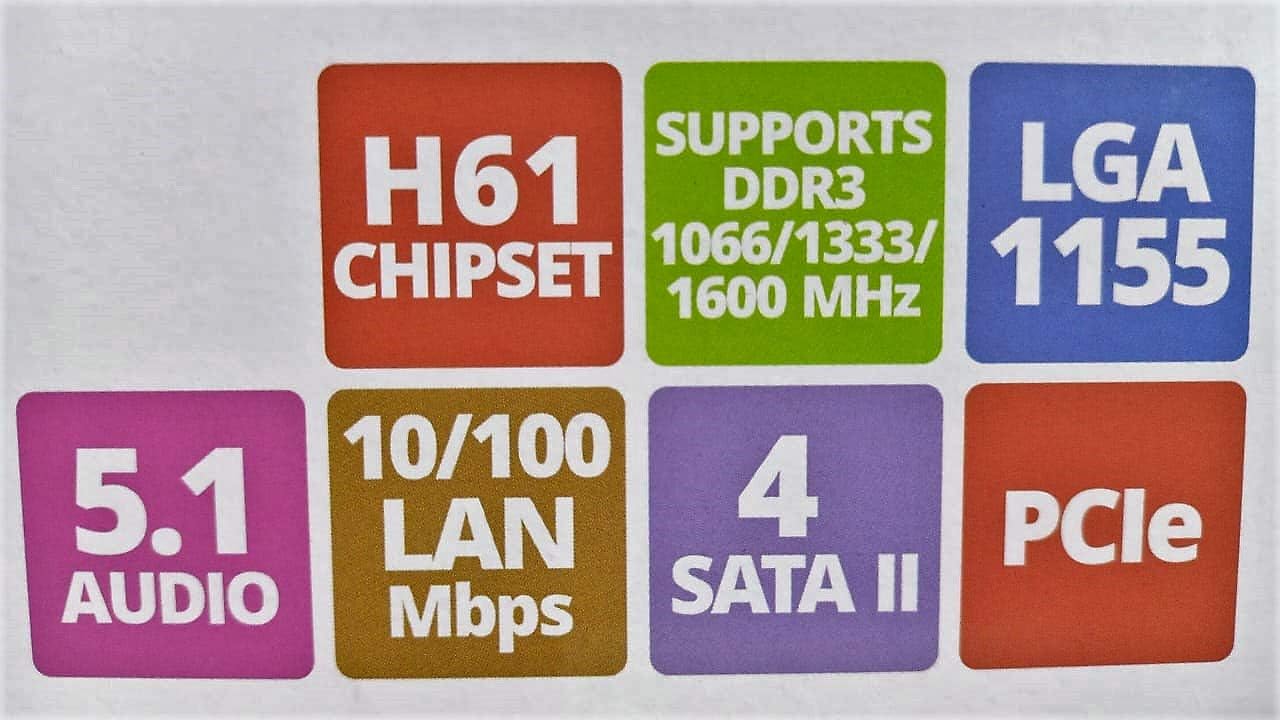
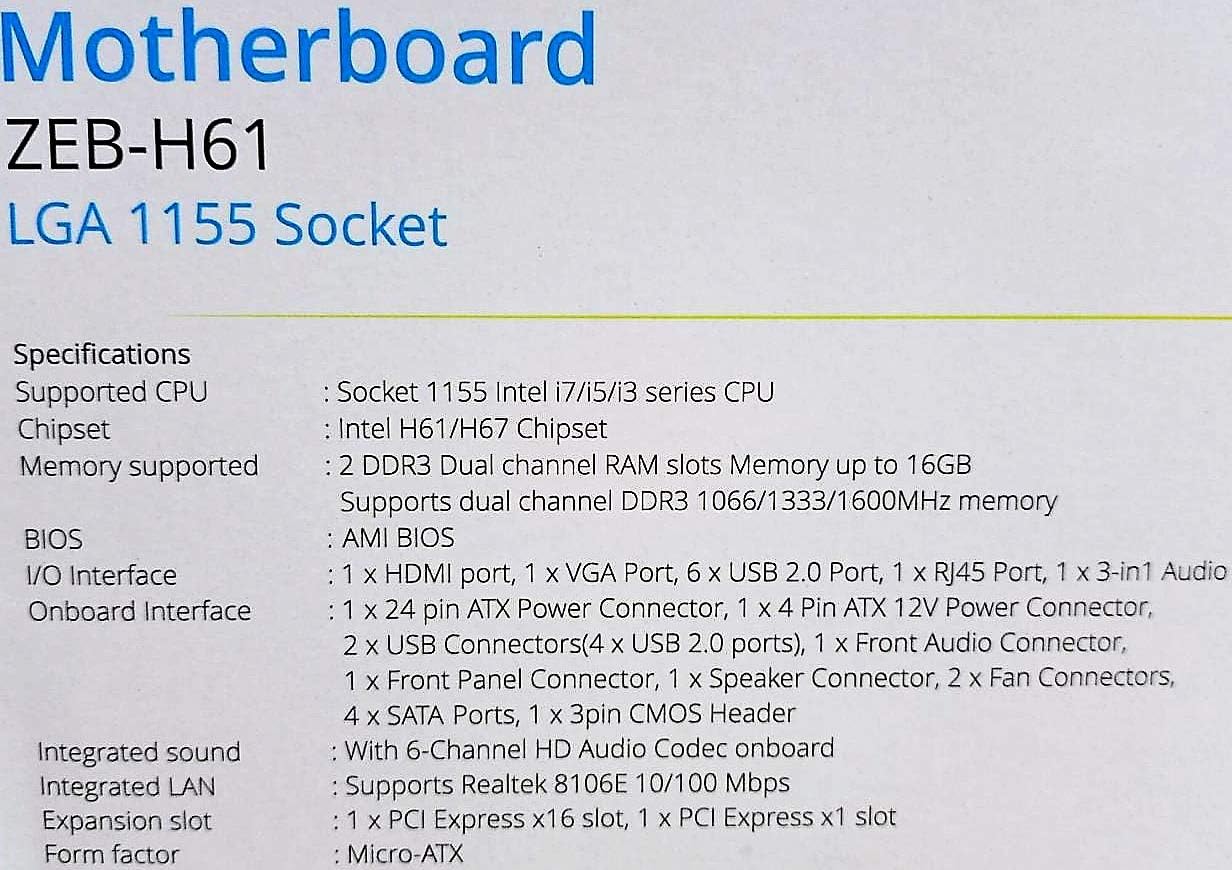
Image: Detailed specifications of the Zebronics H61 Motherboard, including chipset, CPU socket, memory support, and I/O interfaces.

Image: Visual representation of key features such as H61 Chipset, DDR3 support, LGA 1155 socket, 5.1 Audio, 10/100 LAN, 4 SATA II ports, and PCIe.
5. התקנה והתקנה
5.1 פריסת לוח האם

תמונה: מלמעלה למטה view of the Zebronics H61 Motherboard, showing the CPU socket, RAM slots, PCIe slot, and various headers.

Image: Another top-down perspective of the Zebronics H61 Motherboard, highlighting component placement.
5.2 פאנל קלט/פלט אחורי

Image: Rear I/O panel of the Zebronics H61 Motherboard, displaying ports for PS/2 keyboard/mouse, VGA, HDMI, USB 2.0, LAN, and audio jacks.
תמונה: מקרוב view of the rear I/O ports, detailing the VGA, HDMI, USB, LAN, and audio connections.
5.3 שלבי התקנת רכיבים
- התקן את המעבד:
- פתח את ידית שקע המעבד.
- Carefully align the CPU with the socket, ensuring the golden triangle on the CPU matches the mark on the socket.
- הכנס בעדינות את המעבד לשקע מבלי ללחוץ עליו בכוח.
- סגור את הידית כדי לאבטח את המעבד.
- מרחו משחה תרמית והתקינו את מקרר המעבד בהתאם להוראות היצרן.
- התקנת זיכרון RAM:
- פתחו את הקליפסים בשני קצוות חריצי זיכרון DDR3.
- יישר את מודול הזיכרון עם החריץ, וודא שהחריץ במודול תואם למפתח בחריץ.
- לחץ בחוזקה על שני קצוות מודול הזיכרון עד שהקליפסים יתייצבו במקומם.
- התקנת כרטיס מסך (אופציונלי):
- Locate the PCI-Express x16 slot.
- הסר את כיסוי חריץ ההרחבה המתאים ממארז המחשב שלך.
- Align the graphics card with the slot and press down firmly until it is seated correctly.
- אבטח את הכרטיס בעזרת בורג למארז המחשב.
- חיבור התקני אחסון:
- Connect SATA data cables from the motherboard's SATA ports to your hard drives or SSDs.
- Ensure power cables from the power supply are connected to these devices.
- חבר ספק כוח:
- חבר את מחבר החשמל ATX בעל 24 הפינים מספק הכוח שלך ללוח האם.
- Connect the 4-pin ATX 12V power connector (CPU power) to the motherboard.
- חיבור כותרות הפאנל הקדמי:
- Connect the power switch, reset switch, HDD LED, and power LED cables from your PC case to the corresponding pins on the motherboard's front panel header. Refer to the motherboard diagram for pin assignments.
- Connect front USB and audio headers.
6. הוראות הפעלה
6.1 אתחול ראשון והגדרת BIOS
- לאחר הרכבת כל הרכיבים, חברו את הצג, המקלדת והעכבר.
- הפעל את המחשב שלך.
- לחץ על המקש המיועד (בדרך כלל DEL or F2) repeatedly during startup to enter the BIOS/UEFI setup utility.
- ב-BIOS, ודא שכל הרכיבים המותקנים (מעבד, זיכרון RAM, אחסון) מזוהים כהלכה.
- הגדר את סדר האתחול כדי להתקין את מערכת ההפעלה שלך מדיסק USB או מדיסק אופטי.
- שמור את השינויים וצא מה-BIOS. המערכת תופעל מחדש.
6.2 התקנת דרייבר
After installing your operating system, install the necessary drivers for optimal performance. Drivers can be found on the included driver CD or downloaded from the official Zebronics webאֲתַר.
- מנהלי התקנים של ערכת השבבים
- Graphics Drivers (if using integrated graphics or a dedicated GPU)
- מנהלי התקנים של LAN
- מנהלי התקנים לאודיו
- USB Drivers (if applicable)
7. תחזוקה
- שמור על זה נקי: Regularly clean dust from inside your PC case, especially from fans and heatsinks, to ensure proper airflow and prevent overheating. Use compressed air.
- עדכוני BIOS: Check the Zebronics website periodically for BIOS updates. BIOS updates can improve system stability, compatibility, and performance. Follow update instructions carefully.
- עדכוני דרייבר: עדכן את מנהלי ההתקנים שלך כדי להבטיח תאימות וביצועים אופטימליים עם מערכת ההפעלה והיישומים שלך.
- סוללת CMOS: The motherboard uses a CR2032 battery to retain BIOS settings. If your system frequently loses time or BIOS settings, the battery may need replacement.
8. פתרון תקלות
- No Power / System Does Not Boot:
- Ensure all power cables (24-pin ATX, 4-pin ATX 12V) are securely connected to the motherboard.
- Check if the power supply unit (PSU) is switched on and functioning.
- Verify front panel power switch connection.
- נסה להכניס מחדש את מודולי ה-RAM ואת כרטיס המסך.
- אין תצוגה על המסך:
- Ensure the monitor is connected to the correct video output (either integrated graphics on the motherboard or dedicated graphics card).
- בדוק את אספקת החשמל של הצג ואת בחירת הקלט.
- Reseat the graphics card (if installed) and RAM modules.
- חוסר יציבות מערכת / קריסות:
- בדוק את טמפרטורות המעבד והכרטיס הגרפי. התחממות יתר עלולה לגרום לחוסר יציבות.
- Ensure RAM modules are properly seated and compatible. Test with one RAM stick if multiple are installed.
- עדכן את הדרייברים וה-BIOS לגרסאות העדכניות ביותר.
- הפעל כלי אבחון זיכרון כדי לבדוק אם יש זיכרון RAM פגום.
- CMOS Battery Issue (Loss of Time/Settings):
- If the system loses time or BIOS settings after being powered off, the CMOS battery (CR2032) may need replacement.
- To reset CMOS: Disconnect power, remove the CMOS battery, short the battery socket's positive and negative terminals for 30 seconds, then reinsert the battery.
9. אחריות ותמיכה
For warranty information and technical support, please refer to the official Zebronics webאתר או צרו קשר עם מחלקת שירות הלקוחות שלהם. שמרו את קבלת הרכישה כהוכחת קנייה לתביעות אחריות.
Zebronics Official Webאֲתַר: www.zebronics.com


