
1. הקדמה
Thank you for choosing the Caupureye HDV900pro 4K 48MP Camcorder. This device is designed to capture high-quality video and images, offering a range of features for both beginners and enthusiasts. With 4K video resolution, 48.0MP image resolution, and 21x digital zoom, it's ideal for vlogging, travel, and capturing everyday moments. The 270° rotatable screen provides flexible shooting angles, and included accessories like an external microphone and 64GB SD card enhance your recording experience.
וידאו: נגמרview of the Caupureye 4K 48MP Camcorder, showcasinהעיצוב והתכונות העיקריות שלו.
2. מה בקופסה
Your Caupureye HDV900pro package includes the following items:
- 1 x Camcorder Video Camera
- 2 x Li-ion Batteries
- 1 x 64GB כרטיס SD
- 1 x מיקרופון חיצוני
- 1 x כבל HDMI
- 1 x כבל USB
- 1 x שלט רחוק
- 1 x תיק מצלמה
- 1 x מדריך למשתמש
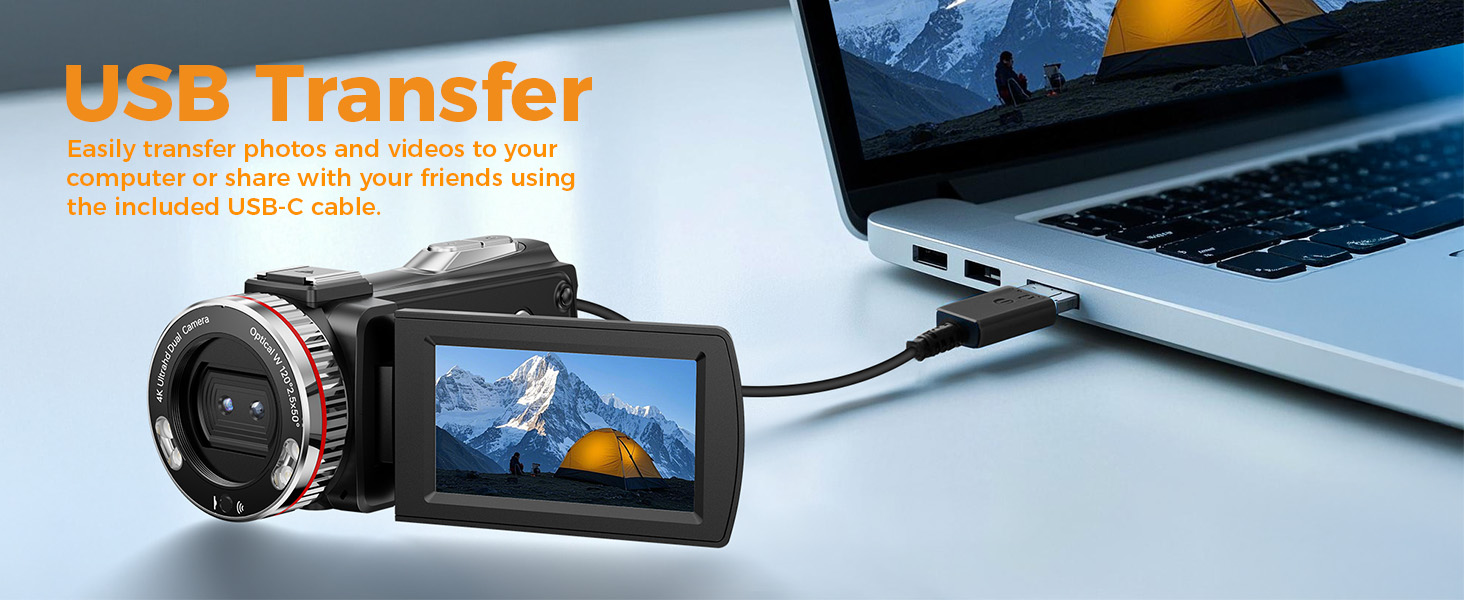
Image: A visual representation of all items included in the Caupureye HDV900pro Camcorder package.
3. המוצר נגמרview
The Caupureye HDV900pro camcorder features a compact design with a 3.0-inch 270° rotatable screen for versatile shooting. It supports 4K video and 48MP photos, with 21x digital zoom. The camera includes a built-in fill light for low-light conditions and dual lenses (wide-angle and narrow) for various scenarios.

Image: The camcorder capturing a scene, highlighting its 4K 48MP capabilities and rotatable screen.
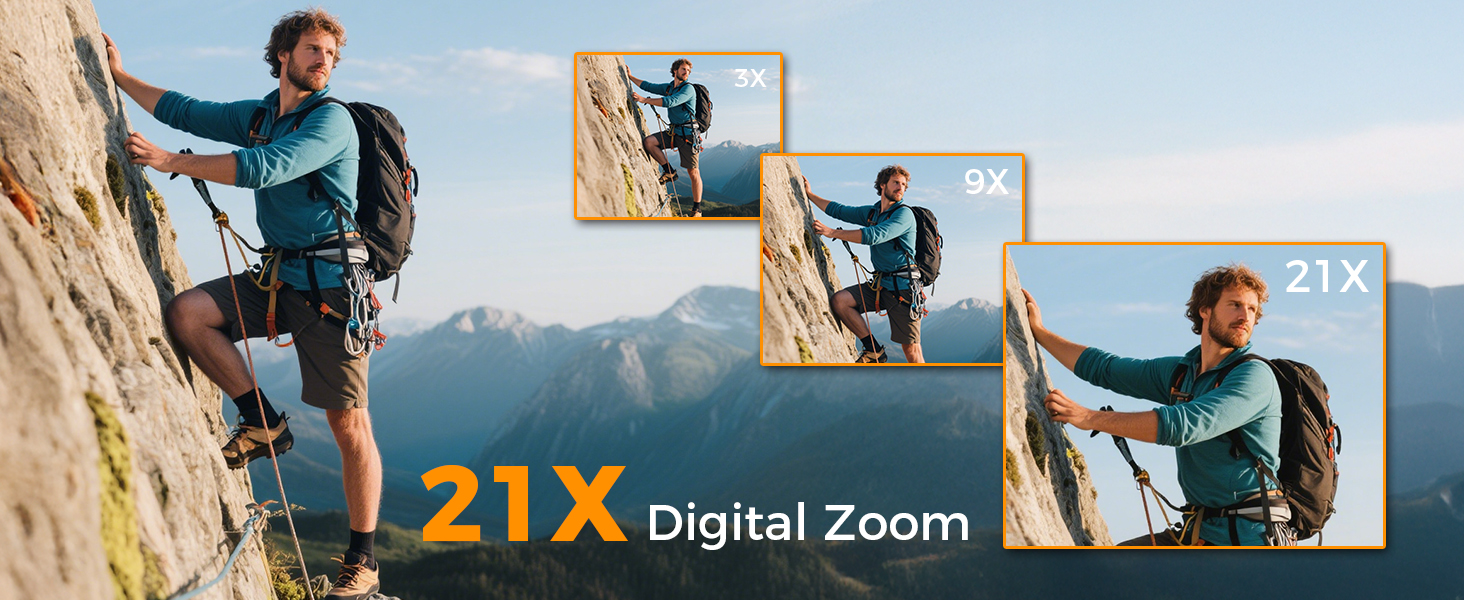
Image: Visual comparison of 3x, 9x, and 21x digital zoom, and the difference between normal and 120° wide-angle views.

Image: The LED Fill Light in action, demonstrating its ability to enhance image quality in low-light conditions.
4. התקנה
4.1 התקנה וטעינה של הסוללה
Insert one of the provided Li-ion batteries into the battery compartment. The camcorder supports recording while charging, ensuring you don't miss any moments. Use the included USB cable to charge the batteries.
4.2 הכנסת כרטיס SD
Insert the 64GB SD card (or your own U3 class 10 memory card up to 512GB) into the designated slot. Ensure it clicks into place.
4.3 חיבור מיקרופון חיצוני
Attach the external microphone to the camcorder's hot shoe mount and plug it into the microphone input for enhanced audio recording.
5. פעולה בסיסית
5.1 הפעלה/כיבוי
Open the 270° rotatable screen to power on the camcorder. Close the screen to power it off.
5.2 הקלטת וידאו וצילום תמונות
To record video or take photos, follow these steps:
- הקש על MODE button to select your desired mode (video or photo).
- הקש על תְרִיס button to start/stop recording or take a photo.
- השתמש ב- W/T button to zoom in/out.
- הקש על מלא אור button to activate the LED light in dark areas.

Image: Step-by-step guide on using the camcorder's buttons for recording and photography.
6. תכונות מתקדמות
6.1 Webמצלמת וידאו ויציאת HDMI
Connect the camcorder to your computer via USB and select "PC Camera" mode to use it as a webcam for live streaming. For an immersive viewing experience, connect the camcorder to a TV using the HDMI cable.

Image: The camcorder functioning as a webcam and connected to a TV via HDMI.
6.2 Special Recording Modes
The camcorder offers various modes to enhance your creativity:
- פונקציית הפסקה: Pause and resume recording without creating multiple files.
- הקלטה בהילוך איטי: Capture detailed slow-motion video.
- הקלטת זמן לשגות: דחס אירועים ארוכים לסרטונים קצרים ומעניינים.
- סלפי: Use the rotatable screen to frame yourself perfectly.
- צילום רציף: צילום רצף תמונות מהיר.
- Night Vision (LED Fill Light): Improve visibility in dark environments.

תמונה: דוגמהamples of different recording modes, including pause, slow-motion, and time-lapse.
7. חיבור למחשב
Use the provided USB cable to connect your camcorder to a computer. This allows for easy transfer of photos and videos for editing or sharing.

Image: The camcorder connected to a laptop, illustrating the USB transfer function.
8. השמעה
כדי לחזורview your recorded videos and photos:
- הקש על PLAY/RIGHT לחצן כדי להיכנס למצב השמעה.
- השתמש ב- למעלה/מטה button to select the clip you wish to view.
- הקש על OK button to play or stop the video.
- הקש על MENU/LEFT button to delete a clip or return to the gallery.

Image: Step-by-step guide on how to access and control media playback on the camcorder.
9. פתרון תקלות
- המצלמה לא נדלקת: ודא שהסוללות מוכנסות כהלכה וטעונות במלואן.
- איכות וידאו/תמונה ירודה: Check lighting conditions, adjust exposure settings, or ensure the lens is clean.
- Microphone not recording audio: Ensure the external microphone is securely plugged in and powered on (if applicable).
- שגיאת כרטיס SD: Ensure the SD card is correctly inserted and not full. Try formatting the card (this will erase all data).
- השלט רחוק לא עובד: Ensure the battery in the remote is functional and there are no obstructions between the remote and the camcorder.
לסיוע נוסף, אנא צרו קשר עם שירות הלקוחות.
10. מפרטים
| תכונה | פְּרָט |
|---|---|
| מותג | קופוראיי |
| מספר דגם | HDV900pro |
| רזולוציית לכידת וידאו | 4K |
| טכנולוגיית חיישן צילום | CMOS |
| צמצם מקסימלי | 2 פ |
| גודל מסך | 3 אינץ' |
| טכנולוגיית קישוריות | USB |
| משקל פריט | 1.41 פאונד |
11. אחריות ותמיכה
For warranty information or technical support, please refer to the contact details provided in your product packaging or visit the official Caupureye webאתר. צוות שירות הלקוחות שלנו זמין לסייע לך בכל שאלה או דאגה.