
1. הקדמה
The ASUS Prime AP202 ARGB White mATX case is designed for compact, high-performance PC builds. It features a fully curved tempered glass panel, supports graphics cards up to 420mm, 360mm radiators, and includes a patented slot vent, easy-detach rail system, and three pre-installed ARGB fans. This manual provides detailed instructions to help you set up, operate, and maintain your PC case.
2. תכונות עיקריות
- Panoramic Curved Tempered Glass: A seamless curved tempered glass panel extends from the front to the side, offering an unobstructed view של רכיבים פנימיים.
- Easy-Detach Rail System: Panels can be removed and reattached safely and simply, facilitating easy access for building and maintenance.
- Patented Slot Vent: An innovative design provides optimal cooling for graphics cards, enhancing thermal performance.
- Integrated ARGB Light Band: A light band near the bottom of the case offers spectacular lighting effects, compatible with Aura Sync for seamless adaptation to user scenarios.
- Pre-installed ARGB Fans: Three 120mm ARGB fans with extra-thick 28mm frames are included, providing optimal airflow and integrated with 20 addressable RGB LEDs for dual lighting.
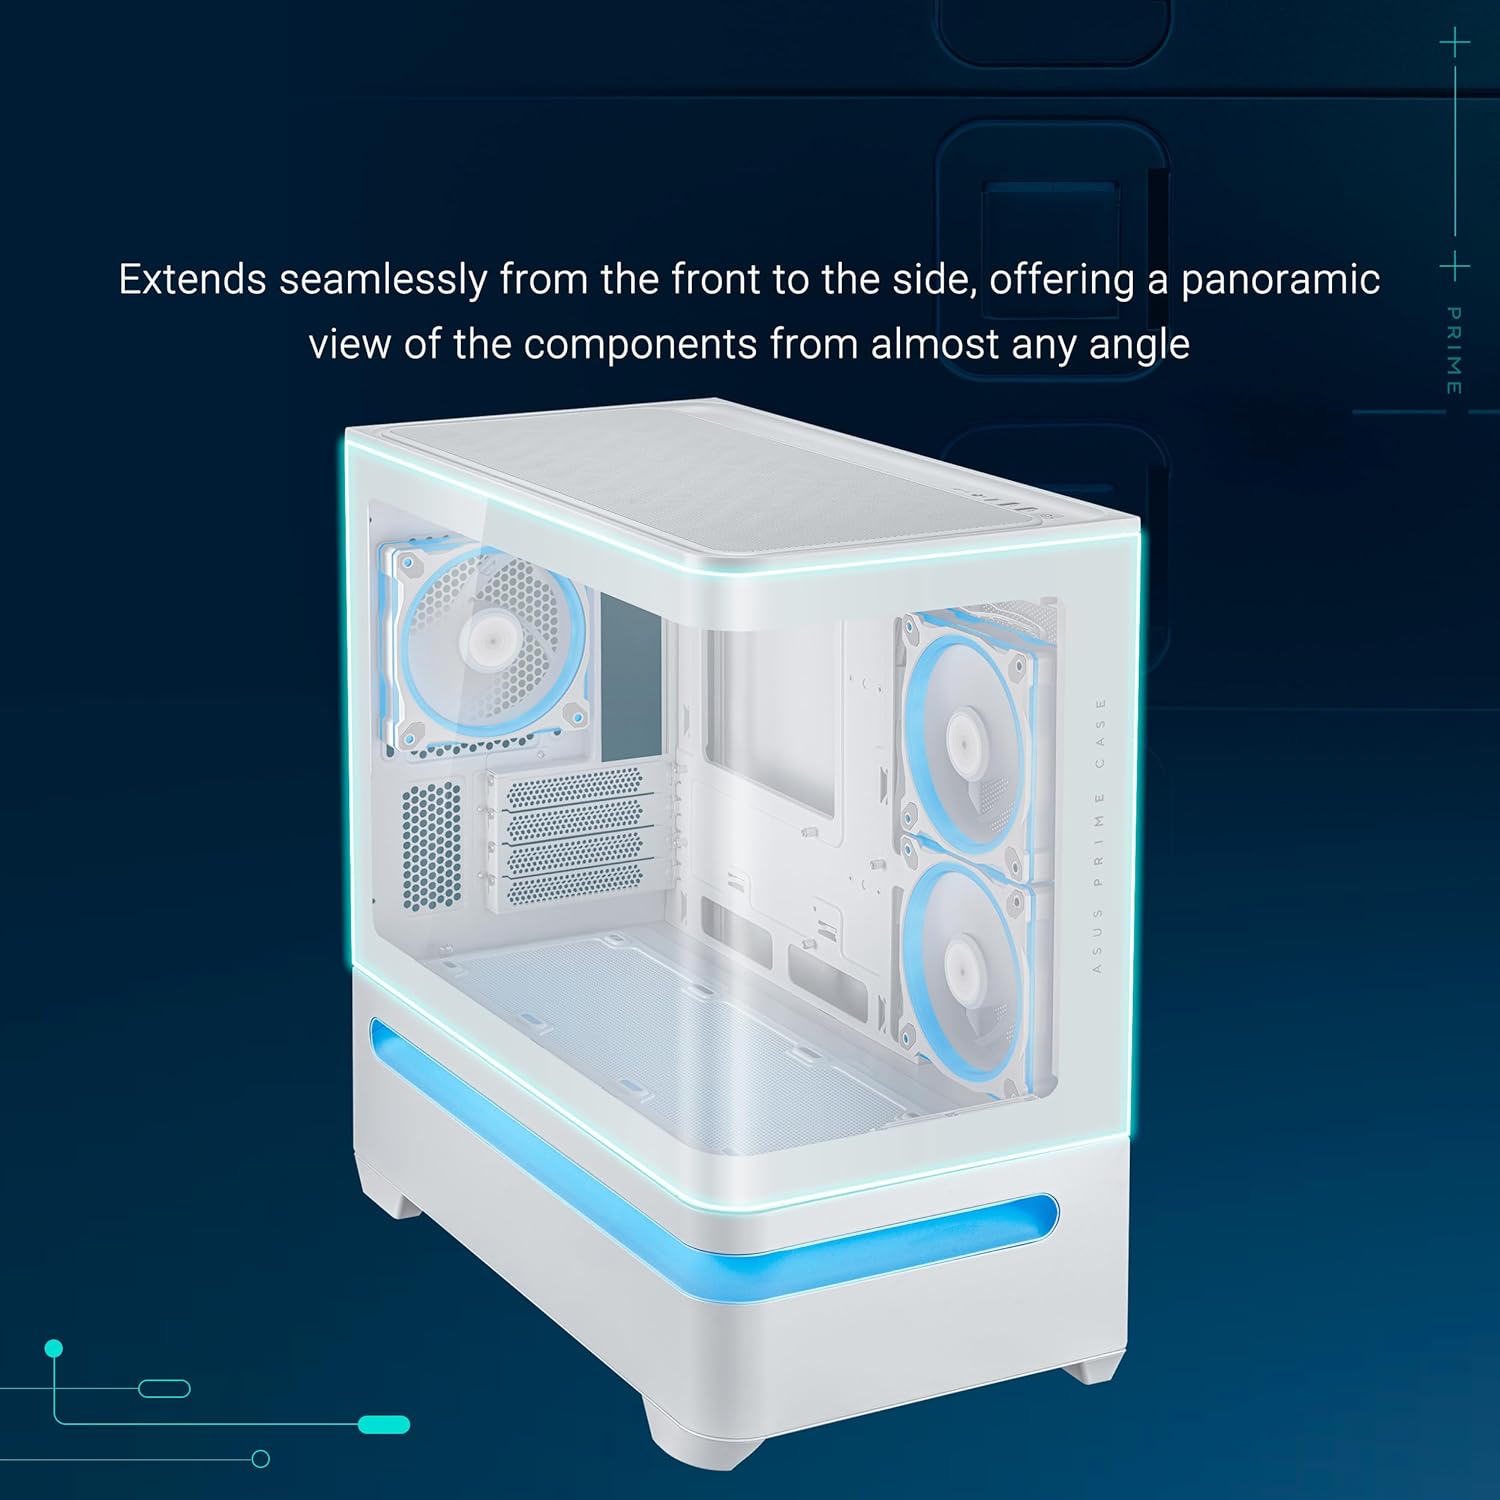
Figure 1: ASUS Prime AP202 ARGB White mATX PC Case with curved tempered glass and internal ARGB fans.
3. התקנה והתקנה
Follow these steps to assemble your PC components within the ASUS Prime AP202 ARGB White mATX PC case.
3.1. הסרת לוח
The case features an easy-detach rail system for safe and simple panel removal. Gently pull the panels to detach them, providing full access to the internal chassis for component installation.
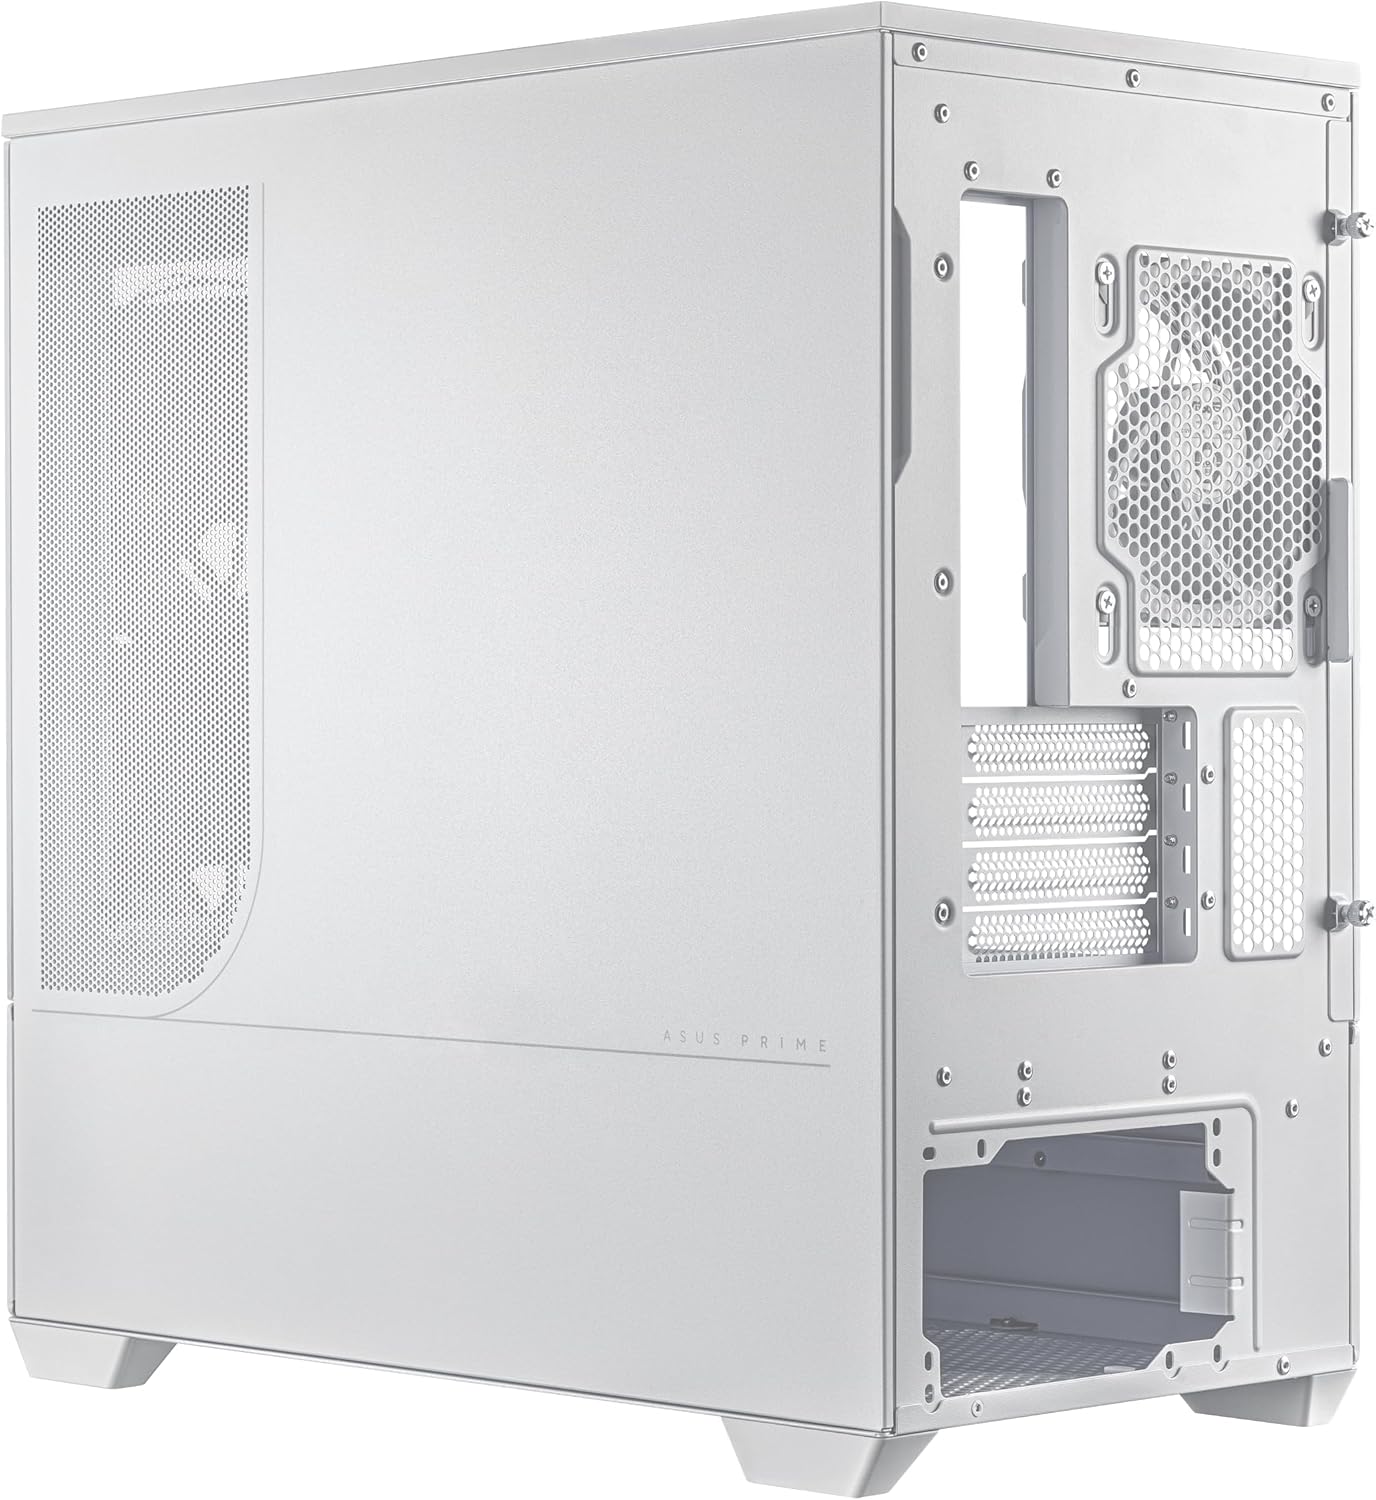
איור 2: התפוצץ view illustrating detachable panels and components for easy assembly.
3.2. התקנת לוח אם
The ASUS Prime AP202 supports Micro-ATX and Mini-ITX motherboards. Secure your motherboard to the pre-installed standoffs using the provided screws.
3.3. התקנת מאוורר ורדיאטור
The case supports radiators up to 360mm long. Three 120mm ARGB fans are pre-installed. Additional fans can be mounted for enhanced airflow. Ensure proper airflow direction (intake/exhaust) for optimal cooling.

Figure 3: Patented slot vent design for optimal graphics card cooling.
3.4. התקנת כרטיס מסך
The case accommodates graphics cards up to 420mm in length. Install your graphics card into the appropriate PCIe slot on your motherboard and secure it with screws.
3.5. התקנת יחידת ספק כוח (PSU)
The case is compatible with PSUs up to 200mm in length. Install your PSU into its designated compartment, typically at the rear or bottom of the case, and secure it.
3.6. ניהול כבלים
נצל את ample space behind the motherboard tray and the included cable ties to route and secure cables, ensuring clean aesthetics and unobstructed airflow.

Figure 4: Organized cable management for a clean build.
4. הוראות הפעלה
4.1. הפעלה/כיבוי
Press the power button located on the front I/O panel to turn the system on or off. The power LED will illuminate when the system is active.
4.2. בקרת תאורה ARGB
The integrated ARGB light band and pre-installed fans are compatible with ASUS Aura Sync. Use the motherboard's software to customize lighting effects and synchronize them with other compatible components.

Figure 5: Integrated ARGB light band for customizable lighting effects.
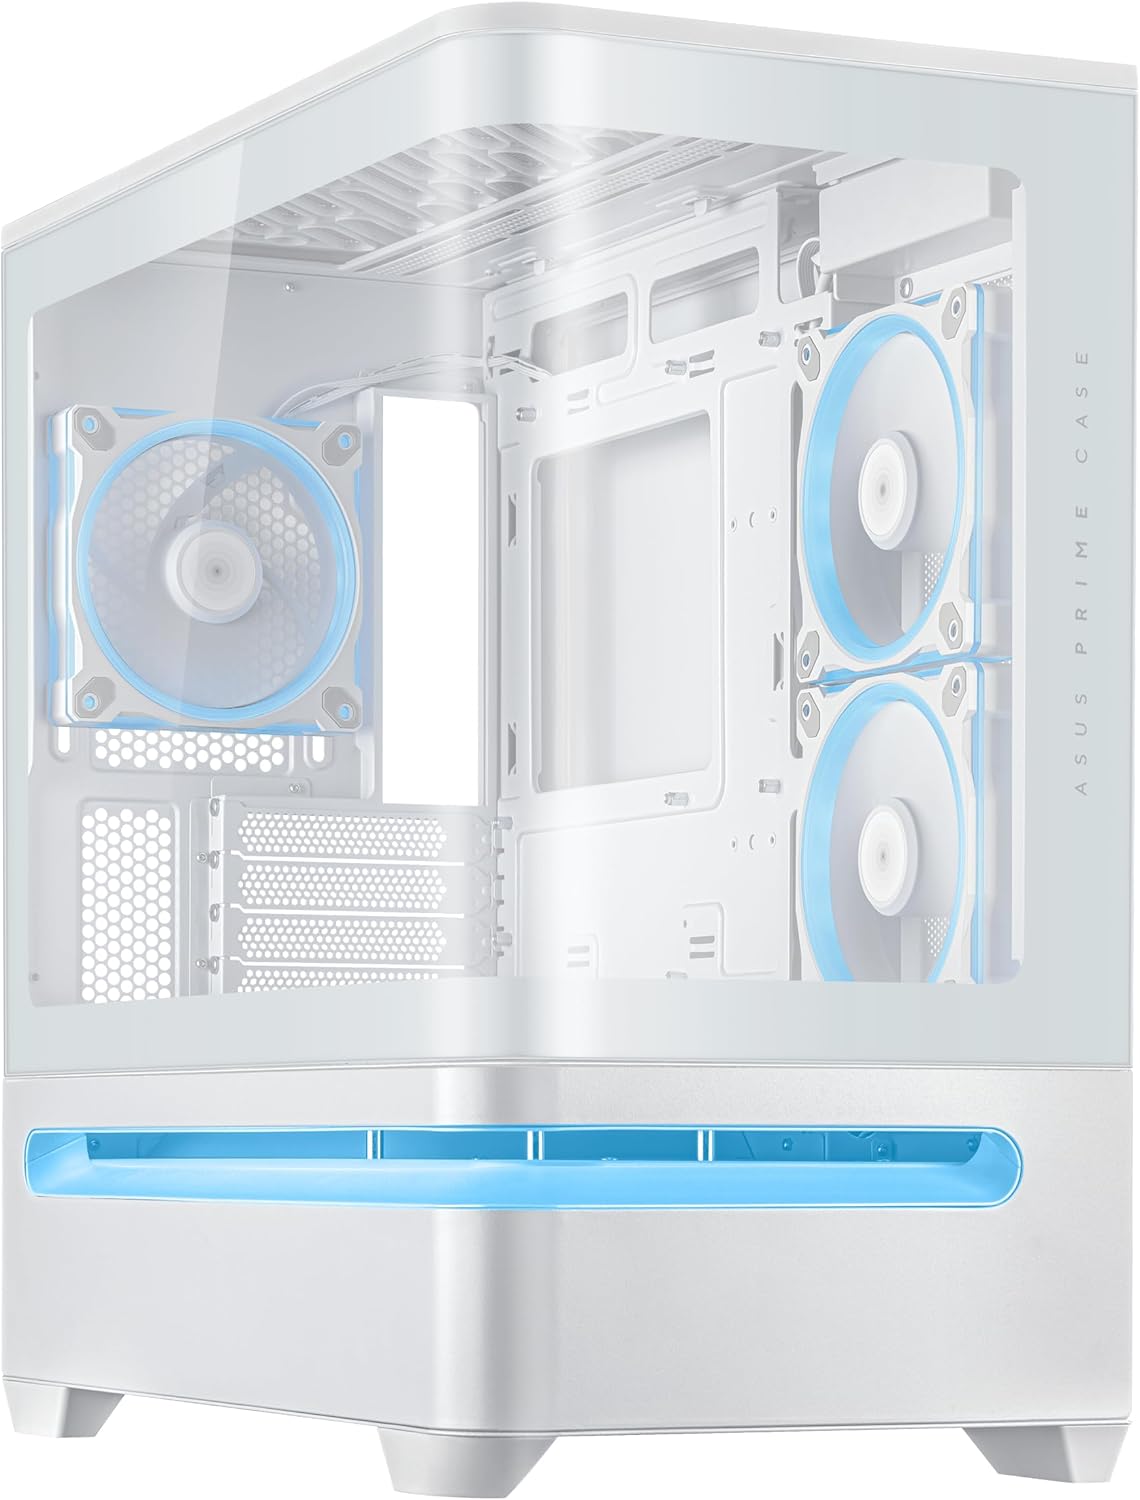
Figure 6: Front I/O panel with power button and USB ports.
5. תחזוקה
5.1. ניקוי מסנן האבק
Regularly clean the dust filters to maintain optimal airflow and prevent dust buildup inside the case. The filters are easily removable for cleaning.
5.2. ניקיון כללי
השתמשו במטלית רכה ויבשה כדי לנגב את החלק החיצוני של המארז. עבור לוח הזכוכית המחוסמת, השתמשו בחומר ניקוי זכוכית ובמטלית מיקרופייבר כדי למנוע שריטות.
6. פתרון תקלות
6.1. אין כוח
- Ensure the power supply unit (PSU) is properly connected to the wall outlet and the power switch on the PSU is in the "ON" position.
- Verify all power cables from the PSU are securely connected to the motherboard and components.
- בדוק את חיבור מתג ההפעלה בלוח הקדמי ללוח האם.
6.2. בעיות התחממות יתר
- Ensure all case fans are spinning and properly oriented for optimal airflow (front/bottom for intake, rear/top for exhaust).
- Clean any dust buildup on fans, radiators, and dust filters.
- ודא שמאווררי המעבד והכרטיס הגרפי פועלים כראוי.
6.3. תאורת ARGB לא פועלת
- Check all ARGB cable connections from the fans and light band to the motherboard's ARGB headers or a dedicated controller.
- Ensure ASUS Aura Sync software (or equivalent motherboard software) is installed and configured correctly.
7. מפרטים
| תכונה | פְּרָט |
|---|---|
| מותג | ASUS |
| שם הדגם | PRIME AP202 TG ARGB WHITE |
| סוג מקרה | מגדל אמצע |
| צֶבַע | לָבָן |
| מידות המוצר (LxWxH) | 9.3 x 17.4 x 18.1 אינץ' |
| משקל פריט | 20.1 פאונד |
| חוֹמֶר | סגסוגת פלדה, פלסטיק, זכוכית מחוסמת |
| תאימות לוח אם | מיקרו ATX, מיני ITX |
| תמיכה בכרטיס מסך | Up to 420mm long |
| תמיכת רדיאטור | Up to 360mm long |
| סוג הרכבה של ספק כוח | Compatible with PSUs up to 200mm length |
| שיטת קירור | אֲוִיר |
| מספר יציאות USB 3.0 | 1 |
8. אחריות ותמיכה
למידע על אחריות, תמיכה טכנית או שאלות בנוגע לשירות, אנא בקרו באתר התמיכה הרשמי של ASUS website or contact your local ASUS representative. Keep your purchase receipt for warranty validation.
תמיכה של ASUS Webאֲתַר: https://www.asus.com/support/