
ThermoPro TP110
ThermoPro TP110 Refrigerator Thermometer User Manual
Model: TP110 | Brand: ThermoPro
מָבוֹא
תודה על הרכישהasing the ThermoPro TP110 Refrigerator Thermometer. This device is designed to accurately monitor temperatures in refrigerators, freezers, and other environments, ensuring optimal conditions for food storage and other applications. Please read this manual thoroughly before use to ensure proper operation and longevity of your device.
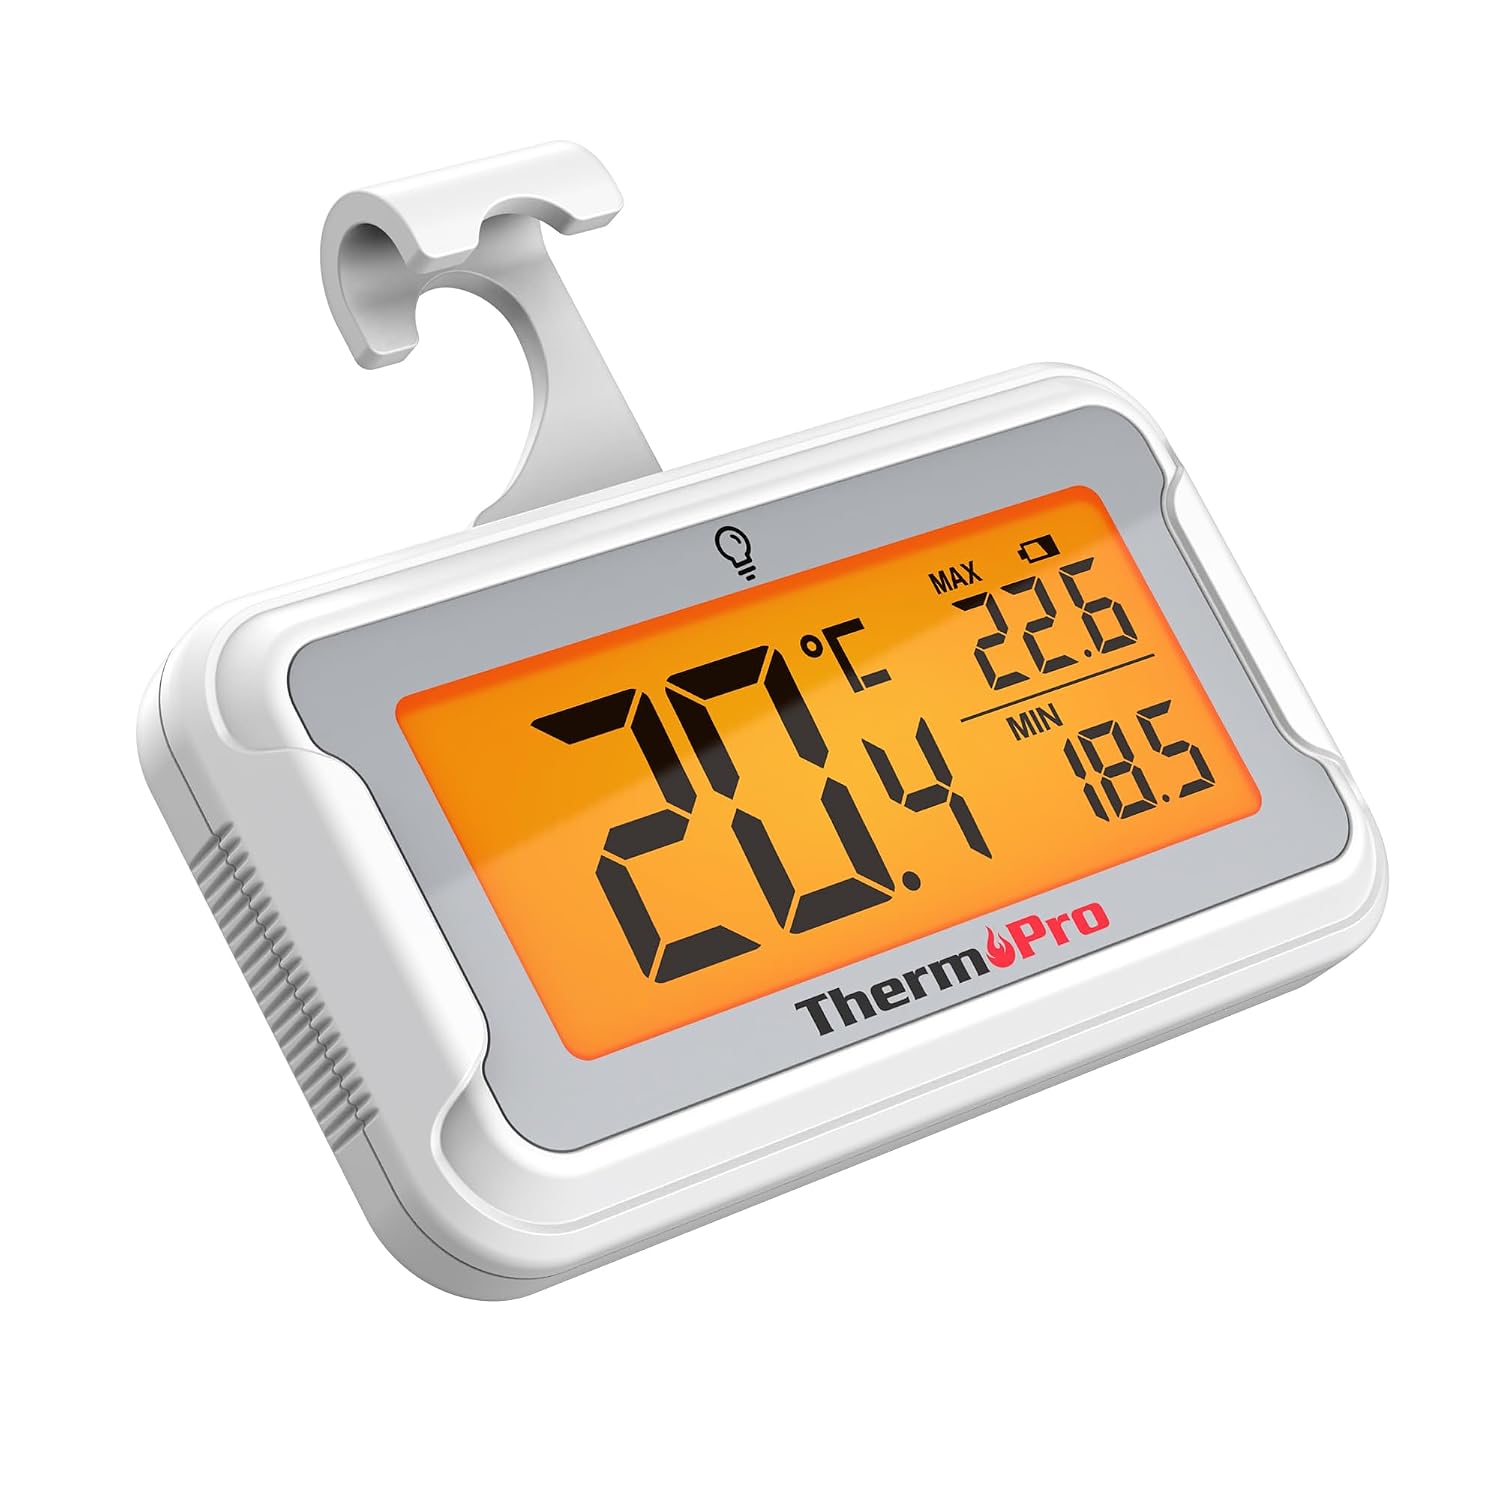
Image: The ThermoPro TP110 Refrigerator Thermometer, a compact white device with a large digital display showing temperature readings.
תכונות מפתח
- Wide Temperature Range & High Accuracy: Measures from -30°C to 50°C (-22°F to 122°F) with an accuracy of ±0.5°C (±1°F).
- קריאה אופטימלית: Features an oversized LCD screen with a bright backlight for easy reading, even in low-light conditions.
- איטום מעולה: IPX6 rated design ensures reliable operation in humid and cold environments.
- רישום טמפרטורת מקסימום/מינימום: Tracks and displays the maximum and minimum temperatures over the last 24 hours, allowing you to monitor temperature fluctuations.
- אפשרויות מיקום מרובות: Equipped with a magnet, a hanging hook, and a kickstand for versatile placement.
- החלפת סוללה קלה: Designed with a rotating battery compartment for quick and tool-free battery changes.

Image: A comparison chart highlighting the ThermoPro TP110's features such as backlight, easy battery change, ±0.5°C precision, full screen, waterproof design, and MAX/MIN temperature tracking, contrasting it with other thermometers.
תוכן החבילה
- 1 x ThermoPro TP110 Refrigerator Thermometer
- סוללת CR2032 אחת (מותקנת מראש)
- 1 x מדריך למשתמש
הגדרה
1. התקנת סוללה
The ThermoPro TP110 comes with a CR2032 battery pre-installed. If the display is not active or shows a low battery indicator, please replace the battery:
- אתר את תא הסוללות בגב המדחום.
- Rotate the battery cover counter-clockwise to the "OPEN" position.
- הסר את סוללת CR2032 הישנה.
- הכנס סוללת CR2032 חדשה כשהצד החיובי (+) פונה כלפי מעלה.
- Rotate the battery cover clockwise to the "LOCK" position to secure it.

Image: A three-step visual guide demonstrating how to easily replace the battery by rotating the cover to open, inserting a new battery, and rotating to lock.
2. אפשרויות מיקום
The thermometer offers three convenient placement options:
- גב מגנטי: Attach the thermometer to any metallic surface, such as a refrigerator door.
- וו תלייה: Use the integrated hook to hang the thermometer from a shelf or rack.
- מעמד מתקפל: Utilize the stand on the back to place the thermometer upright on a flat surface.

Image: Illustrations showing the thermometer used in different environments: a domestic refrigerator, a portable cooler, a car refrigerator, a refrigerated truck, and a wine cellar, demonstrating its versatility.
הוראות הפעלה
1. הפעלה/כיבוי
The thermometer automatically powers on when the battery is installed. To turn it off, press and hold the power button (if available, otherwise it's always on). It features an automatic shutdown after 10 seconds of inactivity to conserve battery life, but will reactivate upon temperature change or button press.
2. בחירת יחידת טמפרטורה
Press the "°C/°F" button to switch between Celsius and Fahrenheit temperature displays.
3. הפעלת תאורה אחורית
Touch the light bulb icon on the screen to activate the backlight for 10 seconds, improving visibility in dark conditions.
4. Max/Min Temperature Records
The thermometer automatically records the maximum and minimum temperatures over a 24-hour period. These values are displayed on the screen alongside the current temperature. The records reset every 24 hours or when the battery is replaced.

Image: The thermometer placed near raw meat in a refrigerator, showing current, maximum, and minimum temperatures. An accompanying graph illustrates the 24-hour temperature history, highlighting the highest and lowest points.
תַחזוּקָה
- ניקוי: נגב את המדחום עם המודעהamp בַּד. אין לטבול אותו במים או להשתמש בחומרי ניקוי שוחקים.
- החלפת סוללה: Replace the CR2032 battery when the low battery indicator appears on the display. Refer to the "Battery Installation" section for instructions.
- אִחסוּן: If storing for an extended period, remove the battery to prevent leakage. Store in a dry place away from extreme temperatures.

Image: The ThermoPro TP110 thermometer partially submerged in water, with water droplets splashing around it, illustrating its IPX6 waterproof rating.
פתרון בעיות
| בְּעָיָה | סיבה אפשרית | פִּתָרוֹן |
|---|---|---|
| אין תצוגה או תצוגה חלשה | Low or dead battery; battery inserted incorrectly. | החליפו את סוללת CR2032, תוך הקפדה על קוטביות נכונה. |
| קריאת טמפרטורה לא מדויקת | Thermometer placed too close to a heat source or vent; sensor obstruction. | Relocate the thermometer to a central area of the refrigerator/freezer, away from direct airflow or heat sources. |
| תאורה אחורית לא עובדת | Battery low; temporary malfunction. | החלף סוללה. אם הבעיה נמשכת, צור קשר עם תמיכת הלקוחות. |
מפרטים
| תכונה | פְּרָט |
|---|---|
| טווח טמפרטורה | -30°C עד 50°C (-22°F עד 122°F) |
| דִיוּק | ±0.5°C (±1°F) |
| סוג תצוגה | LCD דיגיטלי עם תאורה אחורית |
| דירוג עמיד למים | IPX6 |
| מקור כוח | 1 x סוללת CR2032 (כלול) |
| חוֹמֶר | פּלָסטִי |
| מידות (בערך) | 8 ס"מ (אורך) |
| תכונות מיוחדות | Large screen, High precision, Low battery indicator, Backlit, Waterproof, Max/Min record |

Image: A visual representation of the ThermoPro TP110's large LCD screen, showing its approximate dimensions of 8cm by 6cm, and highlighting the backlight feature.
אחריות ותמיכה
ThermoPro provides a warranty for this product against defects in materials and workmanship. For detailed warranty information, product registration, or technical support, please visit the official ThermoPro webאתר או צרו קשר עם שירות הלקוחות שלהם. שמרו את קבלת הרכישה כהוכחת קנייה.
יַצרָן: ThermoPro
ארץ מוצא: סִין
For further assistance, please refer to the contact information provided on the ThermoPro official webאֲתַר.
Ask a question about this manual
Ask about setup, troubleshooting, compatibility, parts, safety, or missing instructions. Manuals+ will review the question and use this page’s manual context to help answer it.