1. הקדמה
This manual provides detailed instructions for the installation, operation, and maintenance of your PHORUS 48-inch Tropical Palm Leaf Ceiling Fan. Please read this manual thoroughly before installation and retain it for future reference. This ceiling fan is designed for both indoor and outdoor covered areas, offering a unique tropical aesthetic with modern functionality.
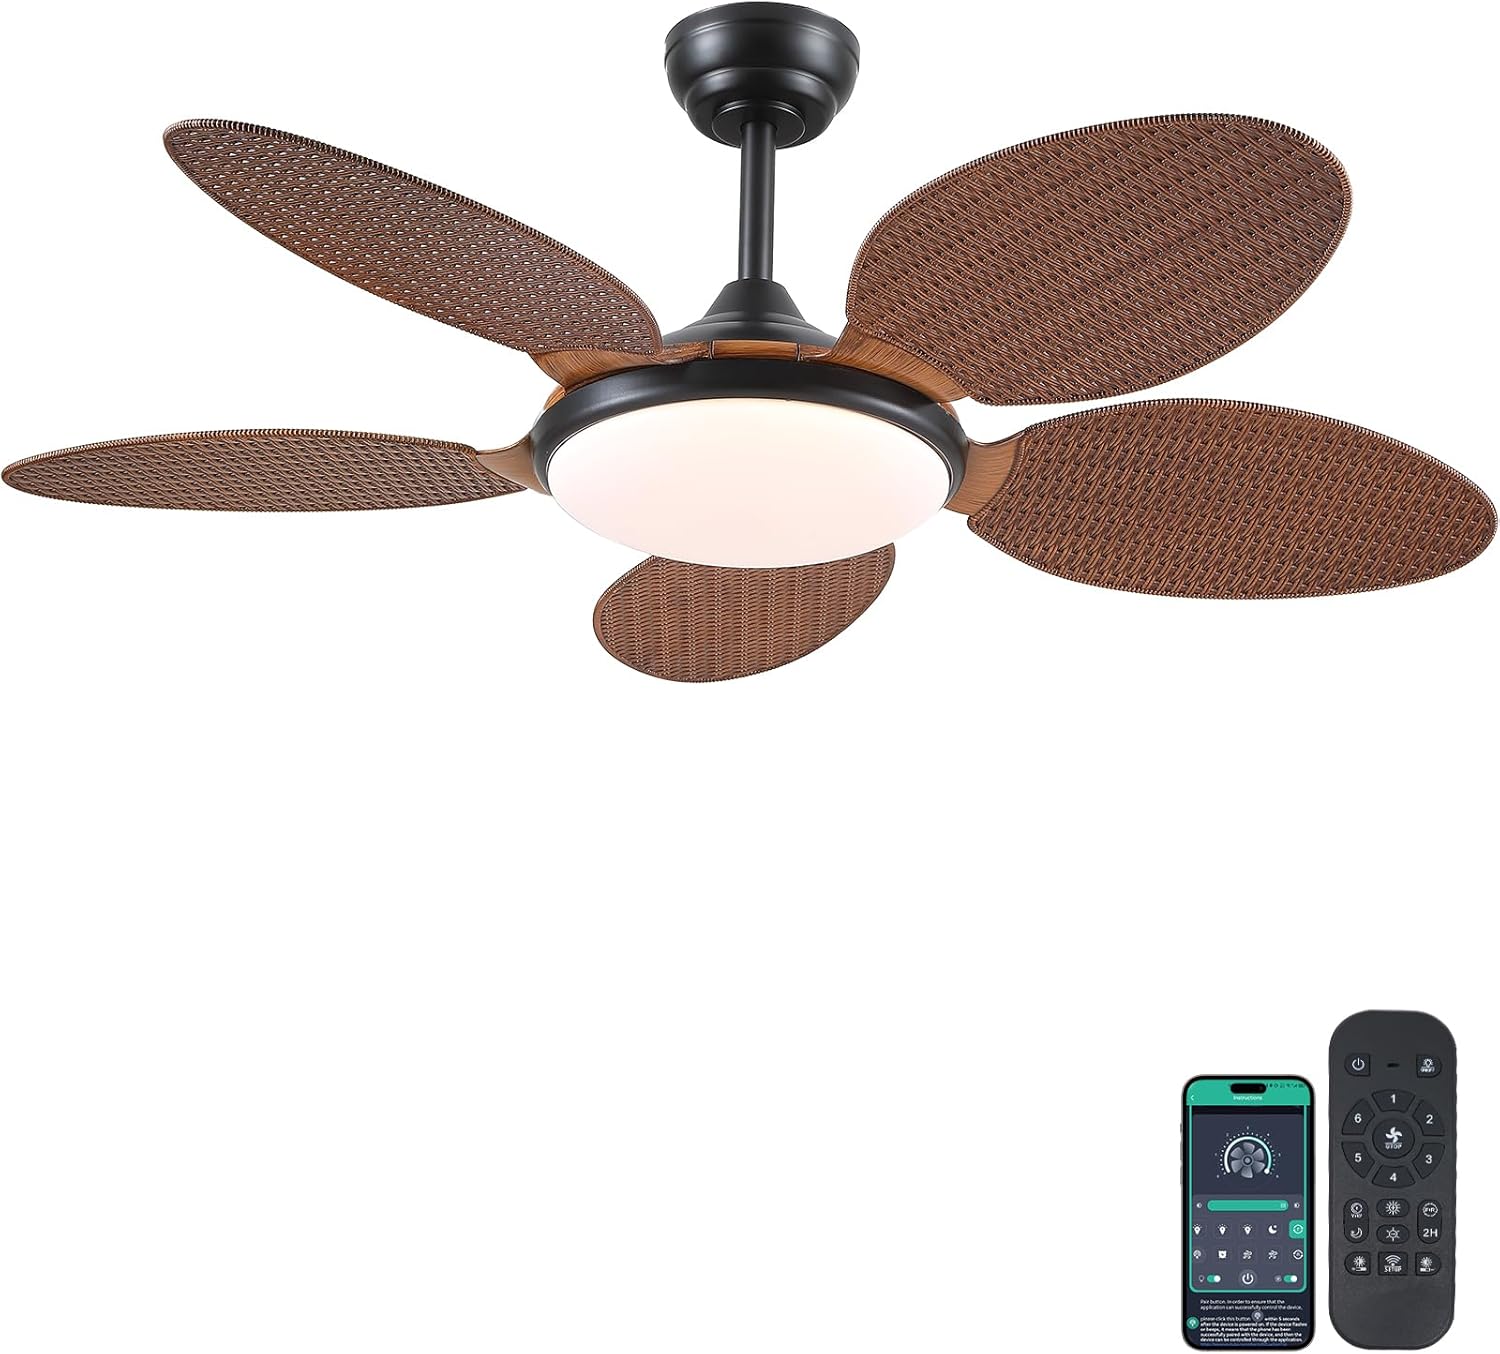
Image 1.1: PHORUS 48-inch Tropical Palm Leaf Ceiling Fan.
2. מידע בטיחות
- ודא שספק הכוח הראשי מנותק לפני התקנה, תחזוקה או ניקוי.
- All electrical connections must comply with local codes and ordinances, as well as national electrical codes. If you are unfamiliar with electrical wiring, consult a qualified electrician.
- The mounting structure must be capable of supporting the weight of the fan (approximately 12.58 pounds) plus the dynamic load during operation.
- אין לכופף את מחזיקי הלהבים במהלך ההתקנה או הניקוי.
- ודא שיש מרווח מספיק בין להבי המאוורר לבין כל מכשול.
- This fan is suitable for use in damp locations but should not be directly exposed to water.
3. תכולת החבילה
ודא שכל הרכיבים המפורטים להלן כלולים בחבילה שלך. אם חסרים או פגומים חלקים כלשהם, אנא פנה לתמיכת הלקוחות.

תמונה 3.1: נגמרview of included components and fan dimensions.
- מכלול גוף המאוורר
- 5 Palm Leaf Blades
- חוּפָּה
- מוטות תמיכה (אפשרויות בגודל 4 אינץ' ו-8 אינץ')
- Lamp צֵל
- שְׁלַט רָחוֹק
- מקלט מרחוק
- תושבת הרכבה
- חבילת חומרה (ברגים, אומים וכו')
- מדריך הוראות
4. התקנה והתקנה
Follow these steps carefully for proper installation. For a visual guide, please refer to the installation video provided below.
4.1. מדריך וידאו להתקנה
Video 4.1: Detailed installation guide for the PHORUS 48-inch Palm Leaf Ceiling Fan with lights.
4.2. התקנה שלב אחר שלב
- Prepare the Fan Body: Attach the LED light board to the fan body assembly using the provided screws.
- חברו את להבי המאוורר: Secure each of the five palm leaf blades to the fan body. Ensure the correct side of the blade is facing upwards as indicated in the video.
- הרכבת מוט הרמה: Insert the downrod through the canopy and secure it to the fan body. Feed the electrical wires through the downrod.
- התקן את תושבת הרכבה: Secure the mounting bracket to your ceiling junction box. Ensure it is firmly attached and can support the fan's weight.
- חיבורי חיווט: Connect the fan's electrical wires to your household wiring. Typically, this involves connecting the black live wire, white neutral wire, and yellow ground wire. Refer to the wiring diagram in the installation video for precise connections.
- תלו את המאוורר: הרם בזהירות את מכלול המאוורר ותלה אותו על תושבת ההרכבה.
- התקן מקלט מרוחק: Place the remote receiver within the canopy, ensuring wires are not pinched. Connect the receiver to the fan and household wiring as per the diagram.
- חופה מאובטחת: החלק את החופה עד לתקרה וחבר אותה לתושבת ההרכבה בעזרת ברגים.
- התקן את L.amp צֵל: צרף את ה-lamp shade to the bottom of the fan body.
The fan is equipped with 4-inch and 8-inch downrods to accommodate various ceiling heights. It can also be used with sloped ceilings up to 15 degrees.
5. הוראות הפעלה
Your PHORUS ceiling fan can be controlled via the included remote control or a smart application on your mobile device.
5.1. פעולת שלט רחוק

Image 5.1: Remote control layout with function descriptions.
The remote control allows you to adjust the following settings:
- הפעלה/כיבוי: הפעל או כבה את המאוורר והתאורה.
- מהירות מאוורר: Select from 6 wind speeds (1-6).
- אור הדלקה/כיבוי: Control the integrated LED light independently.
- טמפרטורת צבע: Adjust between 3 light colors: 3000K (Warm Light), 4500K (Natural Light), and 6000K (White Light).
- התאמת בהירות: עמעמו או הבהירו את האור מ-10% עד 100%.
- פונקציה הפוכה: Change the direction of the fan blades for summer (downdraft) or winter (updraft) modes. Press the F\R key and wait 5-8 seconds for the fan to stop completely and then automatically reverse.
- שָׁעוֹן עֶצֶר: Set a 2-hour timer for automatic shutdown.
Remote Code Pairing:
If your remote control is not responding, you may need to pair it with the fan. Follow these steps:
- Turn off the main power supply to the fan for one minute.
- Turn on the main power supply and simultaneously long-press the code key on the remote control for 3-5 seconds.
- The fan light will blink 2-3 times to indicate successful code matching.
Video 5.2: Instructions for remote code pairing.
5.2. בקרת אפליקציה חכמה
The fan supports control via a smart application. Scan the QR code in Image 5.1 or visit https://www.jasonghost.com/fanlamppro/ to download the "Fan Lamp אפליקציית "פרו".
Video 5.3: Guide for setting up and using the smart app control.
The app provides comprehensive control over fan speeds, light settings (color temperature and brightness), and the reverse function, similar to the remote control. All settings will be remembered after power cycling.

Image 5.4: Customizable light effects and dimming range.

Image 5.5: Fan airflow modes (summer/winter) and 6-speed settings.
6. תחזוקה
תחזוקה שוטפת מבטיחה ביצועים אופטימליים ואורך חיים של מאוורר התקרה שלכם.
- ניקוי: Periodically clean the fan blades and light cover with a soft, damp מטלית. אין להשתמש בחומרי ניקוי שוחקים או ממסים שעלולים לפגוע בגימור.
- להדק מחברים: Check all screws and fasteners on the fan body and mounting bracket annually. Tighten any loose connections to prevent wobbling or noise.
- נִעוּר: Dust the fan motor housing and canopy regularly to prevent dust buildup, which can affect performance.
7. פתרון תקלות
אם נתקלת בבעיות עם המאוורר שלך, עיין בבעיות הנפוצות ובפתרונות הבאים:
| בְּעָיָה | סיבה אפשרית | פִּתָרוֹן |
|---|---|---|
| המאוורר לא מופעל | No power supply; Loose wire connections; Remote not paired. | Check circuit breaker/wall switch; Verify all wire connections are secure; Perform remote code pairing (refer to Section 5.1). |
| האור לא עובד | Loose wire connection; LED driver issue. | בדוק את חיבורי חיווט התאורה; צור קשר עם תמיכת הלקוחות אם יש חשד לדרייבר LED. |
| מאוורר מתנדנד | להבים רופפים או חומרת הרכבה; להבים לא מאוזנים. | Ensure all blade screws and mounting bracket screws are tight; Use a balancing kit (not included) if necessary. |
| השלט רחוק לא מגיב | סוללה חלשה; השלט לא משויך. | Replace AAA batteries (2 required, included); Perform remote code pairing (refer to Section 5.1). |
| רעש מוגזם | ברגים רופפים; בעיה במנוע. | Check and tighten all screws; Ensure blades are securely attached. If noise persists, contact customer support. |
8. מפרטים
- מותג: פורוס
- דֶגֶם: B0FC1SY1B2
- צֶבַע: 48" Dark Brown
- חוֹמֶר: אקריליק, פלסטיק
- סִגְנוֹן: טְרוֹפִּי
- סוג חדר: Bedroom, Dining Room, Garage, Kids Room, Kitchen
- שימוש בפנים/חוץ: פנימי (מתאים ל-damp מיקומים)
- מקור כוח: DC
- מאפיינים מיוחדים: הפעלה באמצעות אפליקציה, תאורת LED, פעולה שקטה, שלט רחוק, טיימר
- שיטת בקרה: אפליקציה, שלט
- מספר מקורות אור: 1
- רכיבים כלולים: Light Kit, Remote Control
- משקל פריט: 12.58 פאונד
- מספר פריטים: 1
- מהtage: 60 וואט
- סוג בקר: בקרת אפליקציה, שלט רחוק
- ספירת יחידות: 1.0 ספירה
- סוג הרכבה: הר תקרה
- נדרשת הרכבה: כֵּן
- גוֹדֶל: Medium (48 inches)
- שימושים מומלצים למוצר: מחזור אוויר
- מידות המוצר: 48 x 48 x 15.15 אינץ'
- סוללות: נדרשות 2 סוללות AAA (כלולות)
9. אחריות ותמיכה
PHORUS provides a one-year quality warranty for this product. We also offer free replacement service for any damage and quality problems encountered during the warranty period. If you have any questions or require assistance, please contact PHORUS customer support for a satisfactory answer within 24 hours.