1. הקדמה
This manual provides essential information for the safe installation, operation, and maintenance of your Aphyni 42 Inch Ceiling Fan with Light. Please read all instructions carefully before beginning installation or use. Keep this manual for future reference.
2. מידע בטיחות
כדי להפחית את הסיכון להתחשמלות, שריפה או פגיעה גופנית, יש להקפיד תמיד על אמצעי הזהירות הבסיסיים הבאים:
- ניתוק חשמל: יש לנתק תמיד את החשמל במפסק הראשי או בתיבת הנתיכים לפני תחילת ההתקנה, הניקוי או כל תחזוקה.
- חשמלאי מוסמך: All electrical wiring must be performed by a qualified electrician and installed in accordance with all national and local electrical codes.
- תמיכת הרכבה: ודא שמבנה ההרכבה יכול לתמוך במשקל המאוורר (כ-10.48 ק"ג).
- מרווח להב: שמרו על מרווח מינימלי של 7 מטרים מהרצפה ועד להבי המאוורר.
- שימוש סביבתי: This fan is designed for indoor use and covered outdoor areas. It is לא מתאים for direct exposure to rain or excessive moisture.
- הימנע מחסימות: Do not operate the fan if there are any obstructions in the path of the blades.
3. תכולת החבילה
ודא שכל הרכיבים קיימים לפני תחילת ההתקנה:
- מכלול מנוע DC
- Fan Blades (5x, dual-sided: White / Wood Grain)
- זרועות להב (5x)
- מקור אור LED
- Lampצֵל
- תושבת הרכבה
- שלט רחוק עם מתקן קיר
- Hardware Pack (screws, washers, wire nuts, installation gloves)
- מדריך לבעלים
4. התקנה והתקנה
Follow these steps for proper installation. It is recommended to have assistance for certain steps.
4.1. הכנה
- כבה את הכוח: Before starting, ensure the power supply to the installation area is completely off at the circuit breaker.
- פרק רכיבים: Carefully remove all items from the packaging and lay them out. Check against the package contents list.
4.2. Motor Cover Removal
Before assembly, remove the motor cover to prevent damage during transportation.

Image: Steps to remove the motor cover and guards, followed by blade assembly.
4.3. Mounting the Ceiling Bracket
Secure the mounting bracket to a ceiling joist or an outlet box approved for fan support. Use appropriate screws and washers from the hardware pack.
4.4. Assembling Fan Blades
Attach each fan blade to a blade arm using the provided screws and washers. The blades are dual-sided (white and wood grain), allowing you to choose your preferred finish. Ensure the chosen side faces downwards.
4.5. Attaching Blade Assemblies to Motor
Once the blades are attached to the arms, secure each blade arm assembly to the motor housing using the designated screws.
4.6. חיבורי חיווט
Carefully connect the fan's electrical wires to the household wiring according to the wiring diagram in the owner's manual. Use the provided wire nuts. Ensure all connections are secure.
4.7. Installing the Light Source and Lampצֵל
Insert the power cord through the LED light source and connect it. Secure the LED light source to the fan motor. Then, attach the lampshade by twisting it into place.
5. הוראות הפעלה
Your Aphyni ceiling fan offers versatile control options via the included remote control or a dedicated mobile application.
5.1. פונקציות שלט רחוק
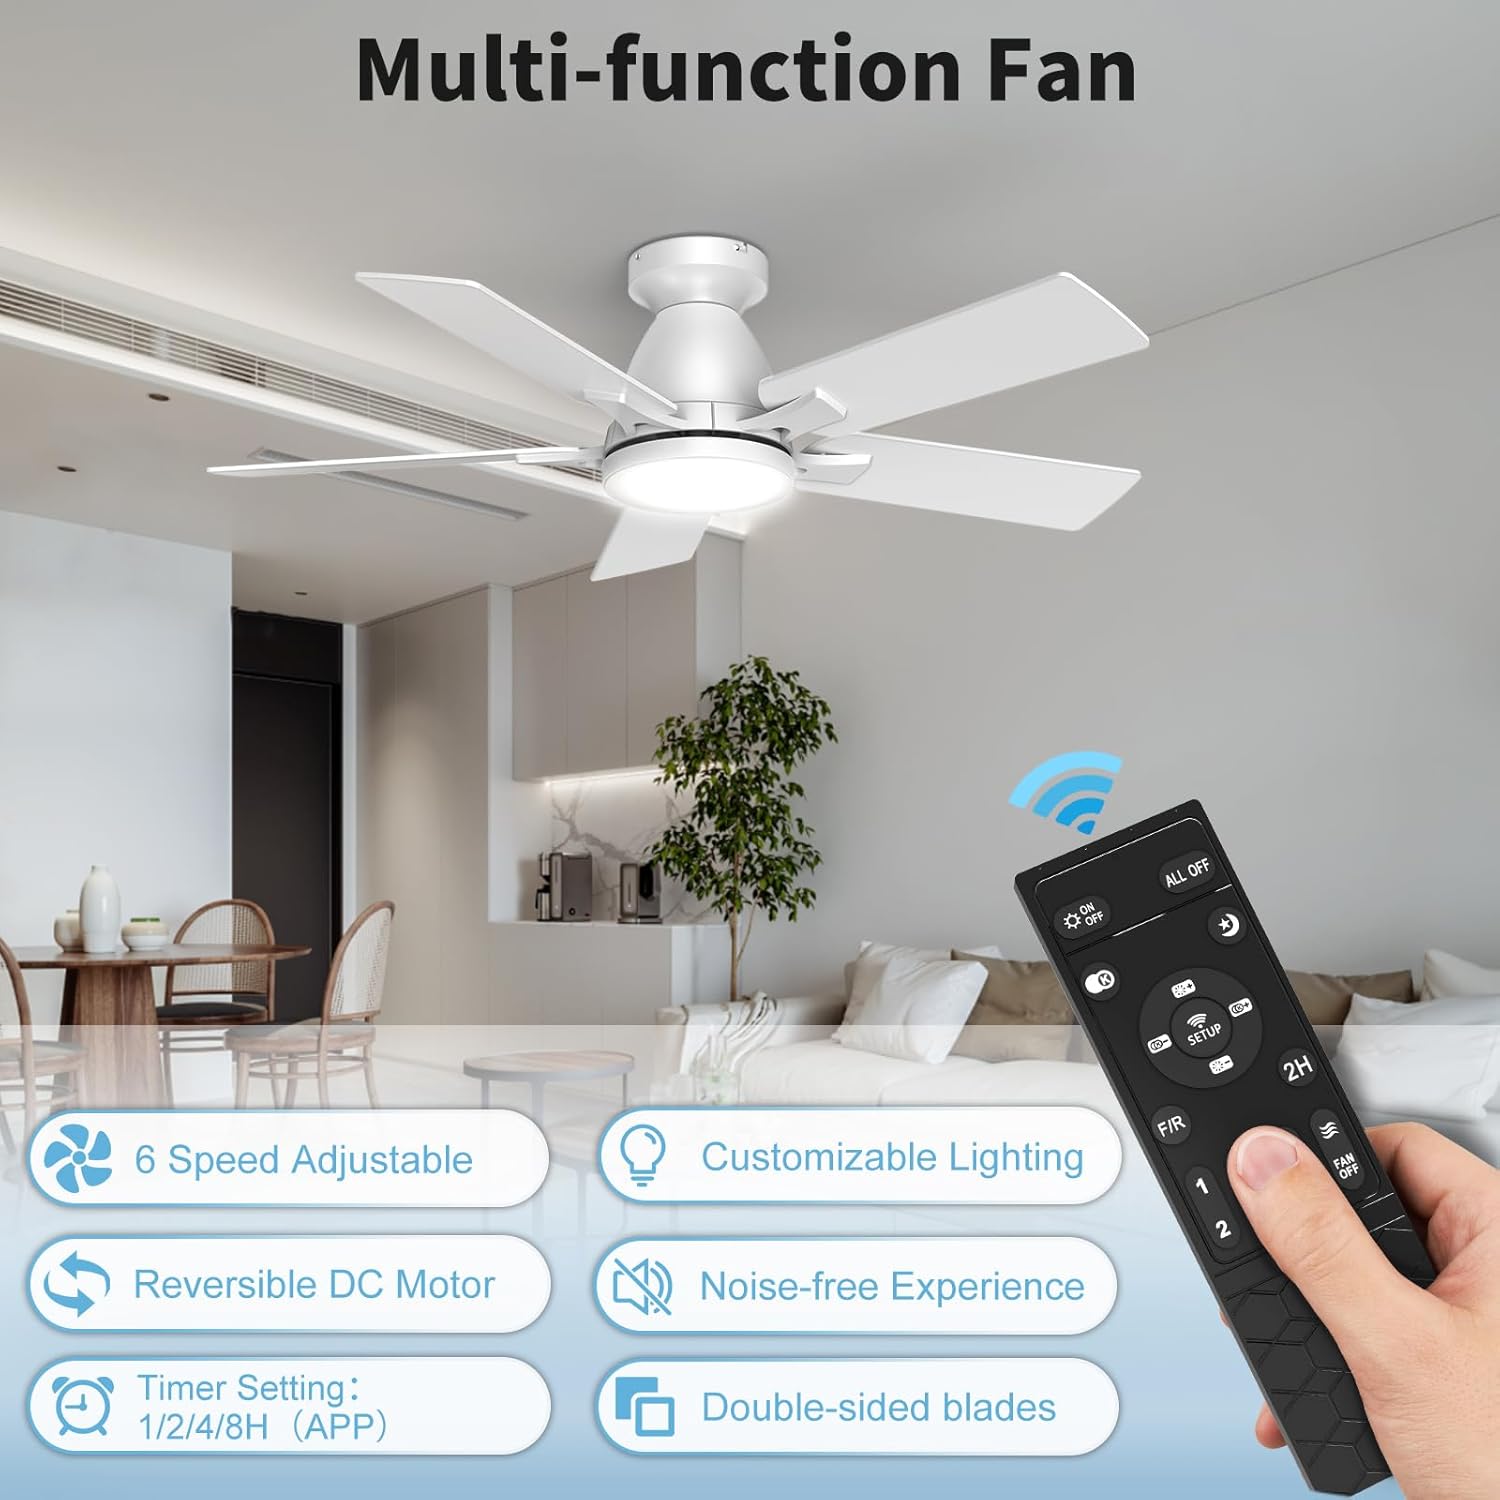
Image: The multi-function remote control for the ceiling fan.
- מהירות מאוורר: Select from 6 adjustable fan speeds (1-6).
- בקרת אור: הדלקה/כבויה של נורית הלד.
- אור ניתן לעמעום: כוונן את עוצמת האור מ-10% עד 100%.
- טמפרטורת צבע (CCT): Cycle through 3 color temperatures: 3000K (Warm White), 4000K (Natural White), and 6500K (Cool White).
- מנוע הפיך: Change fan direction for summer (downdraft) or winter (updraft) mode.
- שָׁעוֹן עֶצֶר: Set a 2-hour timer for automatic shutoff.
5.2. בקרת אפליקציה לנייד
For enhanced control and additional timer options, download the
Ask a question about this manual
Ask about setup, troubleshooting, compatibility, parts, safety, or missing instructions. Manuals+ will review the question and use this page’s manual context to help answer it.