
1. הקדמה
The ASUS Prime B860M-A WiFi-CSM is a micro-ATX motherboard designed to provide a stable and reliable foundation for your PC build. It supports the latest Intel Core Ultra Processors (Series 2) via the Intel LGA 1851 Socket and features DDR5 memory support, PCIe 5.0, two M.2 slots (one supporting PCIe 5.0), Wi-Fi 6E, 2.5Gb Ethernet, and USB Type-C connectivity. This manual provides detailed instructions for setting up, operating, and maintaining your motherboard.
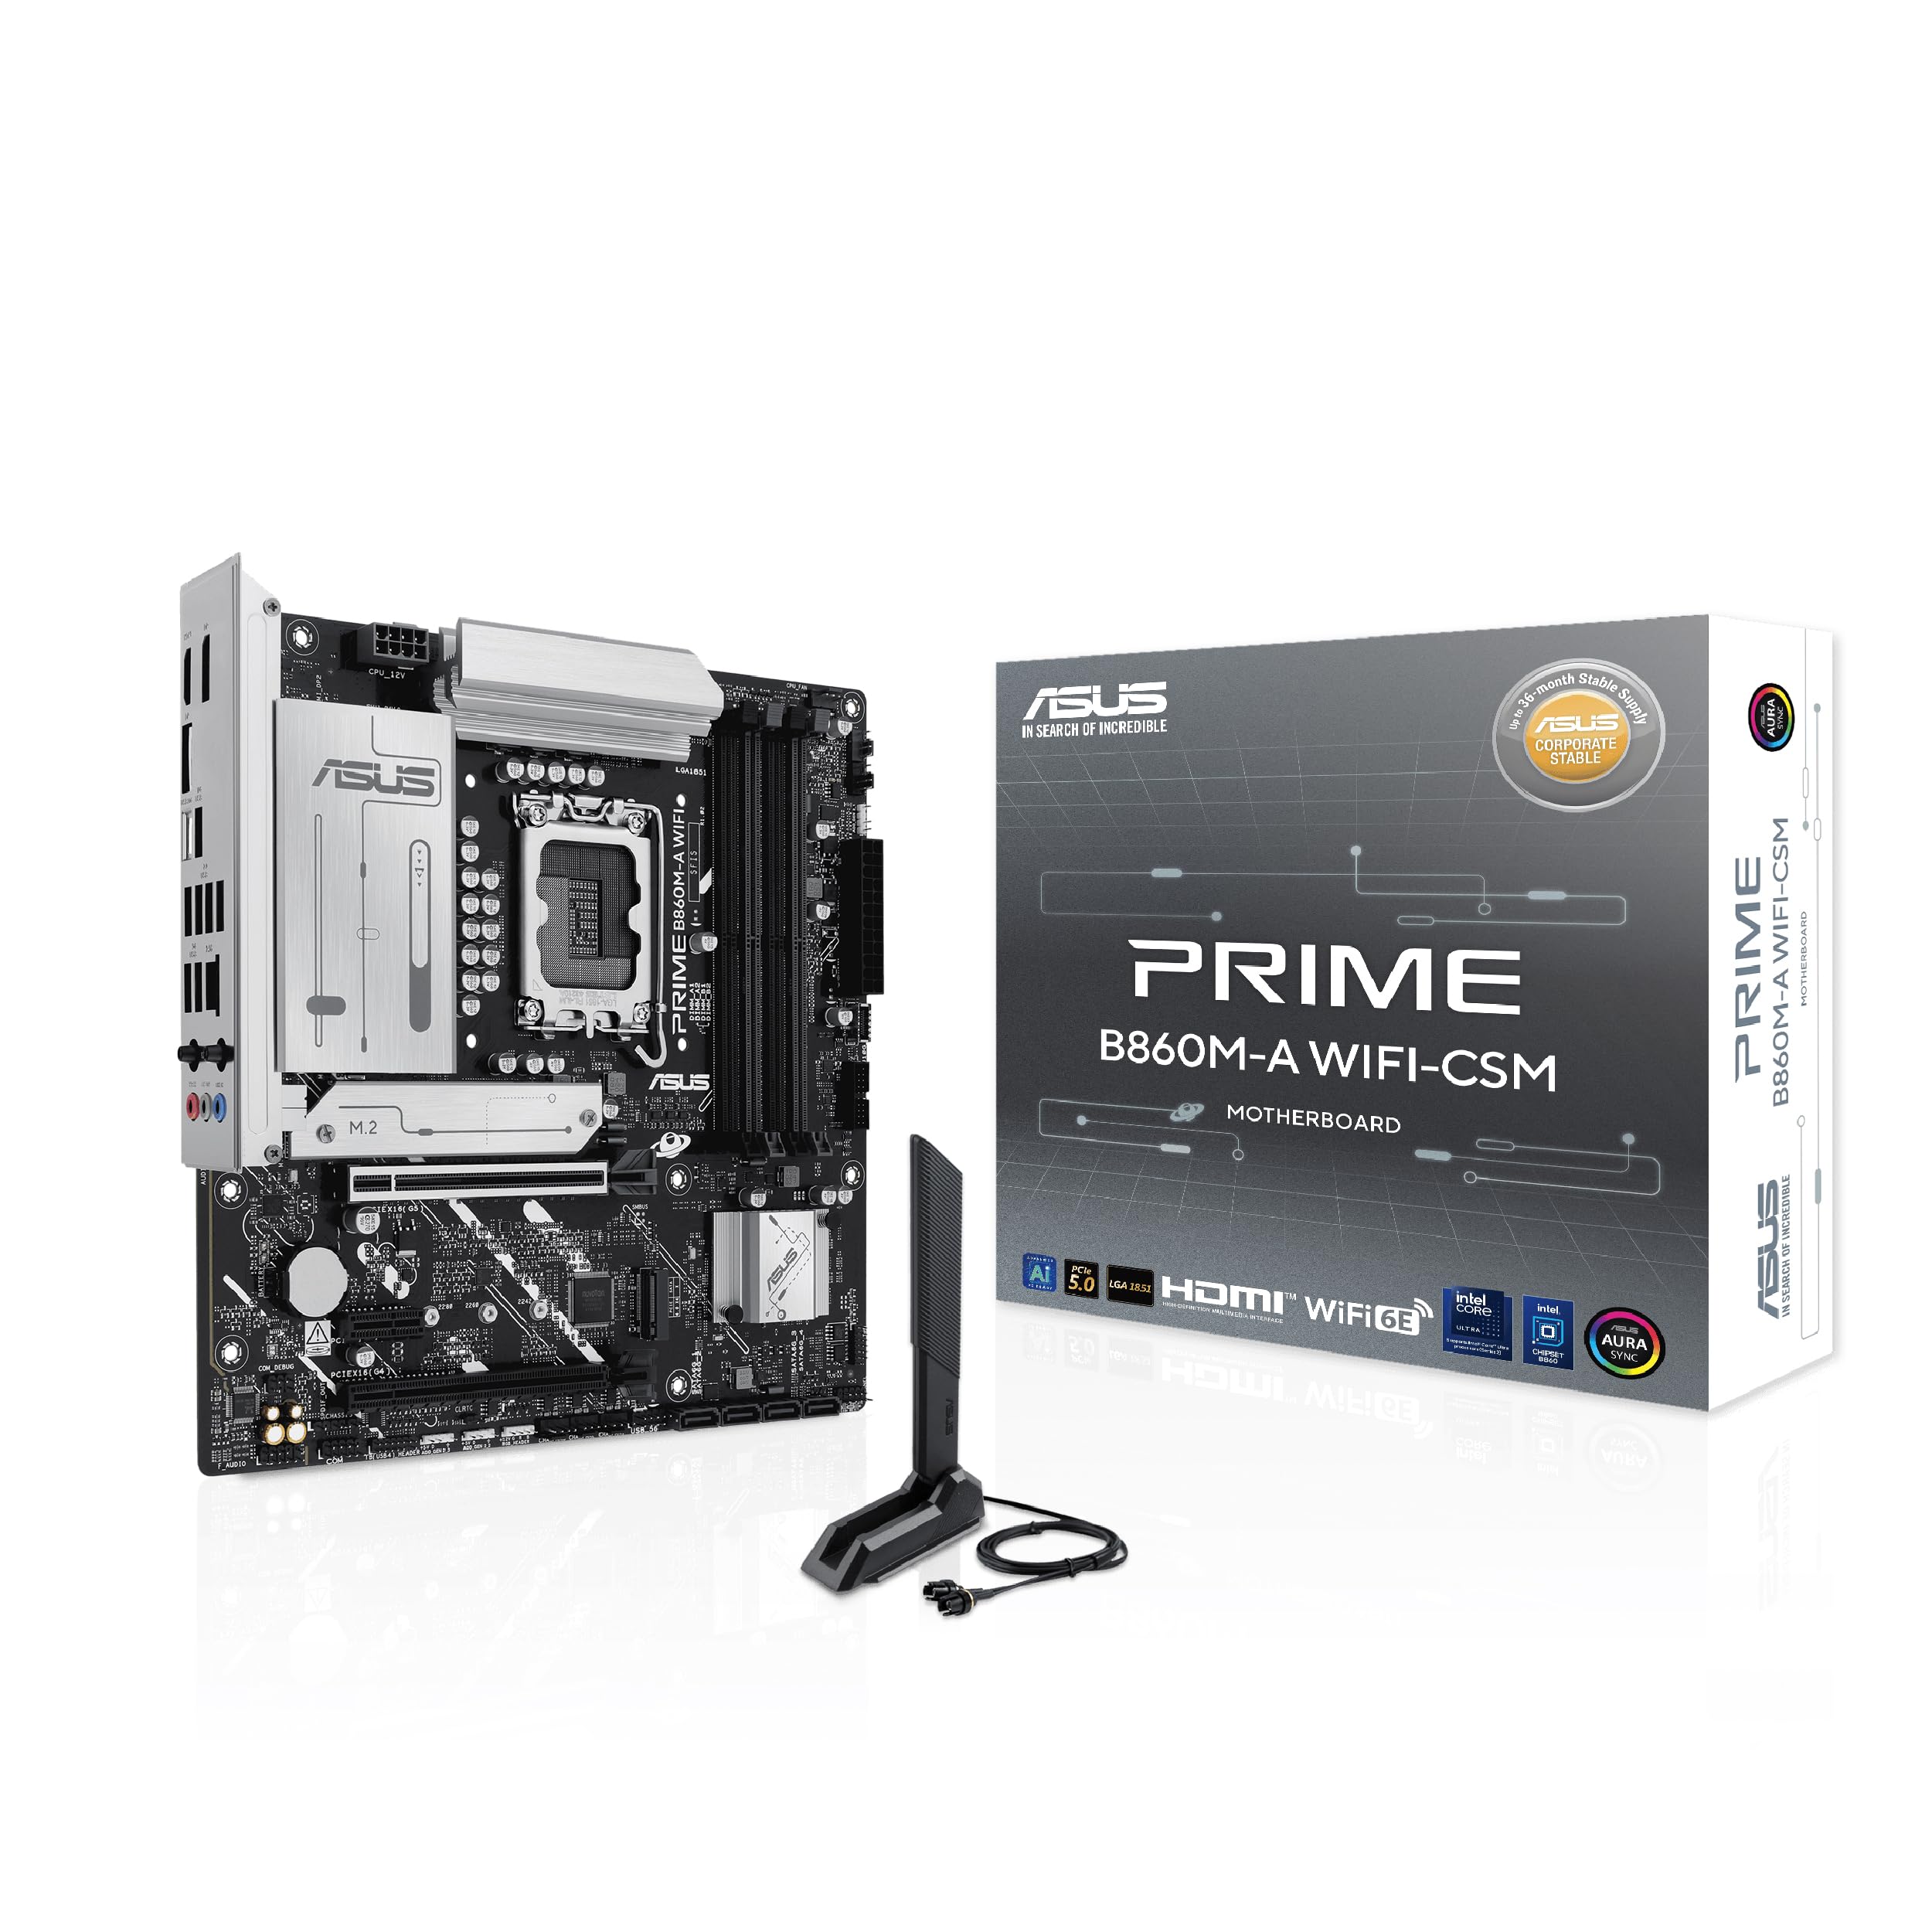
Figure 1: ASUS Prime B860M-A WiFi-CSM Motherboard Overview
תכונות מפתח
- שקע אינטל LGA 1851: Ready for Intel Core Ultra Processors (Series 2).
- תמיכה בזיכרון DDR5: Enhanced performance for demanding applications.
- PCIe 5.0: One PCIe 5.0 x16 slot for next-generation graphics cards and one PCIe 5.0 M.2 slot for high-speed storage.
- חריצי M.2 כפולים: Two M.2 slots, including one with PCIe 5.0 support and an M.2 heatsink to prevent thermal throttling.
- Wi-Fi 6E & 2.5Gb Ethernet: Stable and low-latency network connectivity.
- פתרון כוח חזק: 7+1+1+1 80A DrMOS power stages and 8-pin ProCool power connector for stable power delivery.
- USB Type-C: USB 20Gbps Type-C® port for fast data transfer.
- ASUS Corporate Stable Model (CSM): Designed for stable and reliable operation in commercial environments.

Figure 2: ASUS Corporate Stable Model (CSM) ensures long-term stability and reliability.
2. תכולת החבילה
ודא שכל הפריטים נמצאים באריזת לוח האם שלך. אם פריט כלשהו פגום או חסר, פנה לספק.
- PRIME B860M-A WIFI-CSM Desktop Motherboard
- 2 כבלי SATA 6Gb/s
- אנטנת ASUS WiFi Q אחת
- 1 x חבילת גומי M.2
- חבילת ברגים 1 עבור M.2 SSD
- 1 x כרטיס מפתח הפעלה ACC Express
- 1 x מדריך להתחלה מהירה

Figure 3: Motherboard and included accessories.
3. פריסת לוח האם
Familiarize yourself with the various components and connectors on your ASUS Prime B860M-A WiFi-CSM motherboard.

איור 4: מלמעלה למטה view of the motherboard highlighting key areas.
לוח קלט/פלט אחורי
The integrated I/O panel protects ports, enhances functionality, and provides a clean aesthetic. It includes a variety of ports for connecting peripherals and displays.

Figure 5: Rear I/O panel with diverse connectivity options including USB Type-C 20Gbps, USB Type-A 10Gbps, and USB Type-A 5Gbps ports.
4. התקנה והתקנה
4.1 התקנת מעבד
Carefully align your Intel LGA 1851 processor with the socket on the motherboard. Ensure the notches on the CPU match the alignment keys on the socket. Gently lower the CPU into place and secure it with the retention arm.
4.2 התקנת זיכרון (RAM)
This motherboard supports DDR5 memory modules. Open the retention clips on the DIMM slots. Align the notch on the DDR5 memory module with the key in the DIMM slot. Press down firmly on both ends of the memory module until the clips snap into place.

Figure 6: M.2 slots with varying length support (42mm, 60mm, 80mm) and an M.2 heatsink for optimal performance.
4.3 Storage (M.2 SSDs, SATA Drives) Installation
The motherboard features two M.2 slots. For M.2 SSDs, remove the M.2 heatsink (if present), insert the M.2 SSD into the slot, and secure it with the provided M.2 screw and rubber package. The heatsink protects the M.2 slot, preventing performance degradation (throttling) of M.2 storage due to heat generated during long data transfers. For SATA drives, connect the SATA data cables (included) to the SATA 6Gb/s ports on the motherboard and to your storage devices.
4.4 Expansion Cards (GPU, other PCIe cards)
Insert your graphics card or other PCIe expansion cards into the appropriate PCIe slots. The primary PCIe 5.0 x16 slot features a reinforced metal sheath (SafeSlot) to securely mount video cards and enable high-speed data transfer.

Figure 7: SafeSlot, a reinforced metal sheath, ensures secure mounting and high-speed data transfer for video cards.
4.5 חיבור ציוד היקפי ולוח קדמי
Connect your USB devices, Ethernet cable, audio devices, and front panel connectors (power button, reset button, USB ports, audio jacks) to the corresponding headers on the motherboard. The ASUS WiFi Q-Antenna can be easily snapped into place without needing to turn fasteners, providing stable Wi-Fi connectivity.

Figure 8: The Q-Antenna offers easy installation for stable Wi-Fi connection.
5. הוראות הפעלה
5.1 הגדרת BIOS
The BIOS (Basic Input/Output System) is firmware that initializes your hardware during startup. To enter the BIOS setup utility, press the לִמְחוֹק key during the Power-On Self-Test (POST). Here you can configure system settings, boot order, and monitor hardware status. Refer to the detailed BIOS manual available on the ASUS support website for advanced settings.
5.2 תוכנה ומנהלי התקנים
After installing your operating system, install the necessary drivers for your motherboard components (chipset, audio, LAN, Wi-Fi, etc.) from the included support DVD or the ASUS official website. Installing the correct drivers ensures optimal performance and stability.
5.3 קישוריות
The motherboard supports Wi-Fi 6E for stable wireless connections and 2.5Gb Ethernet for high-speed wired networking. It also features a USB Type-C 20Gbps port, a USB Type-A 10Gbps port, and two USB Type-A 5Gbps ports for diverse connectivity needs.

איור 9: מעלview of connectivity (Wi-Fi 6E, 2.5Gb Ethernet, USB Type-C 20Gbps, PCIe 5.0) and cooling (ASUS Fan Xpert 2+) features.
6. תחזוקה
6.1 מערכת קירור
The motherboard is equipped with multiple heatsinks and hybrid fan headers controlled through ASUS Fan Xpert 2+ to manage temperatures effectively. Ensure proper airflow within your PC case and regularly clean dust from fans and heatsinks to maintain optimal cooling performance.
6.2 עדכוני BIOS
בדוק מעת לעת את התמיכה של ASUS website for BIOS updates. BIOS updates can improve system stability, add support for new hardware, and enhance performance. Follow the instructions provided by ASUS carefully when performing a BIOS update.
7. פתרון תקלות
אם נתקלת בבעיות עם לוח האם שלך, עיין בשלבי פתרון הבעיות הנפוצים הבאים:
- אין חשמל/אין אתחול: Ensure all power cables (24-pin ATX, 8-pin CPU) are securely connected. Check if the power supply is functioning correctly.
- אין תצוגה: Verify that your monitor is connected to the correct display output (HDMI or DisplayPort) on your graphics card or motherboard. Reseat your graphics card and RAM modules.
- חוסר יציבות/קריסות מערכת: Check for loose connections. Ensure all drivers are up-to-date. Test memory modules individually. Monitor CPU and GPU temperatures.
- בעיות קישוריות רשת: Verify Ethernet cable connection or Wi-Fi antenna installation. Ensure network drivers are installed correctly.
- בעיות BIOS: If you cannot enter BIOS or experience unexpected behavior, try clearing the CMOS (Complementary Metal-Oxide-Semiconductor) by removing the CMOS battery for a few minutes or using the Clear CMOS jumper (refer to the motherboard manual for location).
לפתרון בעיות מפורט יותר, עיין במדריך למשתמש המקיף הזמין באתר התמיכה של ASUS webאֲתַר.
8. מפרטים
| תכונה | מִפרָט |
|---|---|
| מותג | ASUS |
| סִדרָה | PRIME B860M-A WIFI-CSM |
| מספר דגם של פריט | PRIME B860M-A WIFI-CSM |
| שקע מעבד | LGA 1851 |
| מעבדים תואמים | מעבדי אינטל Core Ultra (סדרה 2) |
| סוג ערכת שבבים | אינטל B860 |
| טכנולוגיית זיכרון RAM | DDR5 |
| מהירות זיכרון | 8400 מגה-הרץ (OC) |
| מידות המוצר | 9.6 x 9.6 x 1.9 inches (Micro-ATX) |
| משקל פריט | 1.9 פאונד |
| צֶבַע | שָׁחוֹר |
| פּלַטפוֹרמָה | Windows 10, Windows 11 |
9. אחריות ותמיכה
This ASUS motherboard comes with a manufacturer's warranty. For detailed warranty information, including terms, conditions, and registration, please refer to the warranty card included in your package or visit the official ASUS support website. ASUS also provides technical support and driver downloads through their webאֲתַר.
For AI-related features and software, you may find additional information and opportunities to unlock AI potential for your business by visiting the ASUS AI Potential webאֲתַר.