
מָבוֹא
תודה על הרכישהasing the Andoer Digital Camera H12. This manual provides detailed instructions for the proper use and maintenance of your camera. Please read this manual thoroughly before using the camera to ensure optimal performance and longevity.
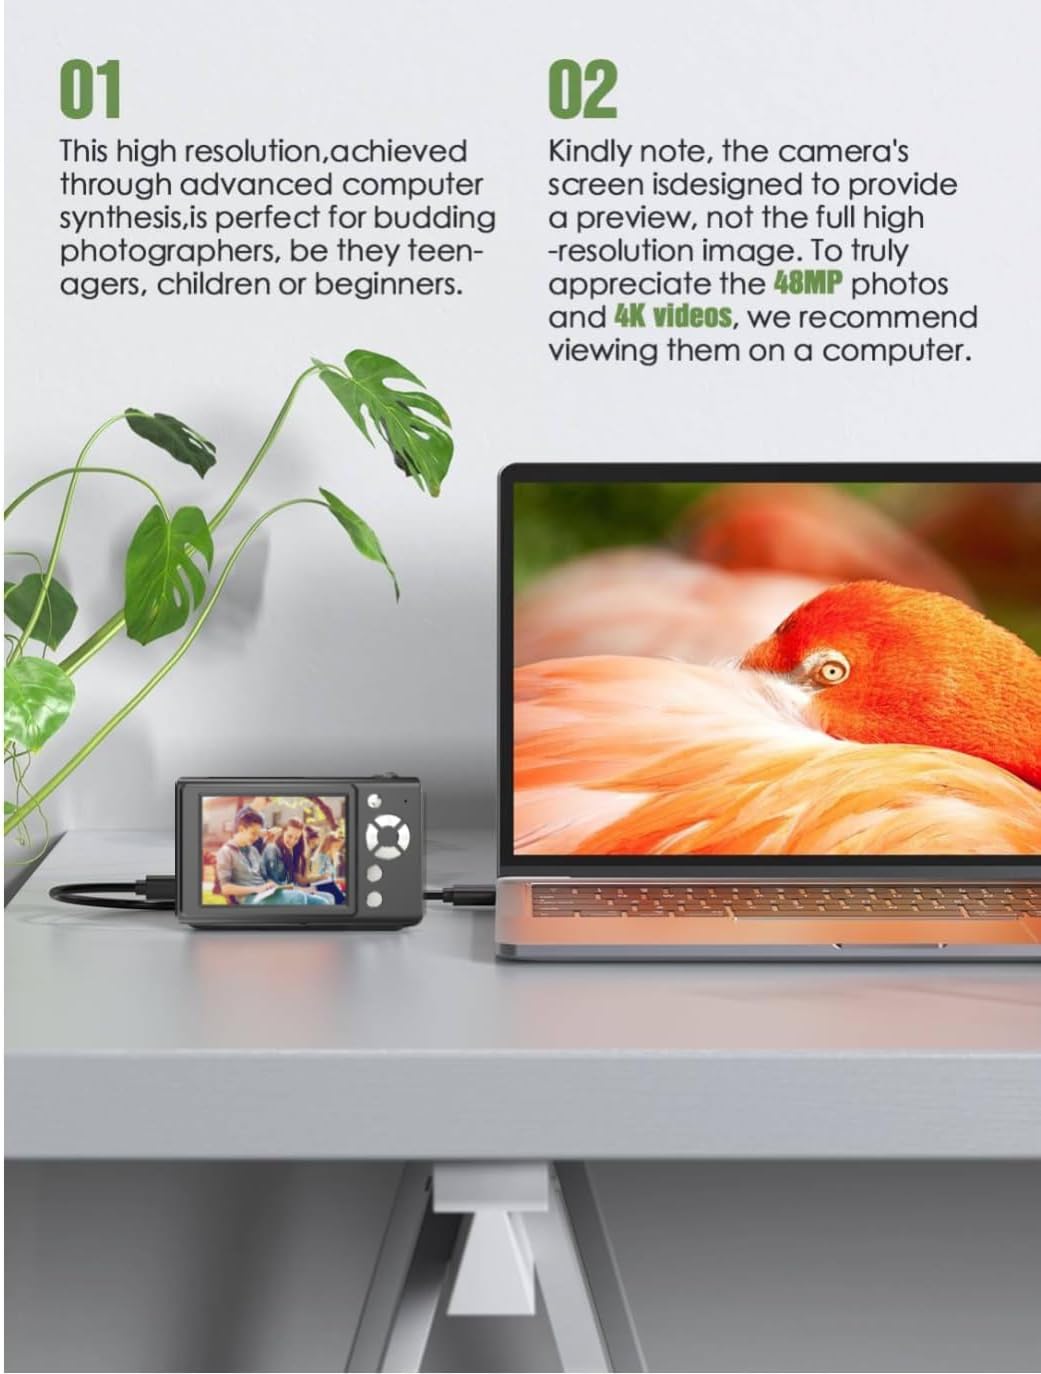
The Andoer H12 is a compact digital point-and-shoot camera featuring 1080P video recording, 48MP photo resolution, 16x digital zoom, autofocus, and an anti-shake function. It is designed for ease of use, making it suitable for various users.
תוכן החבילה
אנא בדקו את תוכן החבילה בעת פתיחת הקופסה כדי לוודא שכל הפריטים נמצאים:
- 1 x Andoer Digital Camera H12
- 1 x כבל USB (סוג C)
- 1 x רצועת היד
- 1 x 32GB כרטיס זיכרון
- 1 x קורא כרטיסים
- 1 x מדריך למשתמש
הגדרה
1. טעינת הסוללה
The camera is equipped with a built-in 3.7V 700mAh lithium battery. Before first use, fully charge the battery.
- Connect the included Type-C USB cable to the camera's USB port.
- חבר את הקצה השני של כבל ה-USB לספק כוח USB (לא כלול) או ליציאת ה-USB של המחשב.
- The charging indicator light will illuminate. Once charging is complete, the indicator light will change or turn off.
פֶּתֶק: A full charge typically takes approximately 2-3 hours. Do not use the camera while it is charging.
2. הכנסת כרטיס הזיכרון
The camera supports TF (MicroSD) cards up to 128GB. A 32GB memory card is included in the package.
- אתר את חריץ כרטיס הזיכרון בצד המצלמה.
- Gently insert the TF card into the slot with the metal contacts facing the front of the camera until it clicks into place.
- כדי להוציא את הכרטיס, דחפו אותו בעדינות פנימה שוב עד שייחלץ.

3. הצמדת רצועת היד
Attach the included wrist strap to the camera for added security and to prevent accidental drops.
- Thread the thin loop of the wrist strap through the strap eyelet on the camera body.
- Pass the larger end of the strap through the thin loop and pull tight to secure it.
הוראות הפעלה
1. הפעלה/כיבוי
- כדי להפעיל, לחץ והחזק את לחצן ההפעלה עד שהמסך יידלק.
- כדי לכבות, לחץ והחזק שוב את לחצן ההפעלה עד שהמסך יכבה.
- The camera features an auto power-off function (off/3 mins/5 mins) which can be configured in the settings.
2. צילום תמונות
- Turn on the camera. The camera will typically start in photo mode.
- Frame your shot using the 2.8-inch IPS display.
- Press the shutter button halfway down to activate autofocus. The camera will recognize and track subjects.
- Once focus is achieved (indicated by a green frame), press the shutter button fully to take the picture.

3. הקלטת סרטונים
- Switch to video mode (refer to the camera's on-screen interface for the mode switch button).
- Press the shutter button to start recording. A red indicator or timer will appear on the screen.
- לחץ שוב על לחצן הצילום כדי להפסיק את ההקלטה.
The camera supports 1080P and 720P video resolutions in AVI format. Loop recording can be set for 3, 5, or 10 minutes.
4. פונקציית זום
Use the zoom buttons (usually marked 'W' for Wide and 'T' for Telephoto) to adjust the 16x digital zoom. This allows you to magnify distant subjects.

5. LED Fill Light
The camera features a built-in ring LED fill light with three lighting modes to assist in low-light conditions.
- אור לבן: Bright, even, and soft illumination.
- אור לבן חם: Pure natural light, soft and comfortable.
- אור צהוב: Warm color adjustment for a warm atmosphere.
Access and cycle through these modes via the camera's menu or a dedicated button (refer to the on-screen interface).

6. פונקציות אחרות
- טיימר סלפי: Options for off, 2s, 5s, or 10s delay before taking a photo.
- צילום רציף: צלם סדרת תמונות במהירות.
- אנטי שייק: מסייע בהפחתת טשטוש הנגרם מתנועת מצלמה.
- אפקטי סינון: Various built-in filters to enhance your photos.
- משחקים: Includes 4 simple games for entertainment.
- השמעת MP3: Download MP3 music to the memory card and play it through the camera.

תַחזוּקָה
- ניקוי גוף המצלמה: השתמשו במטלית רכה ויבשה כדי לנגב את גוף המצלמה. במקרה של לכלוך עיקש, נקו מעטampen the cloth with water and then wipe dry. Avoid using chemical cleaners.
- ניקוי העדשה והמסך: Use a specialized lens cleaning cloth or brush to gently remove dust and smudges. Do not use abrasive materials or excessive force.
- אִחסוּן: When not in use for extended periods, store the camera in a cool, dry place away from direct sunlight and extreme temperatures. Remove the memory card if not in use.
- טיפול בסוללה: הימנעו מפריקת הסוללה באופן מלא לעתים קרובות. טען את הסוללה באופן קבוע, גם אם המצלמה אינה בשימוש, כדי לשמור על תקינותה.
- עמידות במים: המצלמה הזו היא לא עמיד במים. Avoid exposure to water, rain, or high humidity.
פתרון בעיות
| בְּעָיָה | סיבה אפשרית | פִּתָרוֹן |
|---|---|---|
| המצלמה לא נדלקת. | הסוללה התרוקנה או לא טעונה. | Charge the camera battery fully using the provided USB cable. |
| Cannot take photos/record videos. | Memory card is full, not inserted correctly, or corrupted. | Check if the memory card is inserted correctly. Delete unnecessary files or replace the memory card. Format the card if necessary (this will erase all data). |
| התמונות מטושטשות. | Autofocus failed, camera shake, or dirty lens. | Ensure autofocus is engaged. Hold the camera steady or use the anti-shake function. Clean the lens with a soft cloth. |
| המסך ריק או קפוא. | System error or temporary malfunction. | Press and hold the power button for 10 seconds to force a shutdown, then restart the camera. If the issue persists, contact customer support. |
| לא ניתן להעביר fileלמחשב. | Incorrect cable connection or driver issue. | Ensure the USB cable is securely connected. Try a different USB port or computer. Use the included card reader to transfer files ישירות מכרטיס הזיכרון. |
מפרטים
| תכונה | פְּרָט |
|---|---|
| שם הדגם | H12 |
| לְהַצִיג | 2.8 אינץ' IPS LCD |
| רזולוציית תמונה | Up to 48MP (48M, 40M, 24M, 20M, 18M, 16M, 12M, 10M, 8M, 5M, 3M, 2M, 1M) |
| פורמט תמונה | JPG |
| רזולוציית וידאו | 1080P, 720P |
| פורמט וידאו | AVI |
| זום דיגיטלי | 16X |
| פוקוס אוטומטי | Yes (Contrast Detection, 9 points) |
| ייצוב תמונה | אוֹפּטִי |
| סוג חיישן | CMOS (1/4 אינץ') |
| אִחסוּן | TF card, max. 128GB (32GB included) |
| סוֹלְלָה | Built-in Lithium Battery (3.7V 700mAh) |
| ממשק טעינה | USB Type-C |
| טיימר עצמי | Off/ 2s/ 5s/ 10s |
| כיבוי אוטומטי | Off/ 3 mins/ 5 mins |
| הקלטת לולאה | 3 mins/ 5 mins/ 10 mins |
| תכונות מובנות | LED Fill Light (3 modes), Filter Effects, 4 Games, MP3 Playback |
| גודל מוצר | 103 x 31 x 65 מ"מ |
| משקל המוצר | 149g (camera body) / 260g (item weight including packaging/accessories) |
| רמת עמידות במים | לא עמיד במים |
מידע על אחריות
The Andoer Digital Camera H12 comes with a אחריות לשנה מתאריך הרכישה. אחריות זו מכסה פגמי ייצור ותקלות בשימוש רגיל. היא אינה מכסה נזק שנגרם כתוצאה משימוש לרעה, תאונות, תיקונים לא מורשים או אסונות טבע.
אנא שמור את הוכחת הרכישה שלך עבור תביעות אחריות.
תמיכת לקוחות
If you encounter any issues or have questions not covered in this manual, please contact Andoer customer support. You can typically find support contact information on the official Andoer webבאתר או דרך הקמעונאי שלך.
לסיוע נוסף, אנא בקרו באתר Andoer Store on Amazon.