1. הקדמה
This manual provides detailed instructions for the installation, operation, and maintenance of your Denash X79SE Plus LGA 2011 Motherboard. This motherboard is designed to support Xeon E5 V1 V2 series processors and DDR3 memory, offering robust performance for various computing needs. Please read this manual thoroughly before installation and use to ensure proper setup and functionality.
2. תכונות עיקריות
- NVME M.2 Interface: Equipped with an NVME M.2 hard drive interface, providing theoretical bandwidth up to 4 Gbit/s for high-speed storage.
- שקע LGA 2011: Supports Xeon E5 V1 V2 series processors.
- חריץ PCIe 3.0 x16: Features a dedicated slot for graphics cards, ensuring high-performance visual output.
- Gigabit-Ethernet: Integrated RTL8111H Gigabit LAN for stable and fast network connectivity.
- תמיכה בזיכרון DDR3: Four DDR3 memory slots supporting up to 128GB (1066/1333/1600 MHz).
- 8-Layer PCB Design: Constructed with an 8-layer printed circuit board for enhanced stability and reliability.
- High-Capacity Power Supply: Utilizes a robust 1x8 and 1x24 pin power supply design for stable performance.
- יציאות USB 2.0: Includes six USB 2.0 ports for peripheral connectivity.

Figure 2.1: M.2 NVME/NGFF Slot for high-speed storage.

Figure 2.2: Gigabit Ethernet port for reliable network connection.

Figure 2.3: Solid capacitors ensuring stable power delivery and extended motherboard life.

Figure 2.4: Illustration of the durable 8-layer PCB material.
3. התקנה והתקנה
3.1 תכולת החבילה
ודא שכל הפריטים נמצאים בחבילה שלך:
- 1 x Denash X79SE Plus Motherboard
- 1 x I/O Backplate
- 1 x כבל נתונים SATA

Figure 3.1: Motherboard, I/O backplate, and SATA cable included in the package.
3.2 פריסת לוח האם
הכירו את הרכיבים והמחברים השונים בלוח האם.
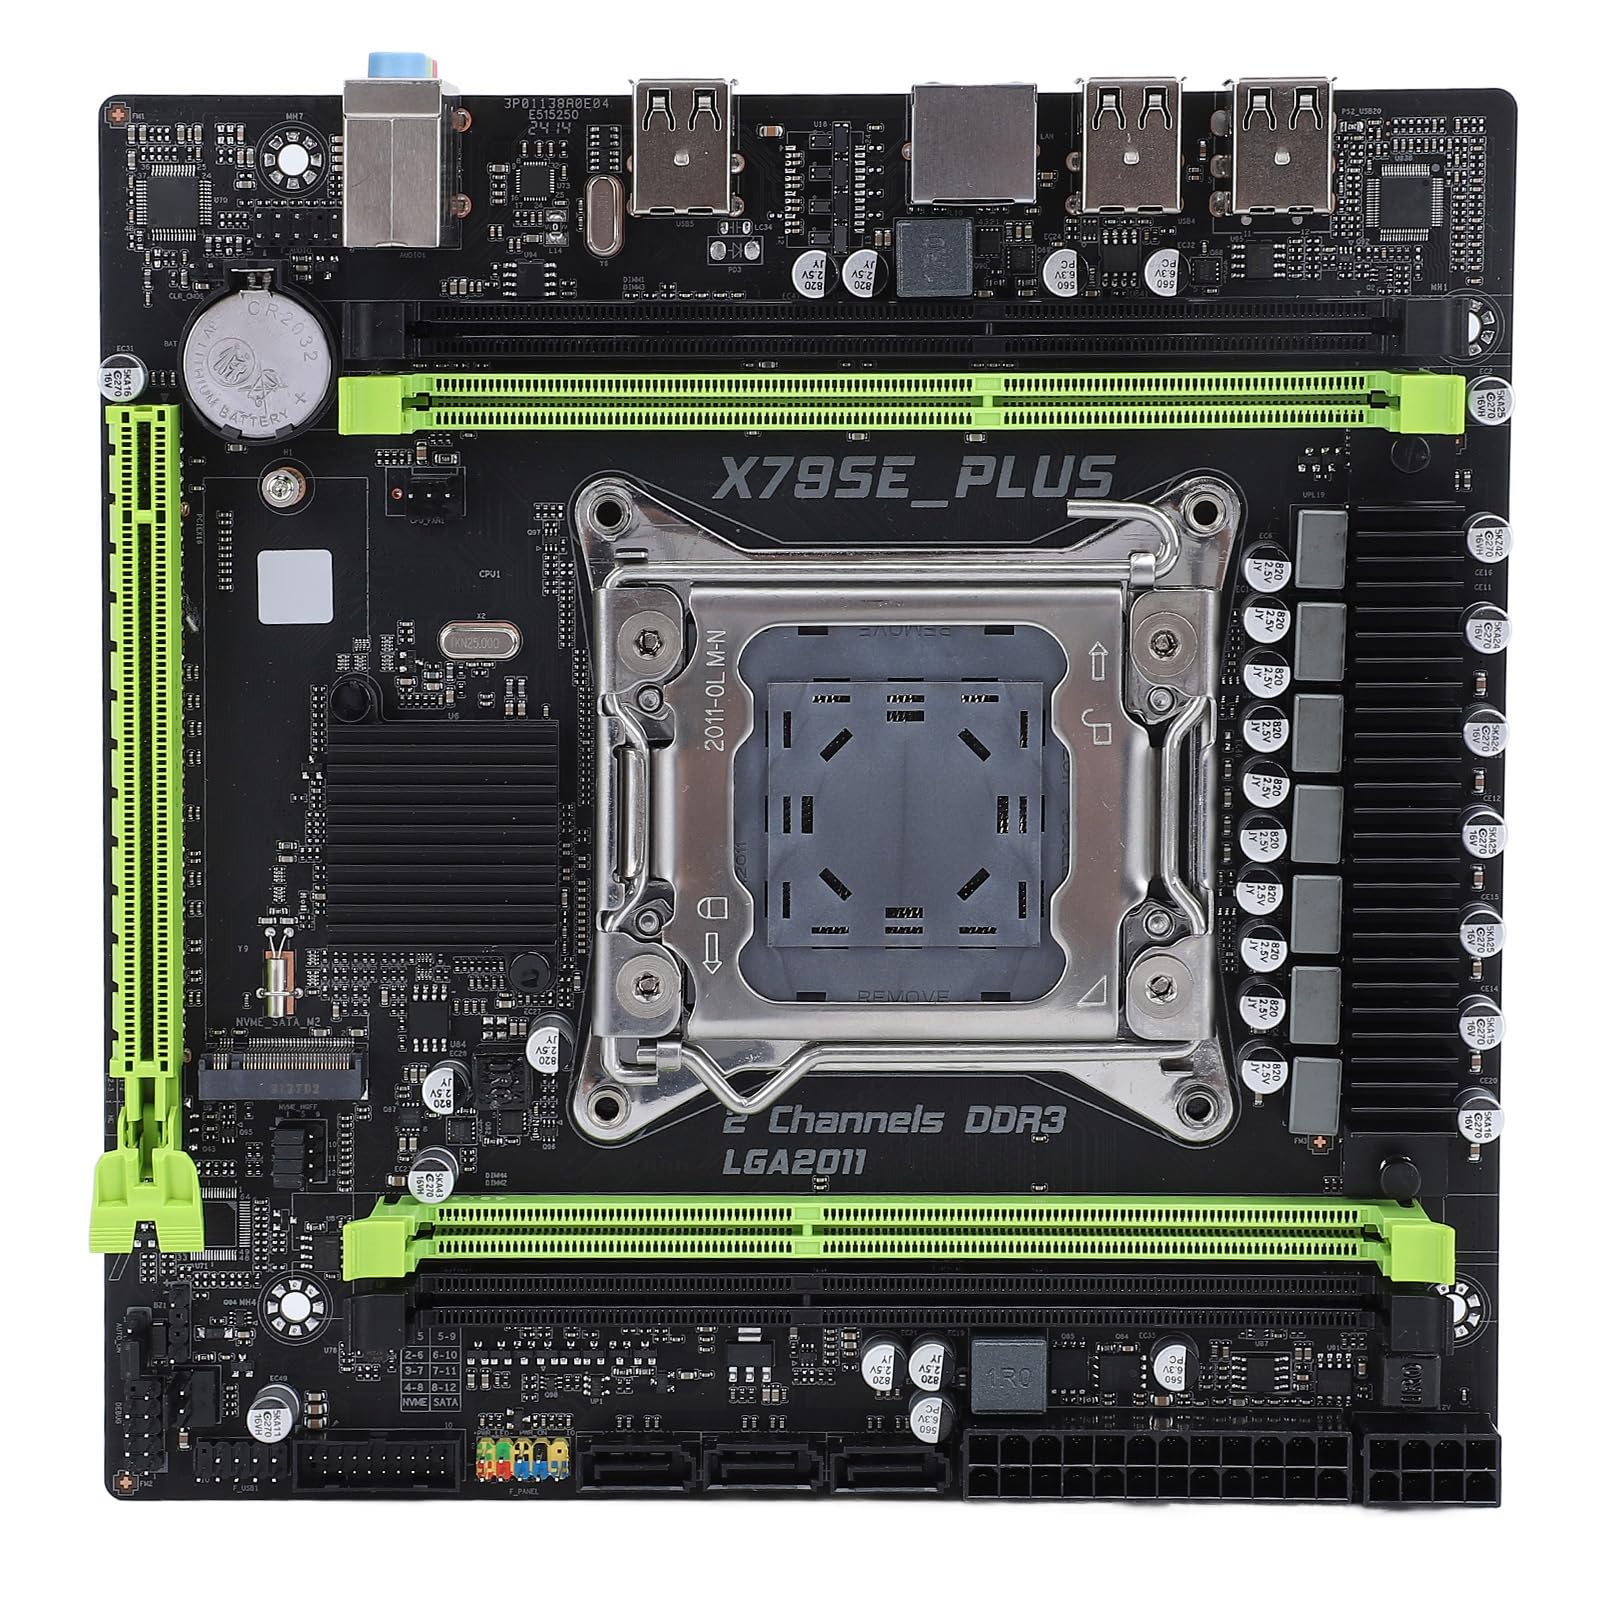
איור 3.2: מעלview of the Denash X79SE Plus motherboard.
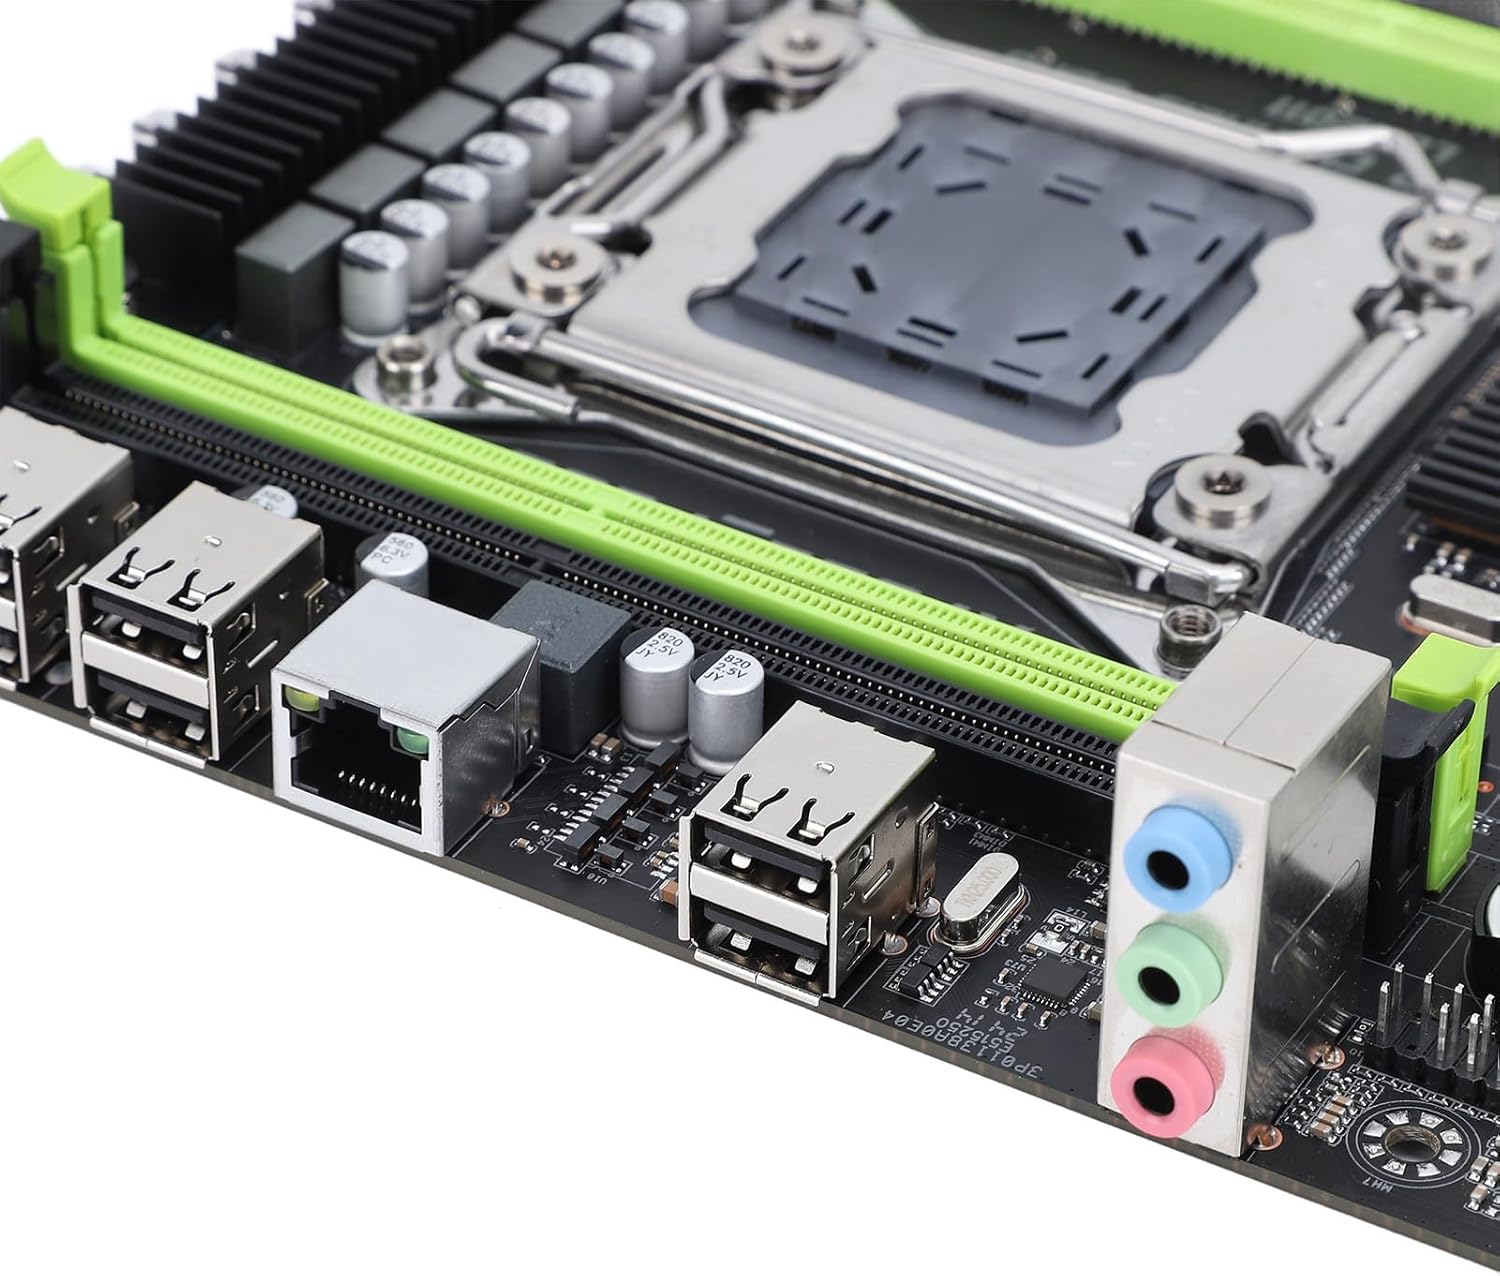
Figure 3.3: Rear I/O panel with USB, Ethernet, and audio ports.

Figure 3.4: SATA 2.0 ports and DDR3 memory slots.
3.3 Component Installation Guide
בצע את השלבים הבאים כדי להתקין רכיבים חיוניים על לוח האם שלך:
- התקנת מעבד:
- פתח בזהירות את ידית שקע המעבד LGA 2011.
- Align the CPU (Xeon E5 V1/V2 series) with the socket, ensuring the triangular mark on the CPU matches the mark on the socket.
- הכנס בעדינות את המעבד לשקע מבלי ללחוץ עליו בכוח.
- סגור את ידית השקע כדי לאבטח את המעבד.
- מרחו משחה תרמית והתקינו את מקרר המעבד.
- התקנת זיכרון (DDR3):
- פתחו את הקליפסים בשני קצוות חריצי זיכרון DDR3.
- Align the memory module's notch with the slot's key.
- לחץ בחוזקה על שני קצוות מודול הזיכרון עד שהקליפסים יתייצבו במקומם.
- התקנת התקן אחסון:
- SSD מסוג M.2 NVME: Insert the M.2 SSD into the M.2 slot at an angle, then push it down and secure it with a screw.
- כונני SATA: Connect SATA data cables from your storage drives (HDD/SSD) to the SATA 2.0 ports on the motherboard. Connect SATA power cables from your power supply to the drives.
- Graphics Card (PCIe 3.0 x16) Installation:
- פתח את קליפס הקיבוע בחריץ PCIe 3.0 x16.
- יישר את כרטיס המסך עם החריץ ולחץ בחוזקה עד שהוא ייכנס במקומו לחלוטין ותפס הקיבוע יינעל.
- Secure the graphics card to your PC case with a screw.
- חיבור אספקת חשמל:
- חבר את מחבר החשמל ATX בעל 24 הפינים מספק הכוח שלך לשקע החשמל הראשי בלוח האם.
- Connect the 8-pin CPU power connector to the corresponding socket near the CPU.
- חבר את כל כבלי החשמל הנוספים הנדרשים עבור כרטיס המסך או רכיבים אחרים.
- מחברי לוח קדמי:
- Connect the front panel headers (power button, reset button, HDD LED, power LED, USB 2.0, audio) from your PC case to the corresponding pins on the motherboard. Refer to your PC case manual for specific pin assignments.
4. הוראות הפעלה
4.1 הפעלה ראשונה
After assembling all components and connecting power, press the power button on your PC case. The system should power on, and you should see a display on your monitor.
4.2 הגדרת BIOS
To enter the BIOS/UEFI setup utility, press the designated key (usually DEL or F2) during the initial boot sequence. In the BIOS, you can configure boot order, system time, CPU settings, and other hardware parameters.
4.3 התקנת מערכת הפעלה
Once the BIOS is configured, you can proceed with installing your preferred operating system (e.g., Windows, Linux). Boot from your OS installation media (USB drive or DVD) and follow the on-screen instructions.
5. תחזוקה
5.1 ניקוי
נקו את פנים המחשב באופן קבוע כדי למנוע הצטברות אבק, אשר עלול להוביל להתחממות יתר ולירידה בביצועים. השתמשו באוויר דחוס כדי להסיר אבק ממאווררים, גופי קירור ורכיבים אחרים. ודאו שהמערכת כבויה ומנותקת מהחשמל לפני הניקוי.
5.2 עדכוני BIOS
BIOS updates can provide improved compatibility, stability, and new features. Check the manufacturer's website for the latest BIOS versions and follow their instructions carefully. Incorrect BIOS updates can damage your motherboard.
6. פתרון תקלות
6.1 בעיות נפוצות
- אין כוח:
- בדוק את כל חיבורי החשמל (ATX 24 פינים, מעבד 8 פינים, כרטיס מסך).
- ודא שמתג ספק הכוח נמצא במצב 'ON'.
- ודא את חיבור כפתור ההפעלה בלוח הקדמי ללוח האם.
- אין תצוגה:
- Ensure the monitor is connected to the graphics card (not the motherboard's integrated graphics, if applicable).
- התקן מחדש את כרטיס המסך ואת מודולי הזיכרון.
- בדוק עם צג או כבל תצוגה אחר.
- חוסר יציבות/קריסות מערכת:
- בדוק את טמפרטורות המעבד והגרפי.
- ודא שכל הרכיבים מותקנים כראוי.
- הפעל כלי אבחון זיכרון.
- Update drivers for all components.
- התקן אתחול לא נמצא:
- Check SATA/M.2 cable connections to storage drives.
- Verify boot order in BIOS.
- ודא שמערכת ההפעלה מותקנת כהלכה על הכונן.
7. מפרט טכני
| תכונה | מִפרָט |
|---|---|
| מותג | דנאש |
| שם הדגם | X79SE Plus |
| מספר דגם | Denashsh8g1qz45g |
| שקע מעבד | LGA 2011 (Supports Xeon E5 26XXV1/V2) |
| חריצי זיכרון | 4 x DDR3 (Max 128GB, 1066/1333/1600 MHz) |
| ממשק SATA | 3 x SATA 2.0 |
| M.2 חריצים | 1 x M.2 2280 NVMe 3.0x4, 1 x M.2 2280 NGFF SATA 2.0 Protocol Port SSD |
| חריץ לכרטיס המסך | 1 x PCIe 3.0 x16 |
| שבב שמע | HD 5.1 Channel Sound Chip |
| כרטיס רשת | 1 x Gigabit Ethernet (RTL8111H) |
| יציאות USB | 6 x USB 2.0 |
| גורם צורה | מיקרו ATX |
| סוללה משולבת | CR2032x1 240 mAh |
| אַחֲרָיוּת | 2 years manufacturer |
8. אחריות ותמיכה
The Denash X79SE Plus LGA 2011 Motherboard is covered by a אחריות יצרן לשנה from the date of purchase. This warranty covers defects in materials and workmanship under normal use. For warranty claims or technical support, please contact your retailer or the manufacturer directly. Keep your proof of purchase for warranty validation.