
מָבוֹא
This manual provides comprehensive instructions for the installation, operation, and maintenance of your AVer TR333V2 4K PTZ Camera. Please read this manual thoroughly before using the product to ensure proper setup and optimal performance. Keep this manual for future reference.
הגדרה
1. פריקה ובדיקה
הוצא בזהירות את כל הרכיבים מהאריזה. ודא שכל הפריטים המפורטים ברשימת האריזה קיימים ולא ניזוקו. אם חסרים או ניזוקו פריטים כלשהם, פנה מיד לסוכן שלך.
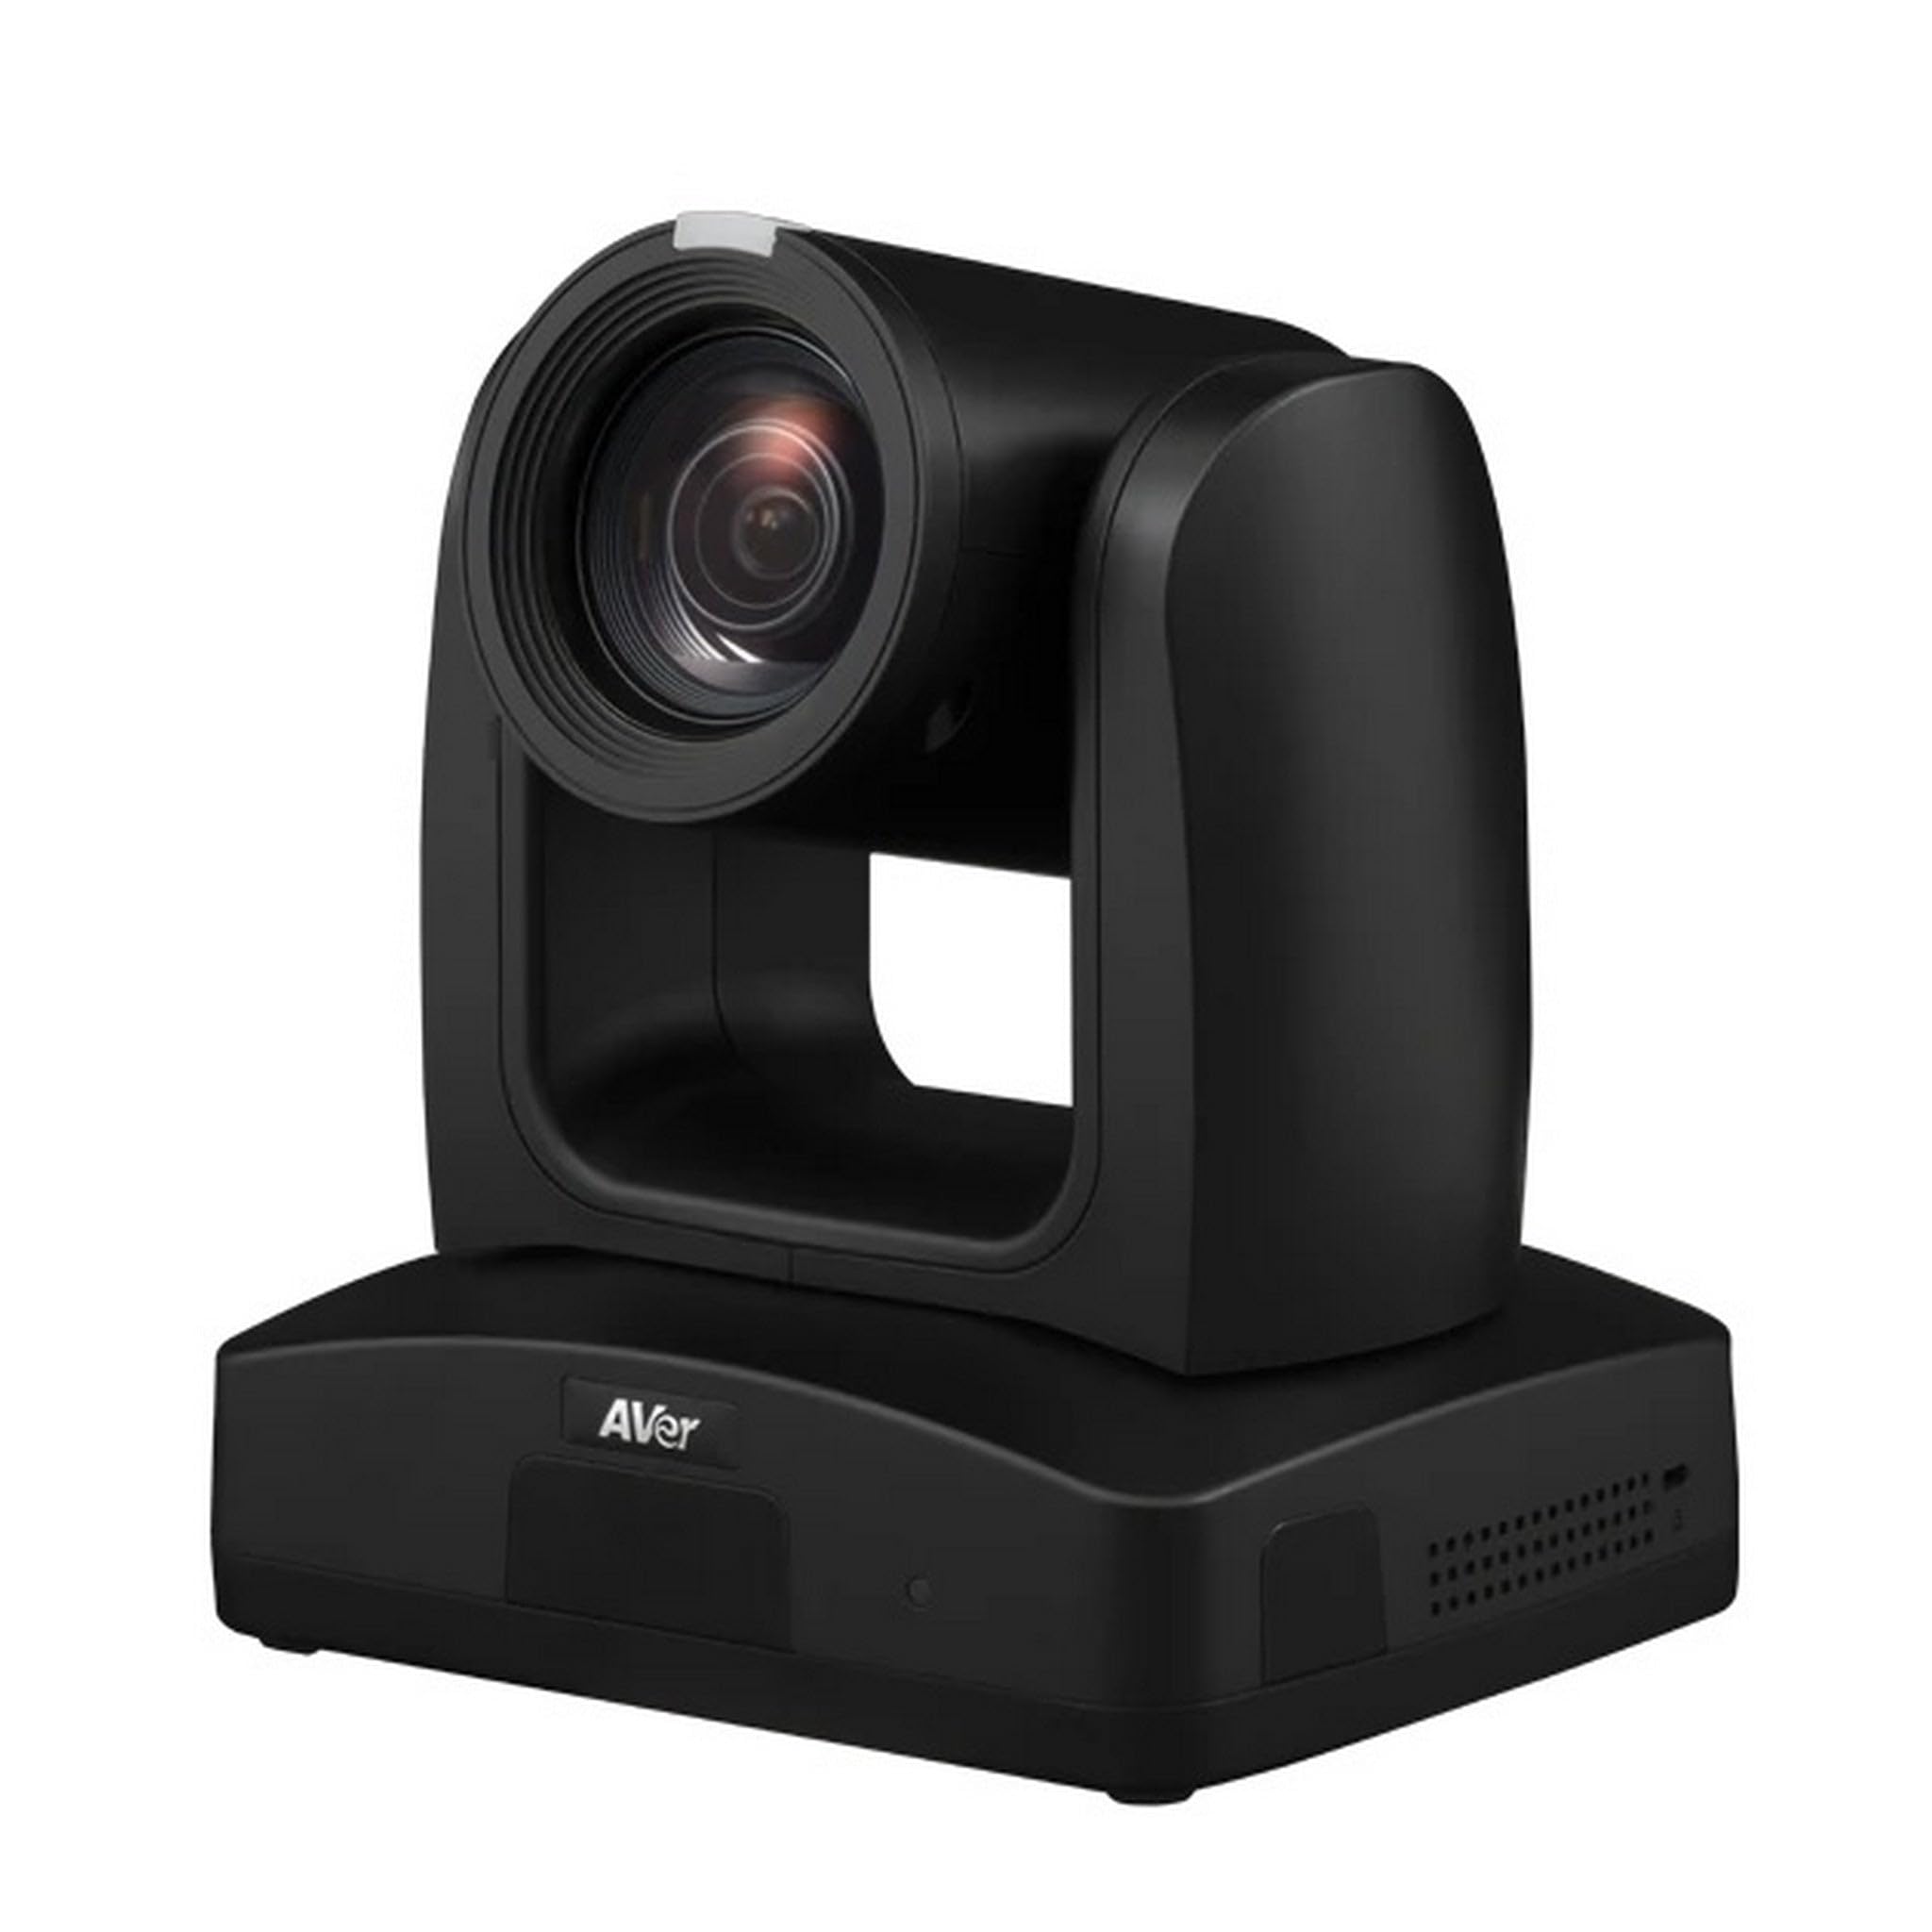
Figure 1: AVer TR333V2 4K PTZ Camera. This image shows the front view of the camera, highlighting its lens and general form factor.
2. התקנה פיזית
The TR333V2 camera can be installed in various configurations, including desktop, wall-mount, or ceiling-mount. Ensure the mounting surface is stable and can support the camera's weight. Use appropriate mounting hardware (not included unless specified by your dealer).
- מיקום בשולחן העבודה: Place the camera on a flat, stable surface. Ensure adequate ventilation around the unit.
- מתקן קיר/תקרה: Securely attach the camera to a wall or ceiling using a compatible mounting bracket. Follow the bracket's specific installation instructions. Ensure the camera is level and oriented correctly for your desired field of view.
3. חיבור כבלים
Connect the necessary cables to the camera's rear panel. Refer to the port labels for correct connections.
- כּוֹחַ: Connect the provided power adapter to the DC IN port and then to a power outlet.
- פלט וידאו: Connect an HDMI, SDI, or IP cable to your display or streaming device. The camera supports 4K resolution output.
- USB: Connect a USB cable to the USB port for direct connection to a computer for video and control.
- רשת (LAN): Connect an Ethernet cable to the LAN port for IP streaming and network control.
- קלט שמע: Connect external microphones or audio sources to the audio input ports if required.
4. הפעלה ראשונית
After all connections are secure, plug the power adapter into an electrical outlet. The camera will perform a self-test, and the indicator light will illuminate. Allow a few moments for the camera to initialize.
הפעלת המצלמה
1. בקרות בסיסיות
The TR333V2 can be controlled via a remote control, web interface, or third-party control systems. Basic functions include:
- סיבוב/הטיה/זום (PTZ): Adjust the camera's horizontal (pan), vertical (tilt), and optical zoom (30x) to frame your subject.
- מוֹקֵד: The camera features auto-focus. Manual focus adjustment may be available via the web interface for specific scenarios.
- הגדרות קבועות מראש: Save and recall specific camera positions (pan, tilt, zoom, focus) for quick scene changes.
2. Auto-Tracking Features
The TR333V2 incorporates advanced AI technology for automatic tracking. This feature allows the camera to follow a presenter or subject without manual intervention.
- מעקב אחר רמקולים: The camera identifies and follows a designated speaker within the defined tracking area.
- מעקב אזורי: Define specific zones within the camera's field of view. The camera will track subjects moving within these predefined zones.
- תְצוּרָה: Auto-tracking settings, including tracking sensitivity and exclusion zones, are configured via the camera's web מִמְשָׁק. עיין ב web interface manual for detailed setup.
3. שידור חי והקלטה
The camera supports 4K live streaming and can output video simultaneously via USB and IP.
- הזרמת IP: Configure streaming protocols (e.g., RTMP, RTSP) via the web interface to stream directly to platforms or media servers.
- פלט USB: Connect the camera to a computer via USB for use with video conferencing software or recording applications.
4. Web גישה לממשק
To access advanced settings and features, open a web browser and enter the camera's IP address. The default IP address can usually be found in the quick start guide or obtained using AVer's IP Finder utility. Log in with the default username and password (refer to your quick start guide for credentials).
תַחזוּקָה
1. ניקיון
Regularly clean the camera lens and body to ensure optimal performance and image quality.
- עֲדָשָׁה: Use a soft, lint-free cloth specifically designed for optical lenses. If necessary, use a small amount of lens cleaning solution. Avoid abrasive materials or harsh chemicals.
- גוּף: Wipe the camera body with a soft, dry cloth. Do not use liquid cleaners directly on the camera.
2. עדכוני קושחה
Periodically check the AVer website for firmware updates. Firmware updates can improve performance, add new features, and resolve known issues. Follow the instructions provided with the firmware update package carefully.
3. אחסון
If storing the camera for an extended period, disconnect all cables, power off the unit, and store it in a dry, dust-free environment at a moderate temperature. Use the original packaging if available.
פתרון בעיות
This section addresses common issues you might encounter with the AVer TR333V2 camera.
| בְּעָיָה | סיבה אפשרית | פִּתָרוֹן |
|---|---|---|
| אין מחוון חשמל | כבל חשמל מנותק; שקע חשמל פגום | בדוק את חיבור כבל החשמל; נסה שקע חשמל אחר |
| אין פלט וידאו | Video cable disconnected/faulty; Incorrect input selected on display; Camera not initialized | Verify video cable connections; Select correct input on display; Wait for camera initialization |
| מעקב אוטומטי לא עובד | Tracking feature disabled; Incorrect tracking zone setup; Insufficient lighting; Subject too far/small | Enable tracking via web interface; Reconfigure tracking zones; Ensure adequate lighting; Adjust camera position or zoom |
| לא ניתן לגשת web מִמְשָׁק | כתובת IP שגויה; כבל רשת מנותק; חומת אש חוסמת גישה | Verify camera's IP address; Check network cable; Temporarily disable firewall or add exception |
If the problem persists after attempting these solutions, please contact AVer technical support.
מפרטים
The following table details the key specifications of the AVer TR333V2 4K PTZ Camera.
| תכונה | פְּרָט |
|---|---|
| מותג | AVer |
| מספר דגם | TR333V2 |
| משקל פריט | 9 פאונד |
| רזולוציית לכידת וידאו | 480p, 720p (Supports 4K UHD output) |
| זום אופטי | 30 x |
| זום דיגיטלי | 30 x |
| סוג עדשה | זום |
| סוג פוקוס | פוקוס אוטומטי |
| גורם צורה | קוֹמפָּקטִי |
| מצבי צילום | אוֹטוֹמָטִי |
| ייצוב תמונה | לֹא |
אחריות ותמיכה
מידע על אחריות
AVer products are backed by a limited warranty. The specific terms and duration of your warranty may vary by region and product. Please refer to the warranty card included with your product or visit the official AVer webבאתר לקבלת מידע אחריות מפורט.
תמיכה טכנית
For technical assistance, troubleshooting beyond this manual, or warranty claims, please contact AVer customer support. You can find contact information, FAQs, and additional resources on the official AVer webאֲתַר: