1. הקדמה
Thank you for choosing the CREATE NETBOT S40 Robot Vacuum and Mop. This manual provides essential information for the safe operation, maintenance, and troubleshooting of your device. Please read it thoroughly before first use and retain it for future reference.
2. הוראות בטיחות
כדי להפחית את הסיכון לפציעה או נזק, יש להקפיד על אמצעי הזהירות הבאים:
- מכשיר זה יכול לשמש ילדים מגיל 8 ומעלה ואנשים עם יכולות פיזיות, חושיות או נפשיות מופחתות או חוסר ניסיון וידע אם קיבלו השגחה או הדרכה לגבי שימוש במכשיר בצורה בטוחה ומבינים את הסכנות הכרוכות בכך. .
- ילדים לא ישחקו עם המכשיר. ניקוי ותחזוקת המשתמש לא יבוצעו על ידי ילדים ללא השגחה.
- Ensure the robot is placed on a stable, level surface.
- Do not expose the robot to water or other liquids.
- הרחק שיער, בגדים רפויים, אצבעות וכל חלקי הגוף מפתחים וחלקים נעים.
- אין להפעיל את הרובוט באזורים עם להבות גלויות או חומרים נפיצים.
- Use only the original charging adapter and battery provided by the manufacturer.
- Before cleaning or maintenance, always switch off the robot and unplug it from the power source.
3. תכולת החבילה
ודא שכל הפריטים נמצאים בחבילה שלך:
- CREATE NETBOT S40 Robot Vacuum and Mop
- תחנת עגינה לטעינה
- מתאם מתח
- שְׁלַט רָחוֹק
- מברשות צד (2 זוגות)
- Main Brush (pre-installed + 1 spare)
- פח אבק
- מיכל מים עם מגב
- כלי ניקוי
- מדריך למשתמש
4. המוצר נגמרview
Familiarize yourself with the components of your CREATE NETBOT S40.

תמונה 4.1: למעלה view of the CREATE NETBOT S40 robot vacuum, showing the main unit, a roller brush, a smartphone displaying the control app, and the remote control.

תמונה 4.2: תחתית view of the robot, illustrating the main brush, side brushes, wheels, and various sensors.
רכיבי רובוט
- כיסוי עליון: Houses the dust bin/water tank.
- לחצן הפעלה/הפעלה: מתחיל או משהה את הניקוי.
- טעינת אנשי קשר: For automatic charging at the dock.
- מברשות צד: טאטאו פסולת לתוך נתיב המברשת הראשי.
- מברשת ראשית: אוסף אבק ופסולת מהרצפה.
- פח אבק: אוסף פסולת יבשה.
- מיכל מים: מחזיק מים לשטיפת רחצים.
- מגב: Attaches to the water tank for wet cleaning.
- חיישני צוקים: לזהות קצוות ולמנוע נפילות.
- פָּגוֹשׁ: מזהה מכשולים.
- גלגלי הנעה: Propel the robot.
- גלגל אוניברסלי: Provides steering.

Image 4.3: Close-up of the robot's top cover, showing the 'CREATE NETBOT S40' branding.
5. התקנה
5.1 מיקום תחנת הטעינה
Place the charging dock against a wall in an open, uncluttered area. Ensure there is at least 1 meter (3 feet) of clear space on both sides and 2 meters (6 feet) in front of the dock. Plug the power adapter into the dock and then into a wall outlet.

Image 5.1: The robot positioned next to its charging dock, illustrating proper placement.
5.2 טעינה ראשונית
Place the robot onto the charging dock, ensuring the charging contacts align. The robot will emit a sound and the indicator light will illuminate, indicating it is charging. Fully charge the robot for 4-6 hours before its first use.
5.3 App Connection (Wi-Fi & Alexa)
For full functionality, download the CREATE Home app from your smartphone's app store. Follow the in-app instructions to connect your NETBOT S40 to your home Wi-Fi network. Once connected, you can link the app to Alexa for voice control.
- Download the 'CREATE Home' app.
- הירשם או התחבר לחשבונך.
- Add your device by selecting 'Robot Vacuum' and following the pairing instructions.
- ודא שרשת ה-Wi-Fi שלך היא 2.4GHz.

Image 5.2: The robot shown alongside a smartphone displaying the CREATE Home app interface, indicating successful connection and mapping capabilities.
6. הוראות הפעלה
6.1 התחלה/השהייה של הניקוי
- מתוך רובוט: Press the power button on the robot's top cover.
- From Remote Control: לחצו על כפתור 'התחל/השהה'.
- מהאפליקציה: Tap the 'Start' button in the CREATE Home app.
6.2 מצבי ניקוי
ה-NETBOT S40 מציע מגוון מצבי ניקוי:
- ניקוי אוטומטי: הרובוט מנווט ומנקה בצורה חכמה את כל שטח הרצפה.
- ניקוי נקודות: מרכז את הניקוי באזור קטן ומסופק.
- ניקוי קצוות: מנקה לאורך קירות וקצוות רהיטים.
- ניקיון מתוזמן: הגדירו זמנים ספציפיים לניקוי אוטומטי של הרובוט דרך האפליקציה.
6.3 פונקציית ניקוי
כדי להשתמש בפונקציית הניקוי:
- מלאו את מיכל המים במים נקיים. אין להשתמש בחומרי ניקוי או בכימיקלים חזקים.
- חברו את רפידת המגב היטב למיכל המים.
- הכנס את מיכל המים המלא לתוך הרובוט.
- התחל מחזור ניקוי. הרובוט יאבק וינקה בו זמנית.

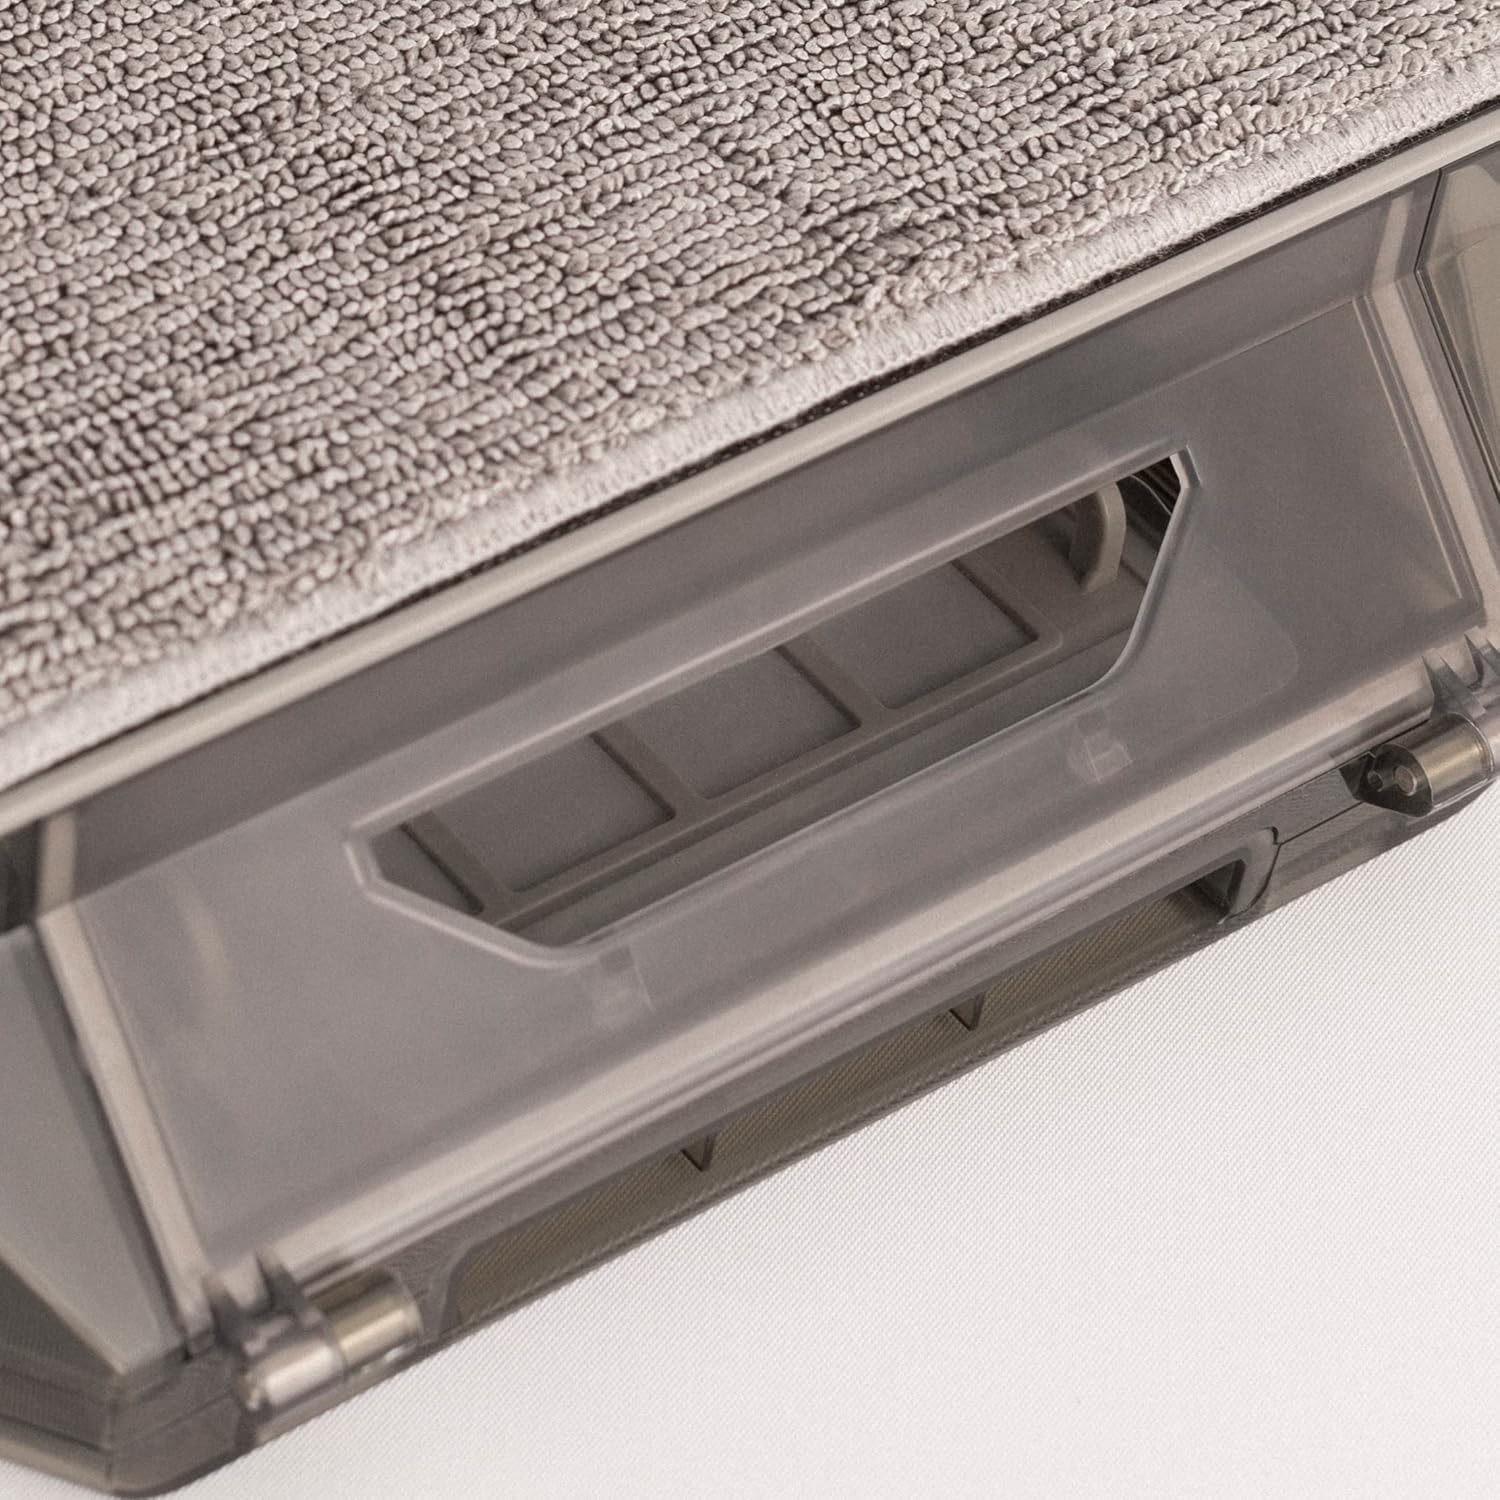
תמונה 6.1: תקריב view of the mop pad attached to the water tank, ready for installation into the robot.
7. תחזוקה
תחזוקה שוטפת מבטיחה ביצועים אופטימליים ומאריכה את תוחלת החיים של הרובוט שלכם.
7.1 ניקוי מיכל האבק והמסנן
Empty the dust bin after each use and clean the filter regularly.
- לחץ על כפתור השחרור כדי להסיר את מיכל האבק.
- פתחו את מכסה מיכל האבק ורוקנו את תכולתו.
- Remove the filter and tap it gently to remove dust. Do not wash the HEPA filter with water.
- יש לשטוף את מיכל האבק במים במידת הצורך, ולוודא שהוא יבש לחלוטין לפני התקנה מחדש.
תמונה 7.1: מפורט view of the dust bin and its filter compartment, showing how it integrates into the robot.
7.2 ניקוי המברשת הראשית
Clean the main brush weekly to remove tangled hair and debris.
- Turn the robot over and locate the main brush cover.
- Remove the cover and lift out the main brush.
- Use the provided cleaning tool to cut and remove tangled hair.
- התקן מחדש את המברשת הראשית ואת המכסה.
7.3 ניקוי מברשת צד
Inspect side brushes regularly for wear and tear, and clean them as needed.
- משכו בעדינות את מברשות הצד כלפי מעלה כדי להסירן.
- הסירו כל שיער או פסולת.
- If brushes are damaged, replace them with new ones.
- Press the new brushes firmly onto their posts until they click into place.
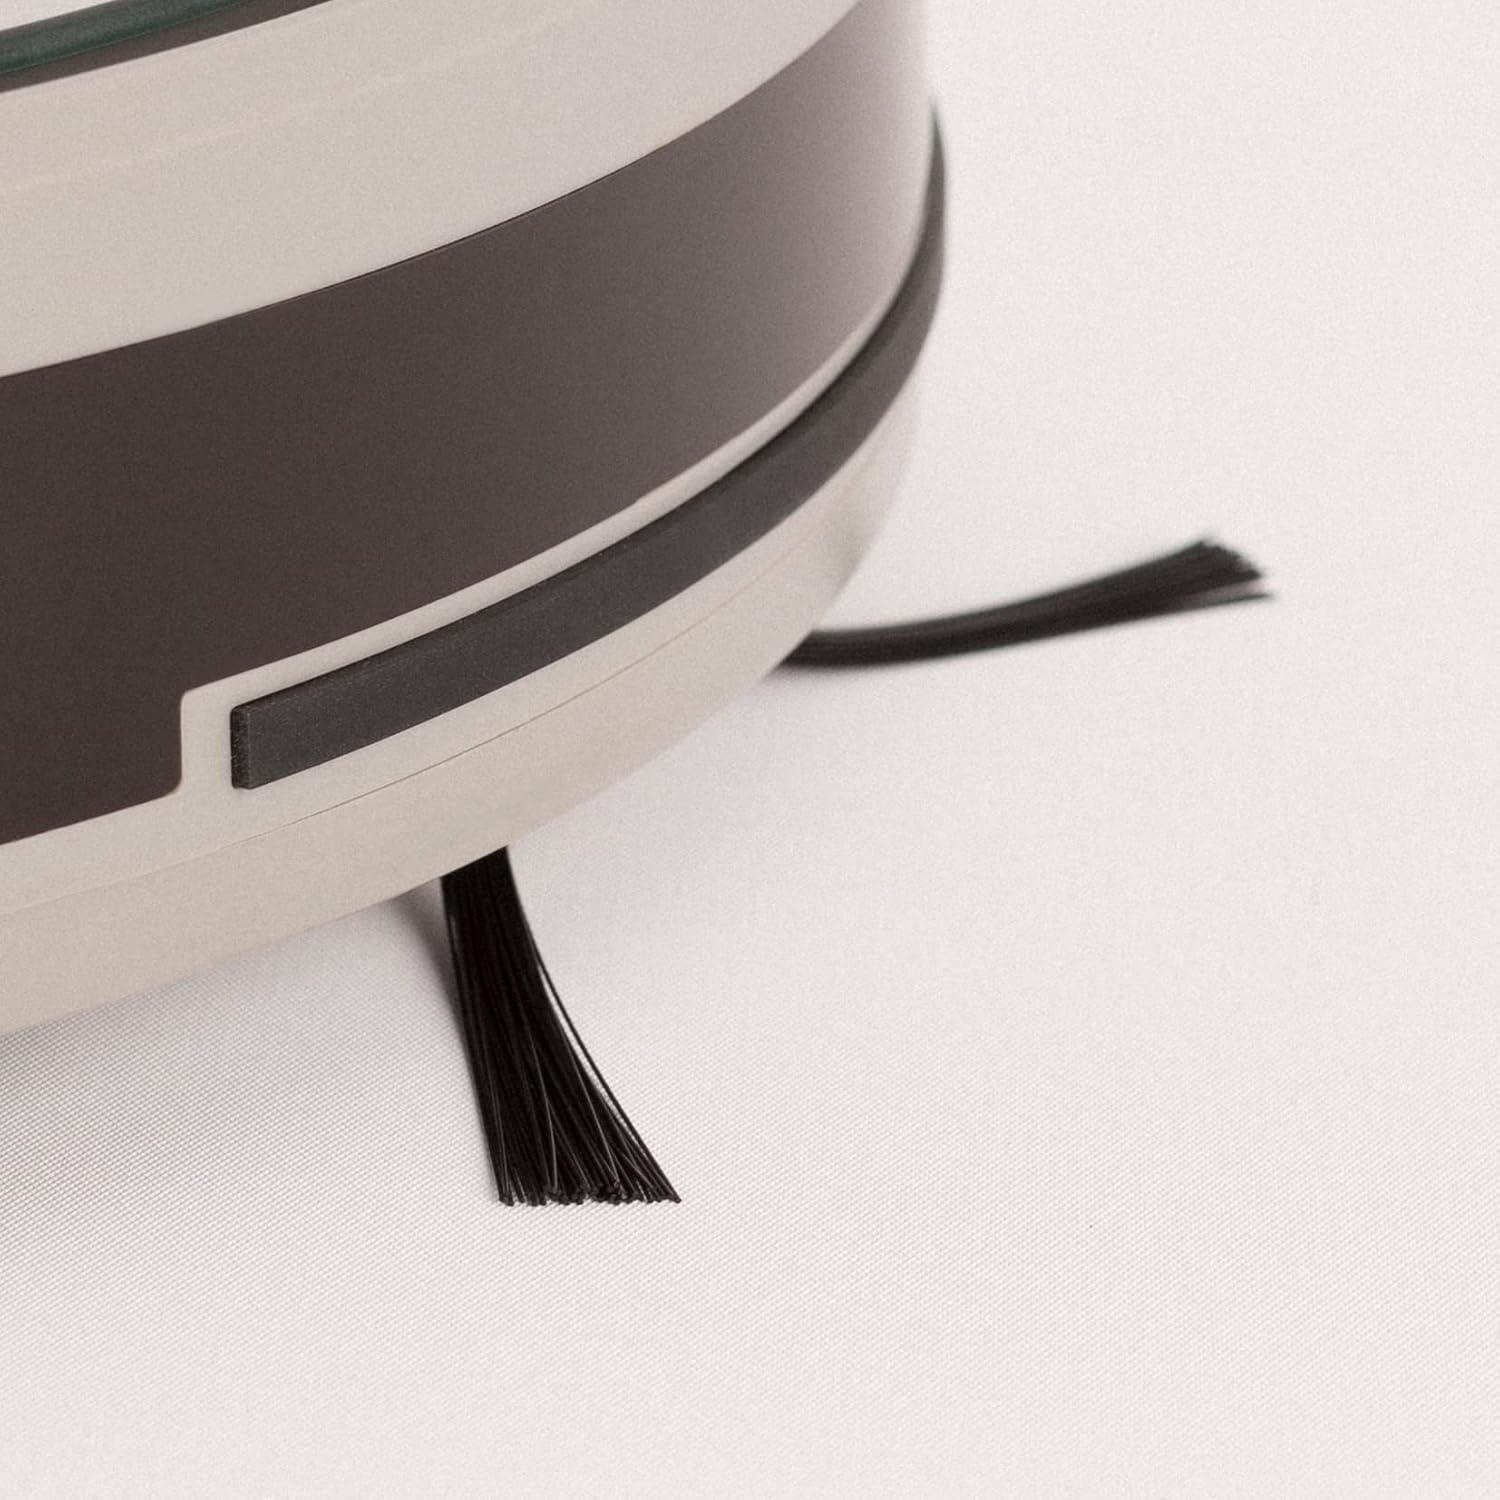
Image 7.2: Close-up of a side brush, showing its bristles and attachment point.
7.4 ניקוי מיכל המים ורפידת המגב
לאחר כל ניקוי:
- רוקנו את כל המים שנותרו מהמיכל.
- Remove the mop pad and rinse it thoroughly with water. Allow it to air dry.
- נקה את מיכל המים עם מודעהamp בַּד.
7.5 ניקוי חיישן
Wipe all sensors (cliff sensors, bumper sensor) with a clean, dry cloth monthly to ensure proper navigation.
8. פתרון תקלות
If you encounter issues with your robot, refer to the following table:
| בְּעָיָה | סיבה אפשרית | פִּתָרוֹן |
|---|---|---|
| הרובוט לא נדלק | סוללה חלשה; כבוי | טען את הרובוט; ודא שמתג ההפעלה דולק |
| הרובוט לא יכול לטעון | מגעי הטעינה מלוכלכים; תחנת העגינה אינה מופעלת | נקו את מגעי הטעינה; בדקו את חיבור מתאם החשמל |
| ביצועי הניקוי גרועים | מיכל אבק מלא; מברשות סבוכים; פילטר סתום | Empty dust bin; Clean main/side brushes; Clean/replace filter |
| רובוט נתקע לעתים קרובות | מכשולים על הרצפה; חיישני צוק מלוכלכים | Clear floor area; Clean cliff sensors |
| חיבור האפליקציה נכשל | סיסמת Wi-Fi שגויה; נתב רחוק מדי; Wi-Fi 5GHz | אימות סיסמה; קרב את הרובוט לנתב; ודא Wi-Fi 2.4GHz |
אם הבעיה נמשכת, אנא פנו לתמיכת הלקוחות.
9. מפרטים
- מותג: לִיצוֹר
- שם הדגם: נטבוט S40
- מספר דגם: 130436_269434
- כוח יניקה: 4000 Pa (as per product description)
- חיי סוללה: Up to 220 minutes (as per product description)
- קישוריות: Wi-Fi, App Control, Alexa compatible
- מידות: 64 x 40 x 12 ס"מ (מידות האריזה)
- משקל פריט: 116 Grams (as per specifications, likely product weight is higher, but using provided data)
- סוללה כלולה: כֵּן
10. אחריות ותמיכה
Your CREATE NETBOT S40 comes with a standard manufacturer's warranty. Please refer to the warranty card included in your package for specific terms and conditions, including warranty period and coverage.
For technical support, troubleshooting assistance, or to inquire about replacement parts, please contact CREATE customer service through their official webאתר או פרטי הקשר המופיעים בתיעוד המוצר שלך.