
1. הקדמה
Thank you for choosing the InFocus P120 INL412 Multimedia Projector. This manual provides essential information for the safe and efficient operation of your projector. Please read it thoroughly before using the device and retain it for future reference. The InFocus P120 INL412 is designed for versatile multimedia presentations, offering clear and vibrant images for various applications.
2. מידע בטיחות
To ensure safe operation and prevent damage to the projector, please observe the following safety precautions:
- אין לחסום את פתחי האוורור. יש לוודא מרווח מספיק סביב המקרן לזרימת אוויר תקינה ולמנוע התחממות יתר.
- הימנע מלהסתכל ישירות לתוך עדשת המקרן כאשר ה-lamp דולק, מכיוון שהאור הבהיר עלול לגרום נזק לעיניים.
- Do not place the projector on an unstable cart, stand, or table. The projector may fall, causing serious injury to a child or adult, and serious damage to the unit.
- נתק את כבל החשמל משקע הקיר אם המקרן לא ישמש למשך תקופה ממושכת.
- יש לפנות לכל מטלות שירות מורשות. אין לנסות לפתוח או לתקן את המקרן בעצמכם.
- Keep the projector away from water or moisture. Do not expose it to rain or immerse it in liquid.
- Use only the power cord supplied with the projector or an authorized replacement.
3. תכולת החבילה
Verify that all items listed below are included in your projector package:
- InFocus P120 INL412 Multimedia Projector
- כבל חשמל
- שלט רחוק עם סוללות
- כבל VGA
- מדריך למשתמש (מסמך זה)
- מדריך להתחלה מהירה
4. המוצר נגמרview
Familiarize yourself with the main components of your InFocus P120 INL412 projector.
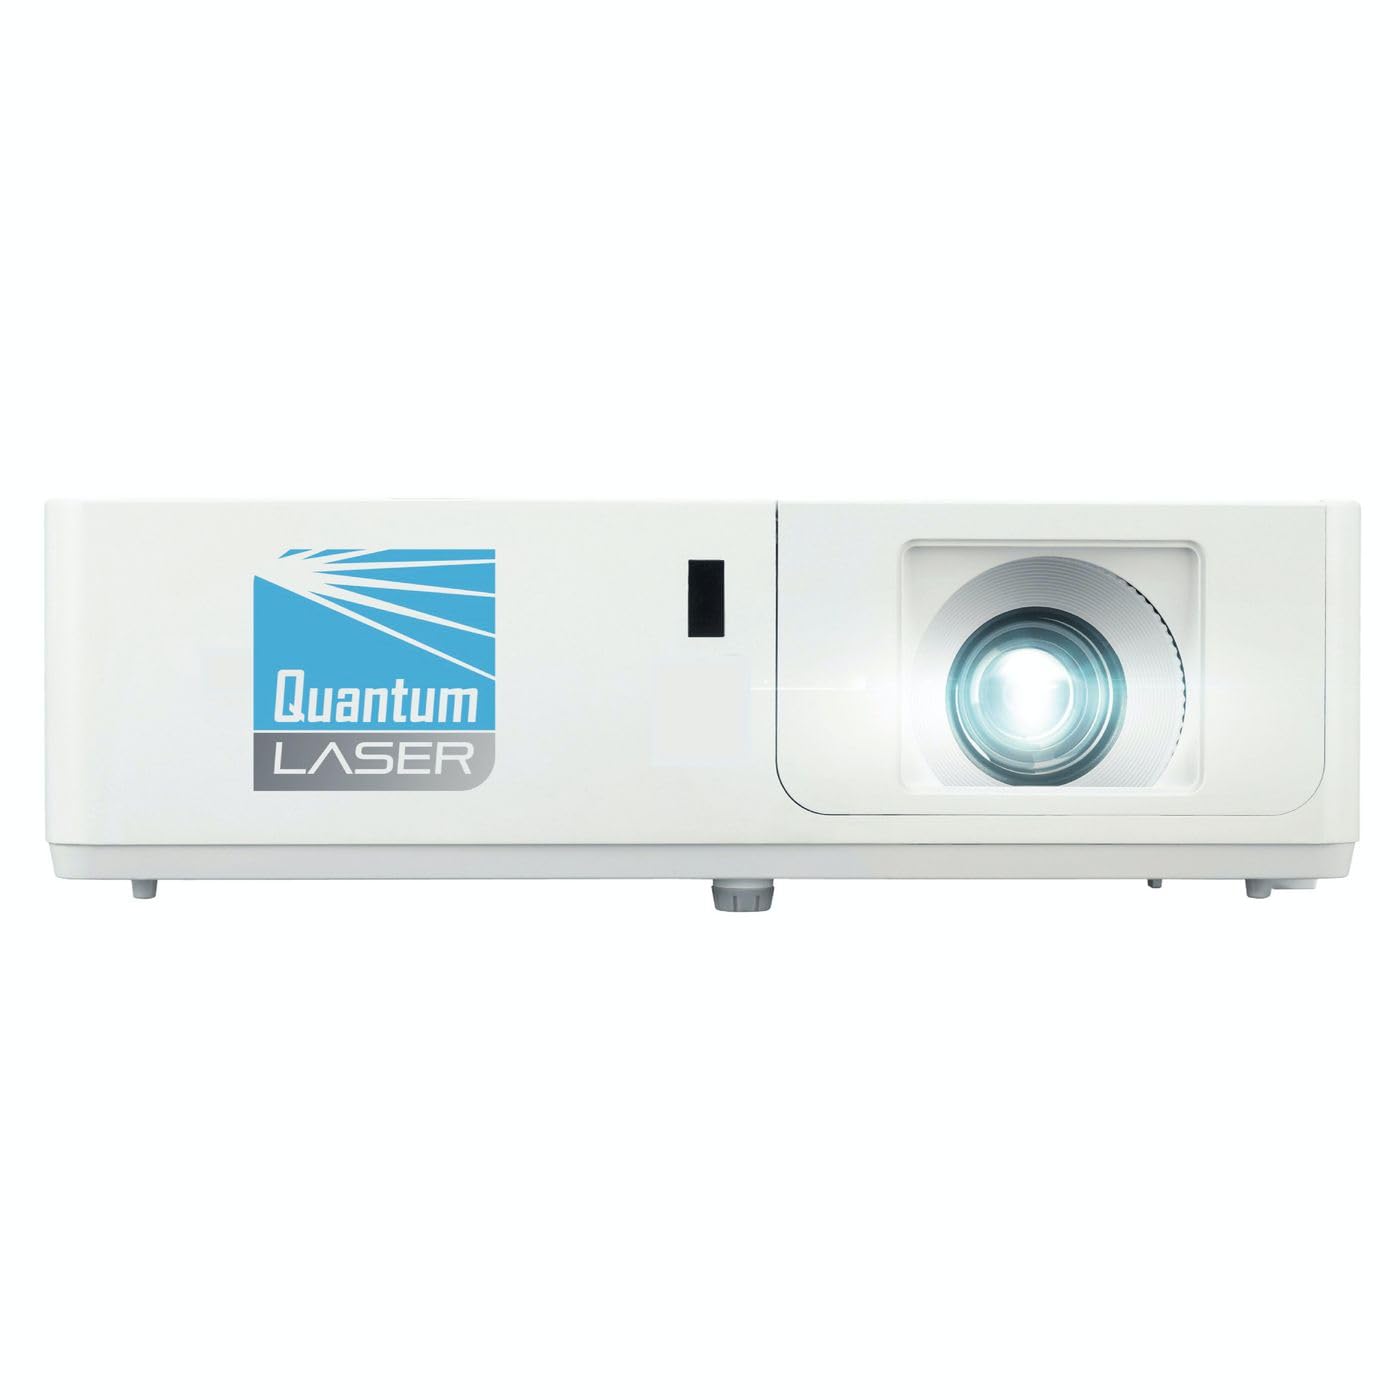
תמונה 1: חזית view of the InFocus P120 INL412 Multimedia Projector, showing the lens and ventilation grilles.
4.1 לוח קדמי
- עדשת הקרנה: משדר את התמונה על המסך.
- טבעת מיקוד: מכוונן את בהירות התמונה המוקרנת.
- טבעת זום: מתאים את גודל התמונה המוקרנת.
- מקלט IR: מקבל אותות מהשלט הרחוק.
4.2 פאנל עליון
- לוּחַ בַּקָרָה: Buttons for power, menu navigation, source selection, and keystone correction.
- נוריות חיווי: Display the projector's status (e.g., power, lamp, temperature).
4.3 פאנל אחורי (קישוריות)
- כניסת HDMI: Connects to HDMI-enabled devices (laptops, Blu-ray players).
- כניסת VGA: Connects to computers with VGA output.
- יציאת USB: For service or connecting USB devices (if supported by model).
- אודיו כניסה/יציאה: For connecting external audio sources or speakers.
- כניסת חשמל: מחבר את כבל החשמל.
5. התקנה
בצע את השלבים הבאים עבור ההגדרה הראשונית של המקרן שלך:
- מיקום: Place the projector on a stable, flat surface or mount it securely. Ensure the projector is positioned at an appropriate distance from the screen to achieve the desired image size.
- חיבור חשמל: Connect the power cord to the projector's power inlet and then to a grounded electrical outlet.
- חבר התקן מקור: Connect your source device (e.g., laptop, DVD player) to the projector using an appropriate cable (HDMI, VGA, etc.). Ensure the cable is securely connected to both the source and the projector.
- הפעלה: Press the power button on the projector's control panel or the remote control to turn on the projector. The power indicator light will illuminate.
- כוונון מיקוד וזום: Once an image is projected, rotate the focus ring on the lens until the image is sharp and clear. Use the zoom ring to adjust the image size to fit your screen.
- תיקון אבן מפתח: If the image appears trapezoidal, use the keystone correction function (either via buttons on the projector/remote or through the on-screen menu) to square the image.
6. הוראות הפעלה
6.1 הפעלה/כיבוי
- כדי להפעיל: Press the power button once. The projector will go through a warm-up sequence.
- כדי לכבות: Press the power button twice. The first press will prompt a shutdown confirmation; the second press will initiate shutdown. Allow the projector to cool down completely before unplugging.
6.2 בחירת מקור
Press the 'Source' button on the projector or remote control to cycle through available input sources (HDMI, VGA, etc.) until your desired source is displayed.
6.3 ניווט בתפריט
Press the 'Menu' button to access the on-screen display (OSD) menu. Use the arrow buttons to navigate through options and 'Enter' or 'OK' to select. Use the 'Exit' or 'Menu' button to close the OSD.
- הגדרות תמונה: כוונן את הבהירות, הניגודיות, הצבע, יחס הגובה-רוחב ומצב התמונה.
- הגדרות תצוגה: Configure keystone, projection mode (front/rear, desktop/ceiling), and resolution.
- הגדרות שמע: Control volume and audio output options.
- הגדרות מערכת: Manage language, timer, power-saving modes, and factory reset.
7. תחזוקה
תחזוקה שוטפת מבטיחה ביצועים אופטימליים ומאריכה את תוחלת החיים של המקרן שלכם.
- ניקוי עדשות: נגבו בעדינות את עדשת המקרן בעזרת מטלית רכה ונטולת סיבים המיועדת במיוחד למשטחים אופטיים. אין להשתמש בחומרי ניקוי שוחקים או בכוח מופרז.
- ניקוי ארונות: Use a soft, dry cloth to clean the projector's exterior. For stubborn marks, dampen the cloth slightly with water. Avoid using harsh chemicals.
- ניקוי/החלפת פילטר אוויר: Check the air filter periodically. If your model has a removable filter, clean it with a soft brush or vacuum cleaner. Replace the filter as recommended in the on-screen menu or when visibly dirty to maintain proper ventilation.
- Lamp תַחֲלִיף: המקרן lamp בעל אורך חיים מוגבל. כאשר ה-lamp life indicator appears, or the image brightness significantly decreases, replace the lamp according to the instructions provided in the full service manual or by a qualified technician. Always allow the projector to cool down completely before attempting lamp תַחֲלִיף.
8. פתרון תקלות
עיינו בטבלה שלהלן לקבלת בעיות נפוצות ופתרונותיהן:
| בְּעָיָה | סיבה אפשרית | פִּתָרוֹן |
|---|---|---|
| לא הוצגה תמונה | Power cord disconnected, incorrect input source, source device off. | Check power connections. Select correct input source. Ensure source device is powered on. |
| התמונה מטושטשת | עדשה לא בפוקוס, מרחק הקרנה שגוי. | Adjust the focus ring on the lens. Reposition the projector closer or further from the screen. |
| התמונה היא טרפזית | המקרן אינו ניצב למסך. | Use keystone correction (manual or automatic) to square the image. |
| המקרן מתחמם יתר על המידה ונכבה | Blocked ventilation, dirty air filter. | ודא מרווח פנוי סביב פתחי האוורור. נקה או החלף את מסנן האוויר. |
| השלט רחוק לא עובד | Dead batteries, obstruction between remote and projector, incorrect angle. | Replace batteries. Ensure clear line of sight to IR receiver. Point remote directly at the projector. |
9. מפרטים
Key technical specifications for the InFocus P120 INL412 Multimedia Projector:
| תכונה | מִפרָט |
|---|---|
| מספר דגם | P120 INL412 (Item model number: 7296144) |
| סוג תצוגה | DLP |
| רזולוציה מקורית | 1280 x 800 |
| רזולוציית תצוגה מקסימלית | 1280 x 800 |
| טכנולוגיית קישוריות | USB (and other standard inputs like HDMI, VGA) |
| מידות המוצר | 5.25 x 0.31 x 1.66 אינץ' |
| משקל פריט | 6.6 פאונד |
| יַצרָן | בפוקוס |
10. אחריות ותמיכה
The InFocus P120 INL412 Multimedia Projector comes with a standard manufacturer's warranty. Please refer to the warranty card included in your package for specific terms and conditions, including warranty duration and coverage details. For technical support, service, or further inquiries, please visit the official InFocus support webלאתר או לפנות למחלקת שירות הלקוחות שלהם.
למידע התמיכה העדכני ביותר, אנא בקרו באתר: www.infocus.com/support