1. הקדמה
This manual provides essential information for the safe and efficient operation of your Reloop RP-7000 MK2 Direct Drive High Torque Turntable. Please read these instructions thoroughly before using the product to ensure proper setup, optimal performance, and longevity of your equipment. Keep this manual for future reference.
2. הוראות בטיחות
- ספק כוח: חברו את המכשיר אך ורק לשקע AC בעל עוצמת הקול שצוינה.tagה. ודא שכבל החשמל אינו פגום או צבט.
- לַחוּת: Do not expose the unit to rain, moisture, or excessive humidity. Avoid placing liquid-filled objects on the turntable.
- אוורור: יש לוודא אוורור נאות סביב היחידה. אין לחסום פתחי אוורור.
- מיקום: Place the turntable on a stable, level surface away from direct sunlight, heat sources, and strong magnetic fields.
- ניקוי: נתקו את החשמל לפני הניקוי. השתמשו במטלית רכה ויבשה. הימנעו מנוזלי ניקוי או ממסים.
- שֵׁרוּת: אל תנסה לטפל ביחידה בעצמך. יש לפנות לכל טיפול וטיפול באנשי מקצוע מוסמכים.
3. תכולת החבילה
ודא שכל הפריטים המפורטים להלן כלולים בחבילה שלך. אם פריטים חסרים או פגומים, פנה מיד לסוכן שלך.
- Reloop RP-7000 MK2 Direct Drive High Torque Turntable (x2)
- כיסוי אבק (x2)
- Digital Turntable Stylus Scale
- Record Care Solution
- כבל חשמל
- RCA כבלים
- חוט קרקע
- סליפמאט
- משקל נגד
- Headshell with Cartridge (pre-mounted or separate, depending on region/bundle)

איור 1: מֵעַלview of the Reloop RP-7000 MK2 turntable bundle components.
4. התקנה
4.1 פריקה ומיקום
- הוצא בזהירות את כל הרכיבים מהאריזה. שמור את האריזה להובלה עתידית.
- Place the turntable on a flat, stable, and vibration-free surface. Ensure there is enough space for the dust cover to open fully.
- Attach the dust cover by aligning its hinges with the slots on the turntable's rear.

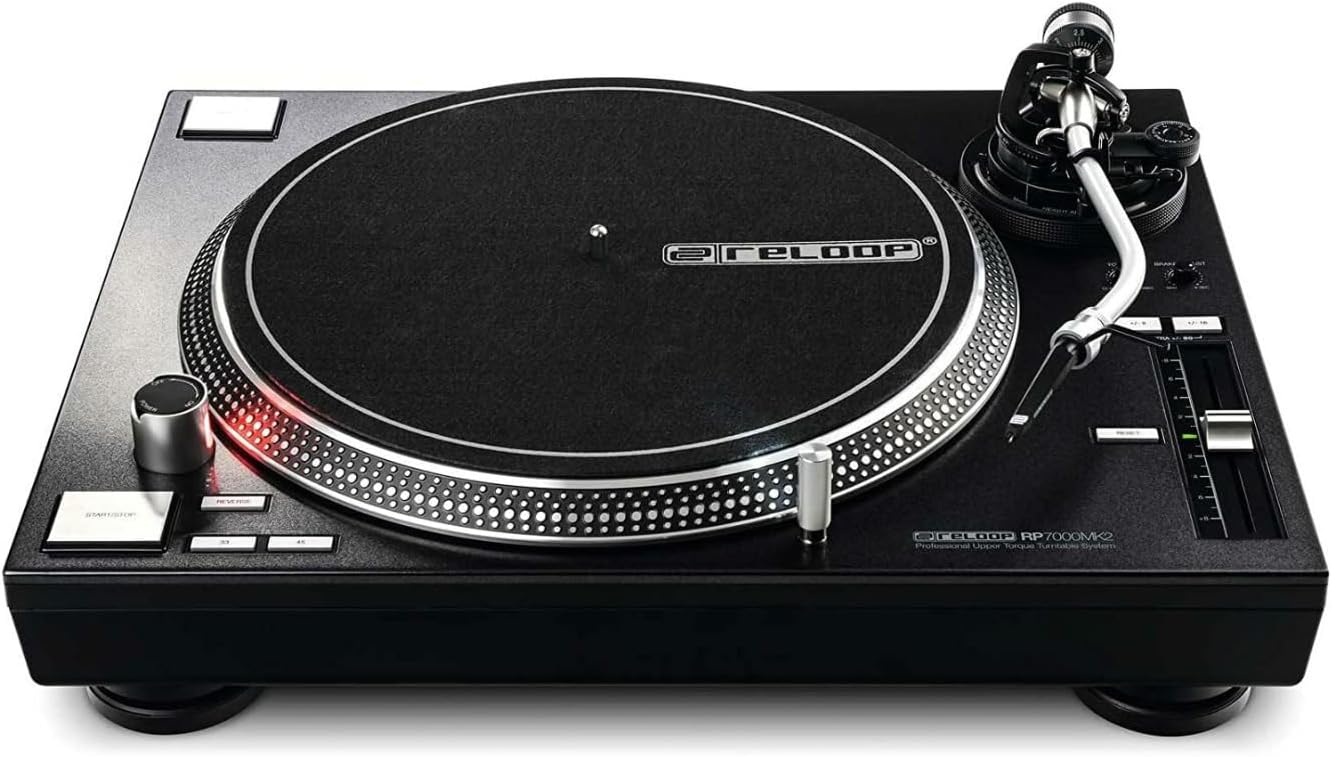
איור 2: Turntable with the dust cover in place.
4.2 התקנת מגש ו-Slipmat
- Carefully place the platter onto the center spindle. Ensure it sits flush.
- הניחו את משטח ההחלקה על גבי המגש.
4.3 התקנת זרוע הטון והמחסנית
- If not pre-mounted, attach the headshell with the cartridge to the tonearm. Secure it by turning the locking ring.
- Screw the counterweight onto the rear of the tonearm.
- איזון זרוע הטונוס: שחרר את זרוע הטוןamp. Adjust the counterweight until the tonearm is perfectly balanced and floats horizontally.
- הגדר כוח מעקב: Return the tonearm to its rest and clamp it. Rotate the numbered ring on the counterweight to '0' without moving the counterweight itself. Then, rotate the entire counterweight to the recommended tracking force for your cartridge (typically 2-4 grams for DJ cartridges).
- הגדר אנטי-סקייט: כוונן את חוגת נגד החלקה כך שתתאים להגדרת כוח המעקב.
4.4 Using the Digital Stylus Scale
The included digital stylus scale allows for precise measurement of your cartridge's tracking force, ensuring optimal sound quality and minimizing record wear.
- Place the stylus scale on the platter.
- הפעל את המשקל באמצעות לחצן ההפעלה.
- Carefully lower the stylus onto the designated measuring point on the scale.
- Read the tracking force displayed. Adjust the tonearm's counterweight as needed until the desired force is achieved.

איור 3: Digital Stylus Scale for precise tracking force measurement.
4.5 חיבורים
- פלט שמע: Connect the RCA cables from the turntable's audio output to the PHONO input of your mixer or amplifier. If your mixer/amplifier does not have a PHONO input, you will need an external phono preampחיים יותר.
- חוט הארקה: Connect the ground wire from the turntable to the ground terminal on your mixer or amplifier to reduce hum.
- כּוֹחַ: Connect the power cable to the turntable and then to a suitable AC power outlet.
5. הוראות הפעלה
5.1 נגינה בסיסית
- Place a record on the slipmat.
- Select the appropriate speed (33, 45, or 78 RPM) using the speed selector buttons.
- הקש על התחל/עצור button to begin platter rotation.
- Carefully lift the tonearm using the cueing lever and position the stylus over the desired groove on the record.
- הנמיכו את ידית הרדיו כדי להניח בעדינות את הסטיילוס על התקליט.
- To stop playback, lift the tonearm using the cueing lever, return it to the tonearm rest, and press the התחל/עצור לַחְצָן.
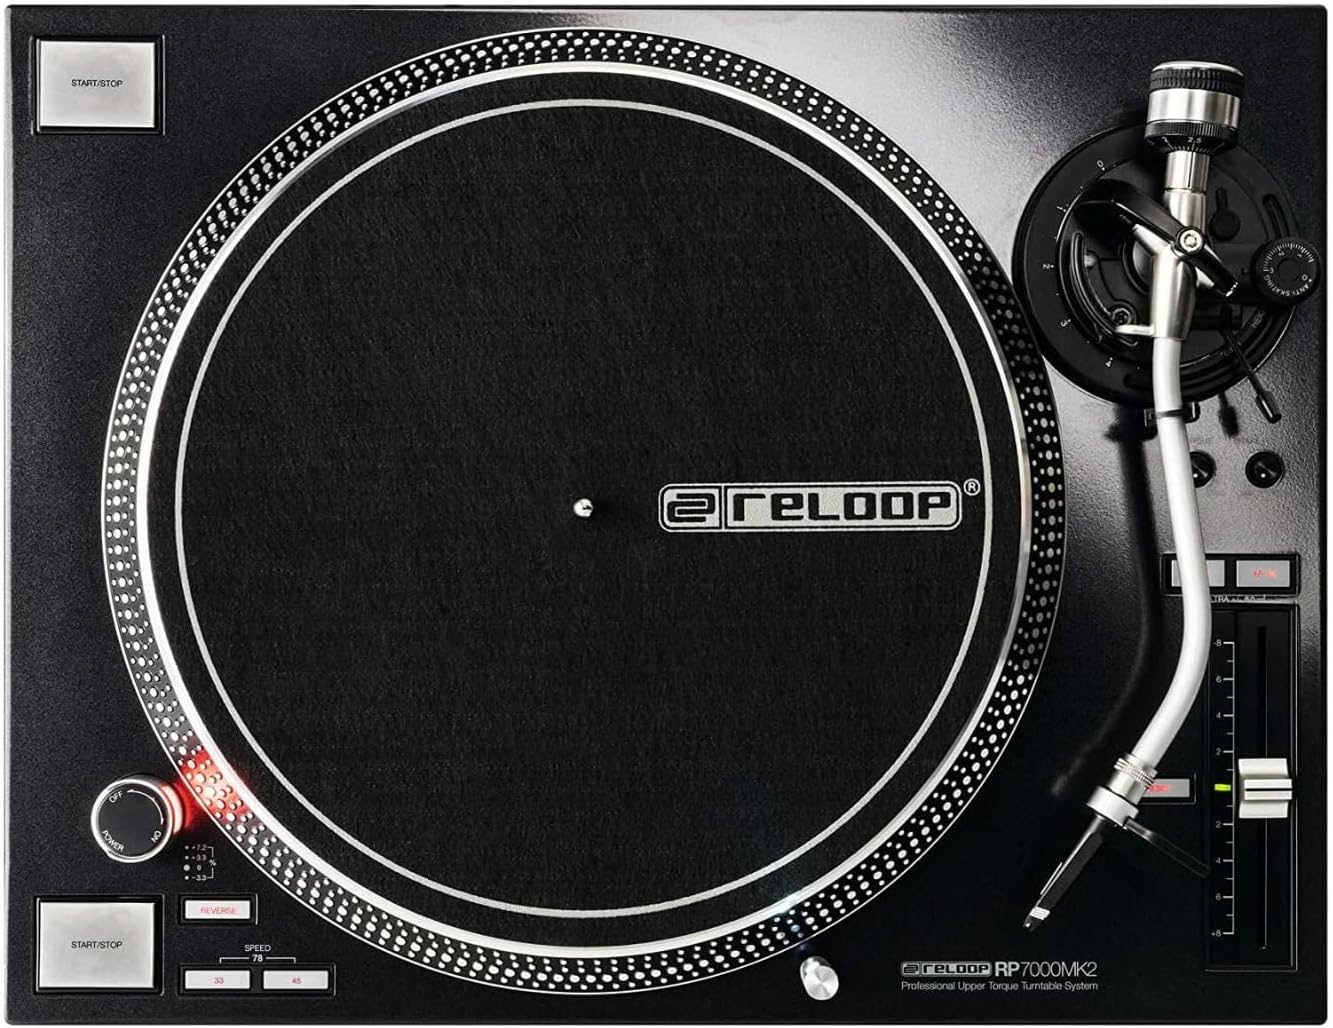
איור 4: Turntable platter and control layout.
5.2 בקרת גובה צליל
The pitch fader allows you to adjust the playback speed (BPM) of the record. Move the fader up or down to increase or decrease the pitch. The pitch range can be selected using the range buttons (e.g., +/- 8%, 16%, 50%).
5.3 פונקציית הפוכה
The RP-7000 MK2 features a reverse playback function. Press the לַהֲפוֹך button to change the direction of platter rotation. Press it again to return to normal playback.
6. תחזוקה
6.1 ניקוי הפטיפון
- נתק תמיד את החשמל לפני הניקוי.
- Use a soft, dry, lint-free cloth to wipe the surface of the turntable and dust cover.
- הימנעו משימוש בחומרי ניקוי שוחקים, ממיסים או תרסיסים כימיים, מכיוון שאלה עלולים לפגוע בגימור.
6.2 טיפול בסטיילוס
- Gently brush the stylus from back to front using a soft stylus brush to remove dust and debris.
- הימנעו מלגעת בסטיילוס עם האצבעות.
6.3 טיפול ברשומות
The included record care solution helps maintain the quality of your vinyl records and prolong their lifespan.
- Apply a small amount of record care solution to a clean, soft, lint-free cloth or a dedicated record cleaning brush.
- Gently wipe the record surface in a circular motion, following the grooves.
- יש לאפשר לתקליט להתייבש לחלוטין לפני הנגינה.
איור 5: Record Care Solution for maintaining vinyl quality.
7. פתרון תקלות
| בְּעָיָה | סיבה אפשרית | פִּתָרוֹן |
|---|---|---|
| אין כוח | Power cable not connected; outlet not active | בדוק את חיבור כבל החשמל; בדוק את השקע עם מכשיר אחר |
| אין קול או עוצמת קול נמוכה | RCA cables incorrect; no PHONO input; ampהגדרות משפר/מיקסר | Ensure RCA cables are connected to PHONO input; check amplifier/mixer input selection and volume |
| רעש זמזום | חוט הארקה לא מחובר; הפרעות | Connect ground wire; move turntable away from other electronic devices |
| צליל מדלג או מעוות | Incorrect tracking force; dirty stylus/record; damaged stylus | Adjust tracking force using stylus scale; clean stylus and record; replace stylus if damaged |
| המגש לא מסתובב | START/STOP button not pressed; motor issue | Press START/STOP; if problem persists, contact support |
8. מפרטים
| תכונה | פְּרָט |
|---|---|
| שם הדגם | RP-7000 MK2 |
| מותג | Reloop |
| סוג מנוע | Direct Drive DC Motor |
| תכונה מיוחדת | מומנט גבוה |
| מידות המוצר | 27.9 x 20 x 18.6 אינץ' |
| חוֹמֶר | מַתֶכֶת |
| צֶבַע | שָׁחוֹר |
| מכשירים תואמים | Speaker, Headphone, Personal Computer, MP3 Player, Laptop |
| פורמט אותות | דִיגִיטָלי |
9. אחריות ותמיכה
Reloop products are designed for reliability and performance. For warranty information, please refer to the warranty card included with your product or visit the official Reloop website. For technical support or service inquiries, please contact your authorized Reloop dealer or distributor.
יַצרָן: Reloop
תאריך זמין ראשון: 8 ביולי 2022