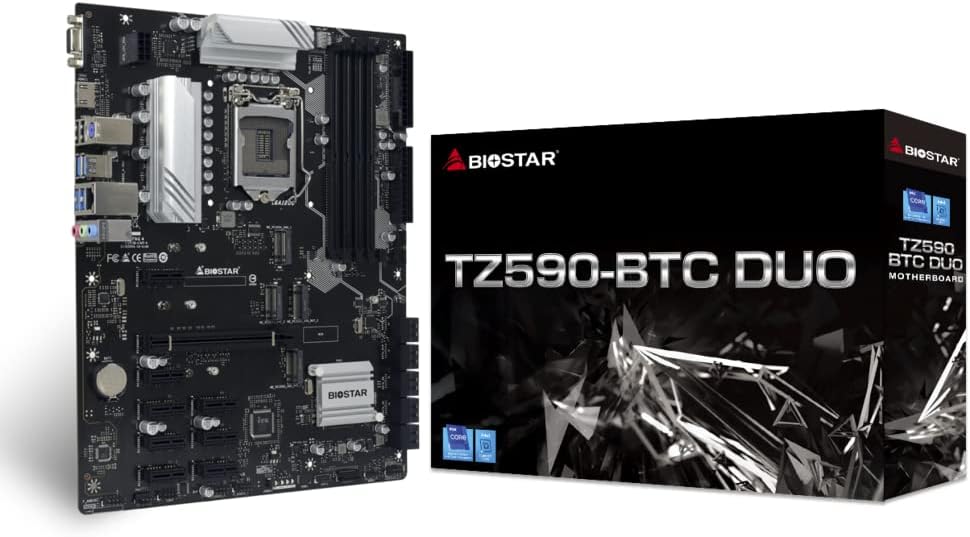
Biostar TZ590-BTC DUO
Biostar TZ590-BTC Duo Motherboard
מדריך למשתמש
1. הקדמה
The Biostar TZ590-BTC Duo is a high-performance motherboard designed for cryptocurrency mining, supporting both GPU and Chia mining operations. It is compatible with Intel 10th and 11th Generation LGA 1200 processors and features the Intel Z590 chipset. This manual provides comprehensive instructions for setting up, operating, and maintaining your motherboard.
תכונות עיקריות:
- Supports 10th/ 11th Generation LGA 1200 Intel Core Processor
- Support 4-DIMM DDR4-3600(OC)/ 3200/ 2933/ 2800/ 2666/ 2400/ 2133 up to 128G maximum capacity
- Support 8 x PCIe 3.0 slots Support 1 x PCIe 4.0 x16 Slot (x8 mode) (11th CPU Only)
- Support M.2 Sata III (6Gb/s) Connector
- 9 GPU Support
2. מפרטים
| נֶכֶס | עֵרֶך |
|---|---|
| מותג | ביוסטאר |
| שם הדגם | TZ590-BTC DUO |
| שקע מעבד | LGA 1200 |
| מעבדים תואמים | אינטל קור דור 10, אינטל קור דור 11 |
| סוג ערכת שבבים | אינטל Z590 |
| טכנולוגיית זיכרון RAM | DDR4 |
| מהירות שעון זיכרון | 2133 מגה-הרץ (עד 3600 מגה-הרץ OC) |
| משקל פריט | 2.93 פאונד |
| מידות חבילה | 13.07 x 10.28 x 2.44 אינץ' |
| פּלַטפוֹרמָה | חלונות |
3. מדריך התקנה
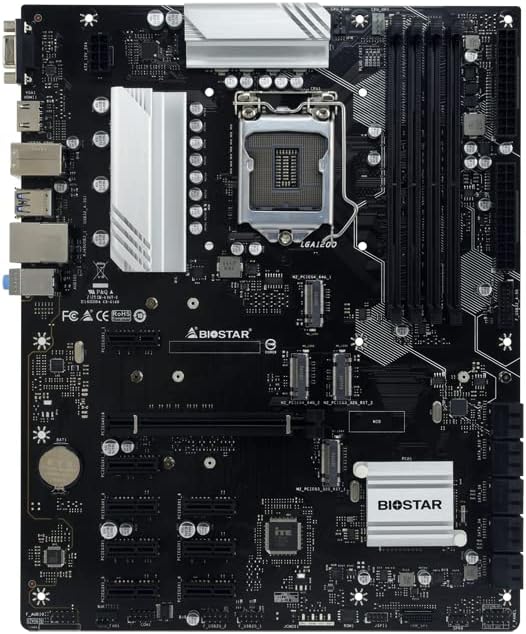
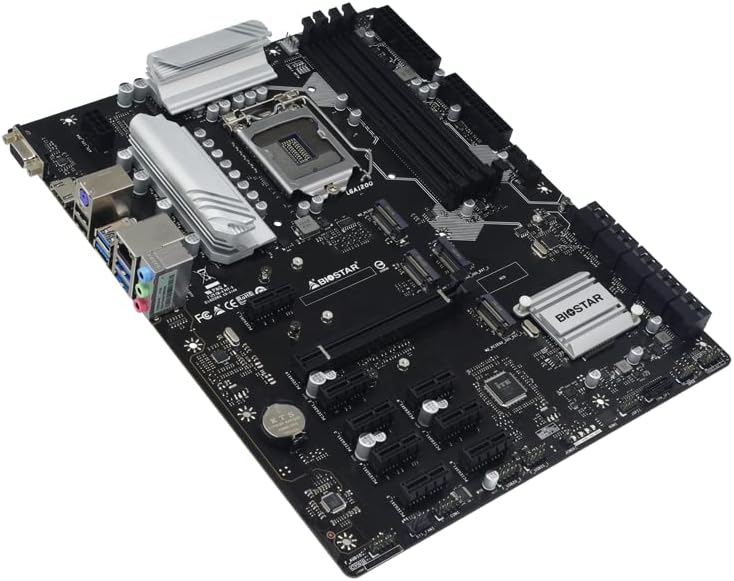
רכיב מעלview:
Familiarize yourself with the layout of the motherboard before beginning installation.
שלבי התקנה:
- התקנת מעבד: Carefully align your Intel LGA 1200 processor with the socket on the motherboard. Ensure the triangular markers on the CPU and socket match. Gently lower the CPU into place and secure it with the retention lever.
- התקנת זיכרון RAM: Insert DDR4 memory modules into the DIMM slots. Push down firmly on both ends of the module until the clips on the side snap into place. Refer to the motherboard manual for recommended slot configurations for dual-channel memory.
- חיבור אספקת חשמל: Connect the 24-pin ATX power connector and the 8-pin (or 4+4-pin) CPU power connector from your power supply unit (PSU) to the corresponding ports on the motherboard. For multi-GPU setups, ensure adequate power delivery.
- התקנת GPU: Insert your graphics cards (GPUs) into the PCIe slots. This motherboard supports up to 9 GPUs. For optimal performance and stability, ensure all necessary power cables are connected to each GPU.
- Storage Connection: Connect your M.2 SSDs to the M.2 slots and SATA drives to the SATA ports. This motherboard supports M.2 SATA III (6Gb/s) and multiple SATA III ports for extensive storage configurations.

4. הוראות הפעלה
תצורת BIOS:
Upon first boot, enter the BIOS/UEFI setup (usually by pressing DEL or F2 during startup). Configure settings such as boot order, PCIe generation (if applicable for 11th Gen CPUs), and enable 'Above 4G Decoding' for multi-GPU mining setups. Save and exit the BIOS.
GPU Mining Setup:
This motherboard is optimized for GPU mining, supporting up to 9 graphics cards. After installing your GPUs and drivers, configure your chosen mining software (e.g., Ethminer, PhoenixMiner, T-Rex Miner) according to its specific instructions. Ensure your operating system (e.g., Windows, HiveOS) is properly configured to recognize all installed GPUs.

Chia Mining Setup:
For Chia mining, this motherboard offers extensive storage connectivity with multiple M.2 and SATA slots. Install your plotting and farming software (e.g., Chia Blockchain client) and configure it to utilize your connected storage devices. Ensure sufficient RAM and CPU resources for efficient plotting.

5. תחזוקה
Regular maintenance ensures the longevity and stable operation of your motherboard and mining rig.
- ניקוי: Periodically clean dust from the motherboard, CPU cooler, and GPU fans using compressed air. Ensure the system is powered off and unplugged before cleaning.
- עדכוני קושחה: Check the official Biostar website for the latest BIOS/UEFI firmware updates. Updating firmware can improve stability, compatibility, and performance. Follow the update instructions carefully to avoid damaging the motherboard.
- ניהול כבלים: Ensure all power and data cables are neatly organized to promote better airflow and prevent accidental disconnections.
6. פתרון תקלות
סעיף זה עוסק בבעיות נפוצות שאתה עשוי להיתקל בהן.
- המערכת לא מאתחלת:
- בדוק את כל חיבורי החשמל (ATX 24 פינים, מעבד 8 פינים, חשמל לכרטיס מסך).
- התקן מחדש את מודולי ה-RAM. נסה לאתחל עם דיסק און קי אחד בלבד.
- נקה את ה-CMOS (עיין במדריך למשתמש של לוח האם לקבלת מיקום הג'מפר).
- GPUs Not Detected:
- Ensure 'Above 4G Decoding' is enabled in BIOS.
- Update graphics drivers to the latest version.
- Check PCIe riser connections if using them.
- Verify power delivery to all GPUs.
- חוסר יציבות/קריסות מערכת:
- בדוק את טמפרטורות המעבד והכרטיס הגרפי. ודא שקירור נאות.
- אימות ספק הכוחtage מספיק לכל הרכיבים.
- הפעל כלי אבחון זיכרון כדי לבדוק את תקינות ה-RAM.
For more detailed troubleshooting or specific error codes, consult the official Biostar support resources or community forums.
7. אחריות ותמיכה
Biostar products are manufactured to high-quality standards. For specific warranty terms and conditions, please refer to the warranty card included with your product or visit the official Biostar webאֲתַר.
For technical support, driver downloads, and further product information, please visit the official Biostar support page or the Biostar store on Amazon: