
Montech X1
Montech X1 Black ATX Mid-Tower Case User Manual
Model: X1 | Brand: Montech
מָבוֹא
The Montech X1 Black ATX Mid-Tower Case is designed to provide excellent airflow and aesthetic appeal for your PC build. It features a unique mesh front panel, a tempered glass side panel, and comes pre-installed with four 120mm Autoflow RGB LED fans to ensure optimal cooling and a vibrant look right out of the box. This manual provides essential information for setting up, operating, and maintaining your Montech X1 case.

תמונה: קדמי-שמאלי view of the Montech X1 Black ATX Mid-Tower Case, showcasing the mesh front panel with three RGB fans and the tempered glass side panel.
התקנה והתקנה
1. Unpacking and Contents Check
Carefully remove the Montech X1 case from its packaging. Inspect for any signs of damage during transit. Ensure all accessories, such as screws, standoffs, and cable ties, are present.
2. התקנת לוח אם
The Montech X1 supports ATX, Micro ATX, and Mini ITX motherboards. Install the necessary standoffs for your motherboard form factor. Carefully place your motherboard into the case, aligning it with the standoffs, and secure it with screws.

תמונה: פנימי view of the Montech X1 case, highlighting compatible motherboard sizes (ATX, Micro-ATX, Mini-ITX) and fan mounting locations (Front 120mm*3, Rear 120mm*1, Top 120mm*2), along with SSD drive bay locations.
3. התקנת מפרץ כוננים
The case provides 3 x 2.5" drive bays and 1 x 3.5" drive bay. Install your SSDs and HDDs into the designated bays and secure them with the provided screws.
4. התקנת יחידת ספק כוח (PSU)
The Montech X1 supports bottom-mount ATX power supplies. Slide your PSU into the dedicated compartment at the bottom rear of the case and secure it with screws from the rear of the case.
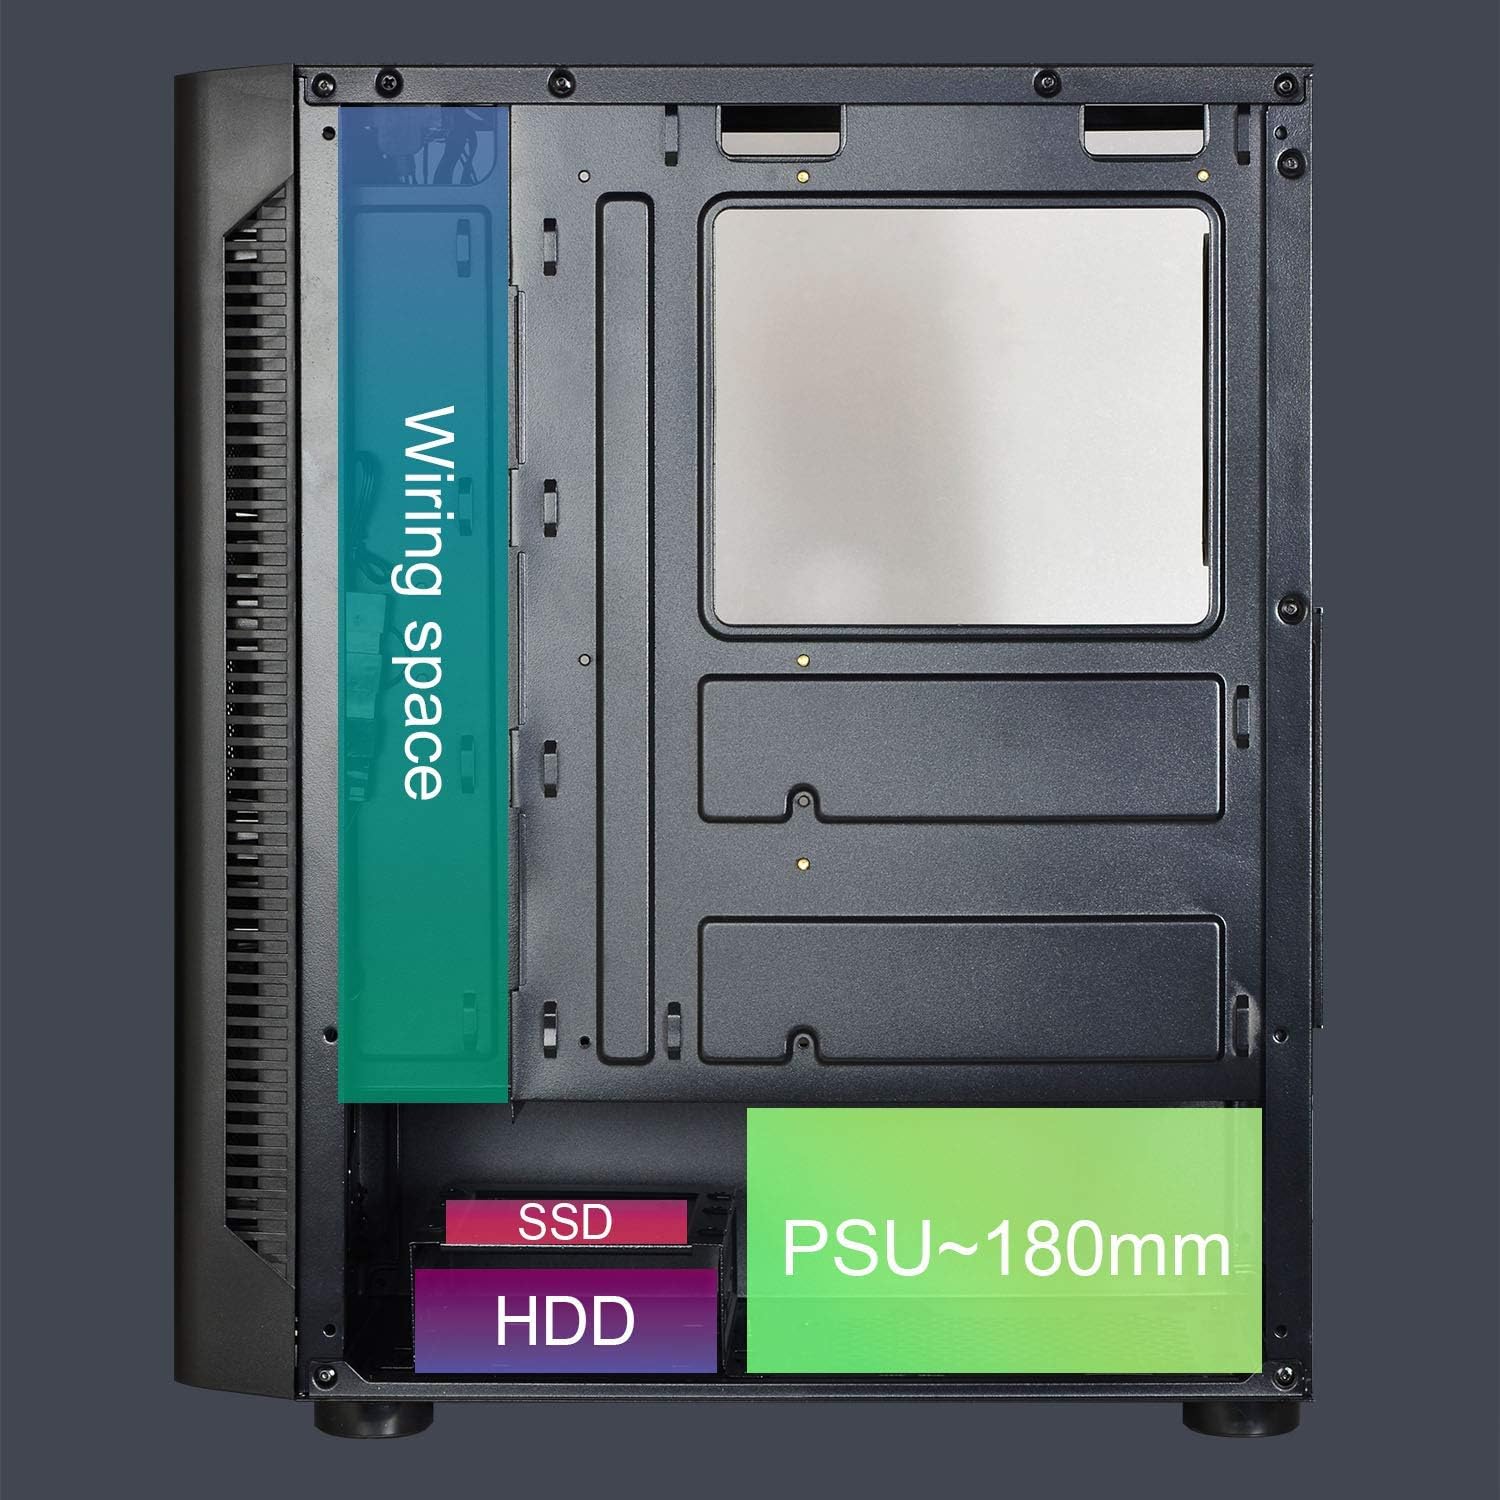
תמונה: פנים אחורי view of the Montech X1 case, illustrating the wiring space behind the motherboard tray, and the designated areas for SSD, HDD, and the Power Supply Unit (PSU) with an approximate length of 180mm.
5. Fan Configuration and Airflow
The Montech X1 comes with four 120mm Autoflow RGB fans pre-installed: three at the front and one at the rear. These fans are designed for optimal airflow and provide fixed RGB lighting that is not user-controllable. The mesh front panel and top ventilation further enhance the high airflow design.
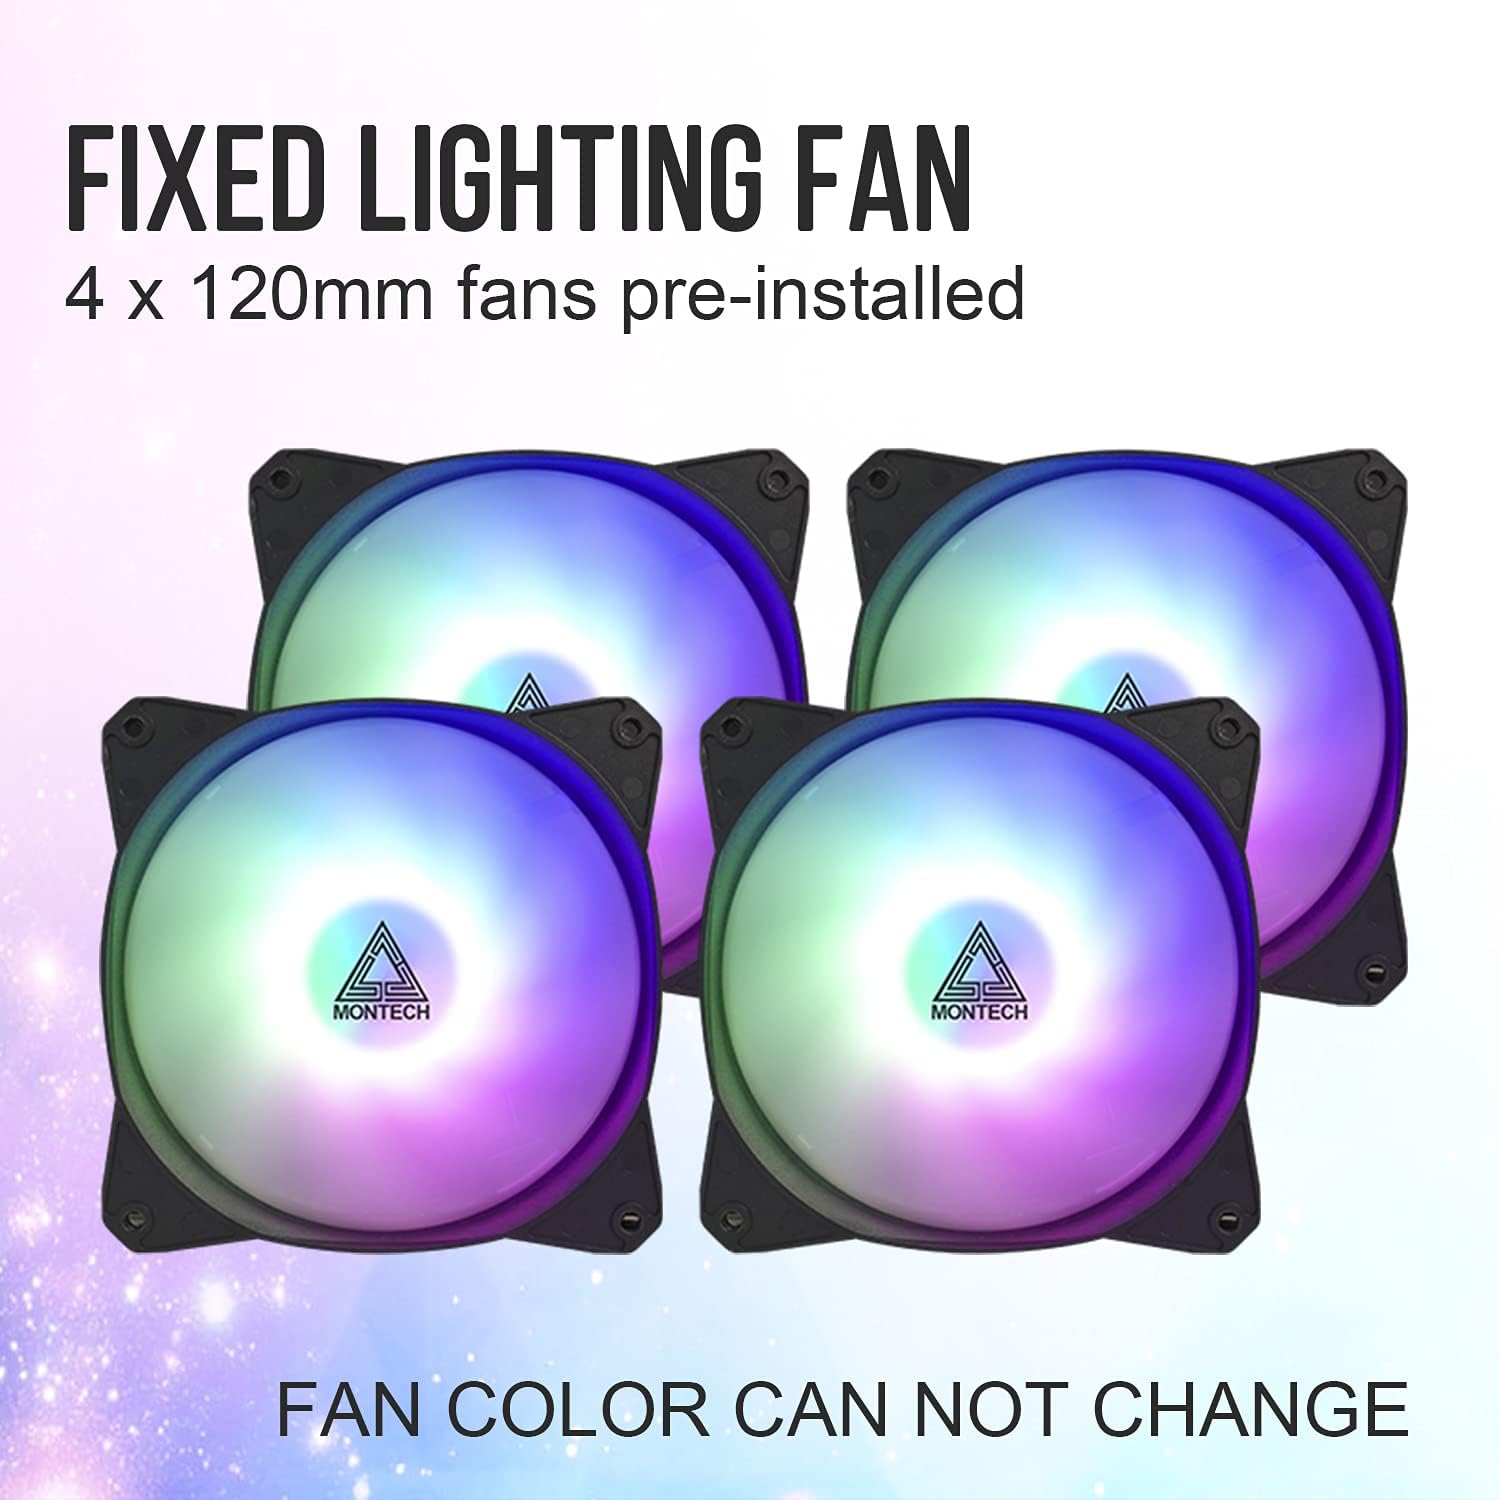
Image: Four individual 120mm Autoflow RGB fans, highlighting that they are pre-installed and have fixed lighting that cannot be changed.
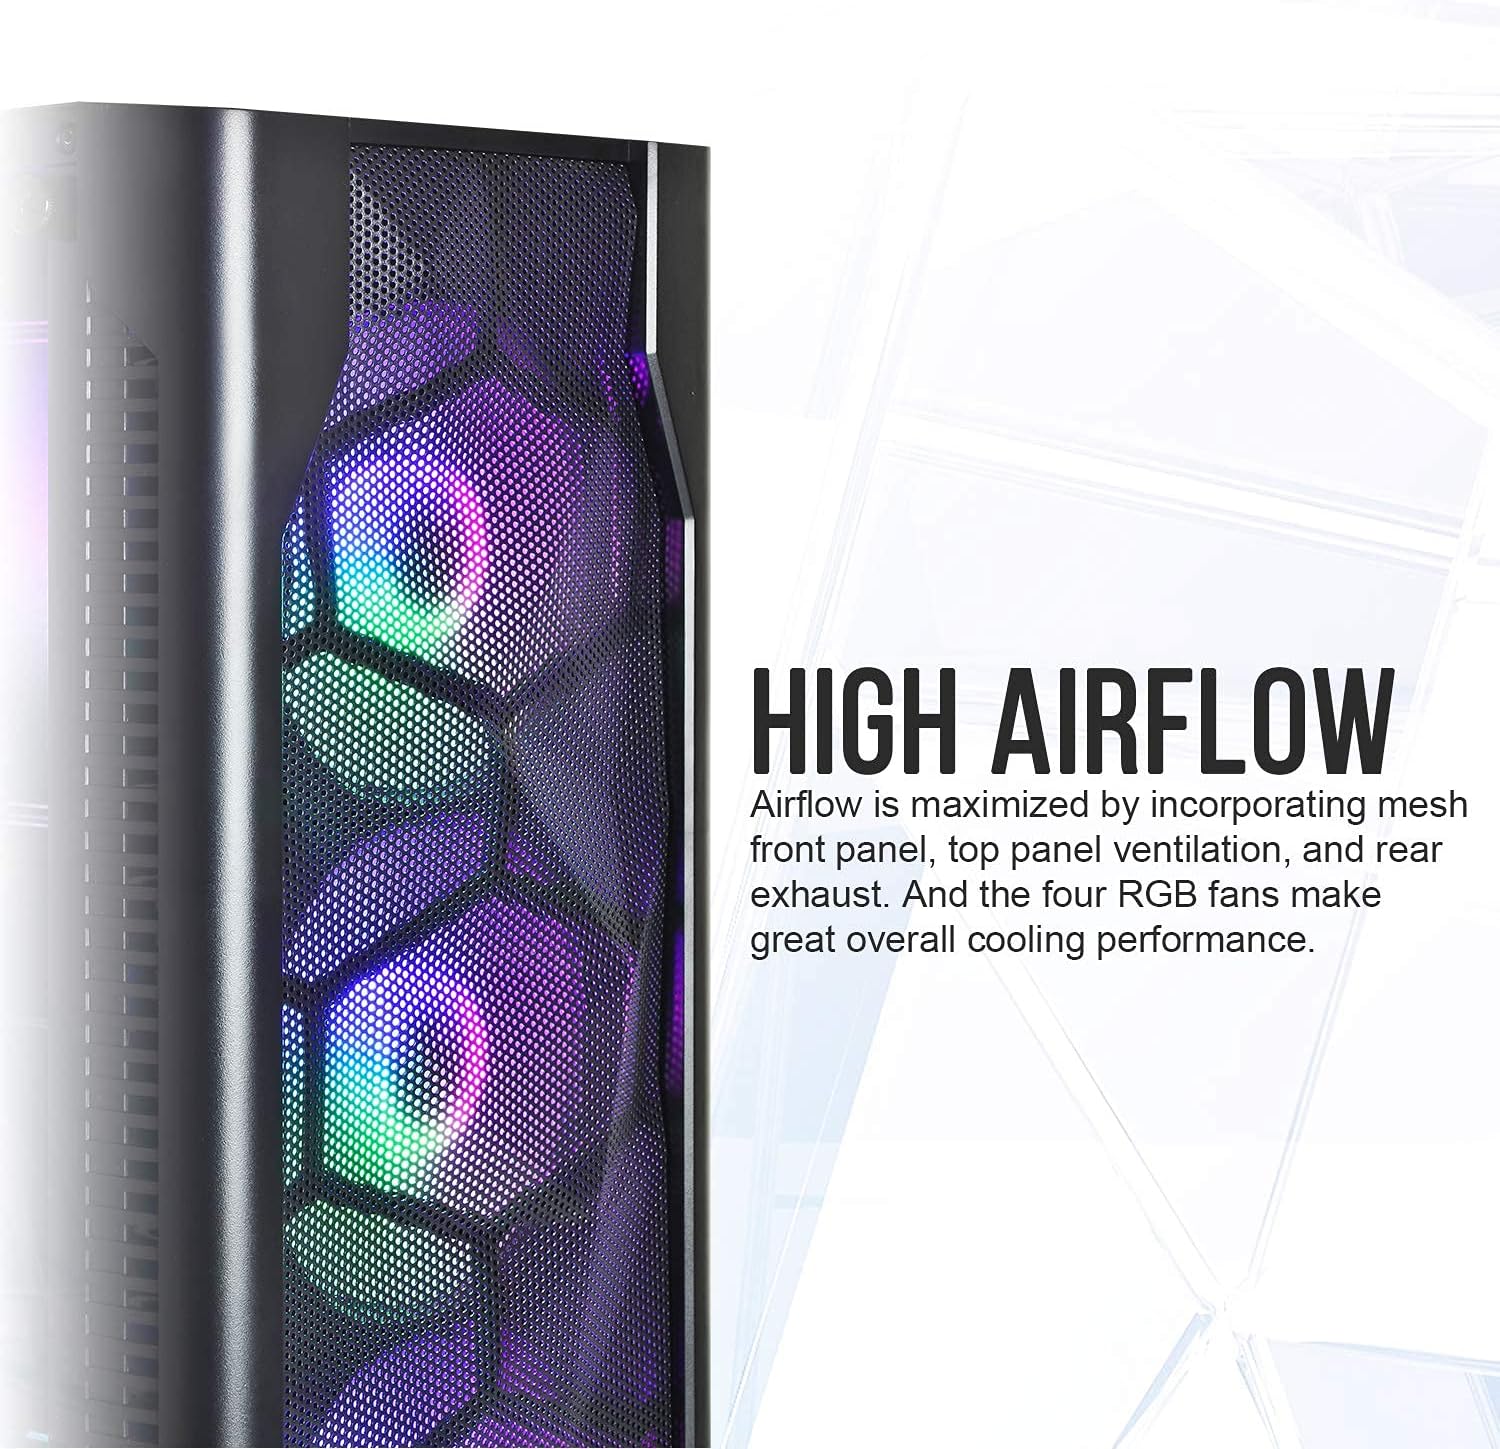
תמונה: תקריב view of the Montech X1's mesh front panel, emphasizing its high airflow design. The image shows the hexagonal mesh pattern and the RGB lighting of the pre-installed fans behind it.
6. I/O Port Connections
Connect the front panel I/O cables (USB 2.0 x2, USB 3.0 x1, Audio x1, Mic x1) to their respective headers on your motherboard. Ensure correct polarity for power and reset switches, and LED indicators.
הוראות הפעלה
Once all components are installed and connected, close the tempered glass side panel. The pre-installed Autoflow RGB fans will illuminate automatically upon system power-on, providing consistent cooling and a vibrant display. These fans operate at a fixed speed and lighting pattern and are not controllable via software or external controllers.
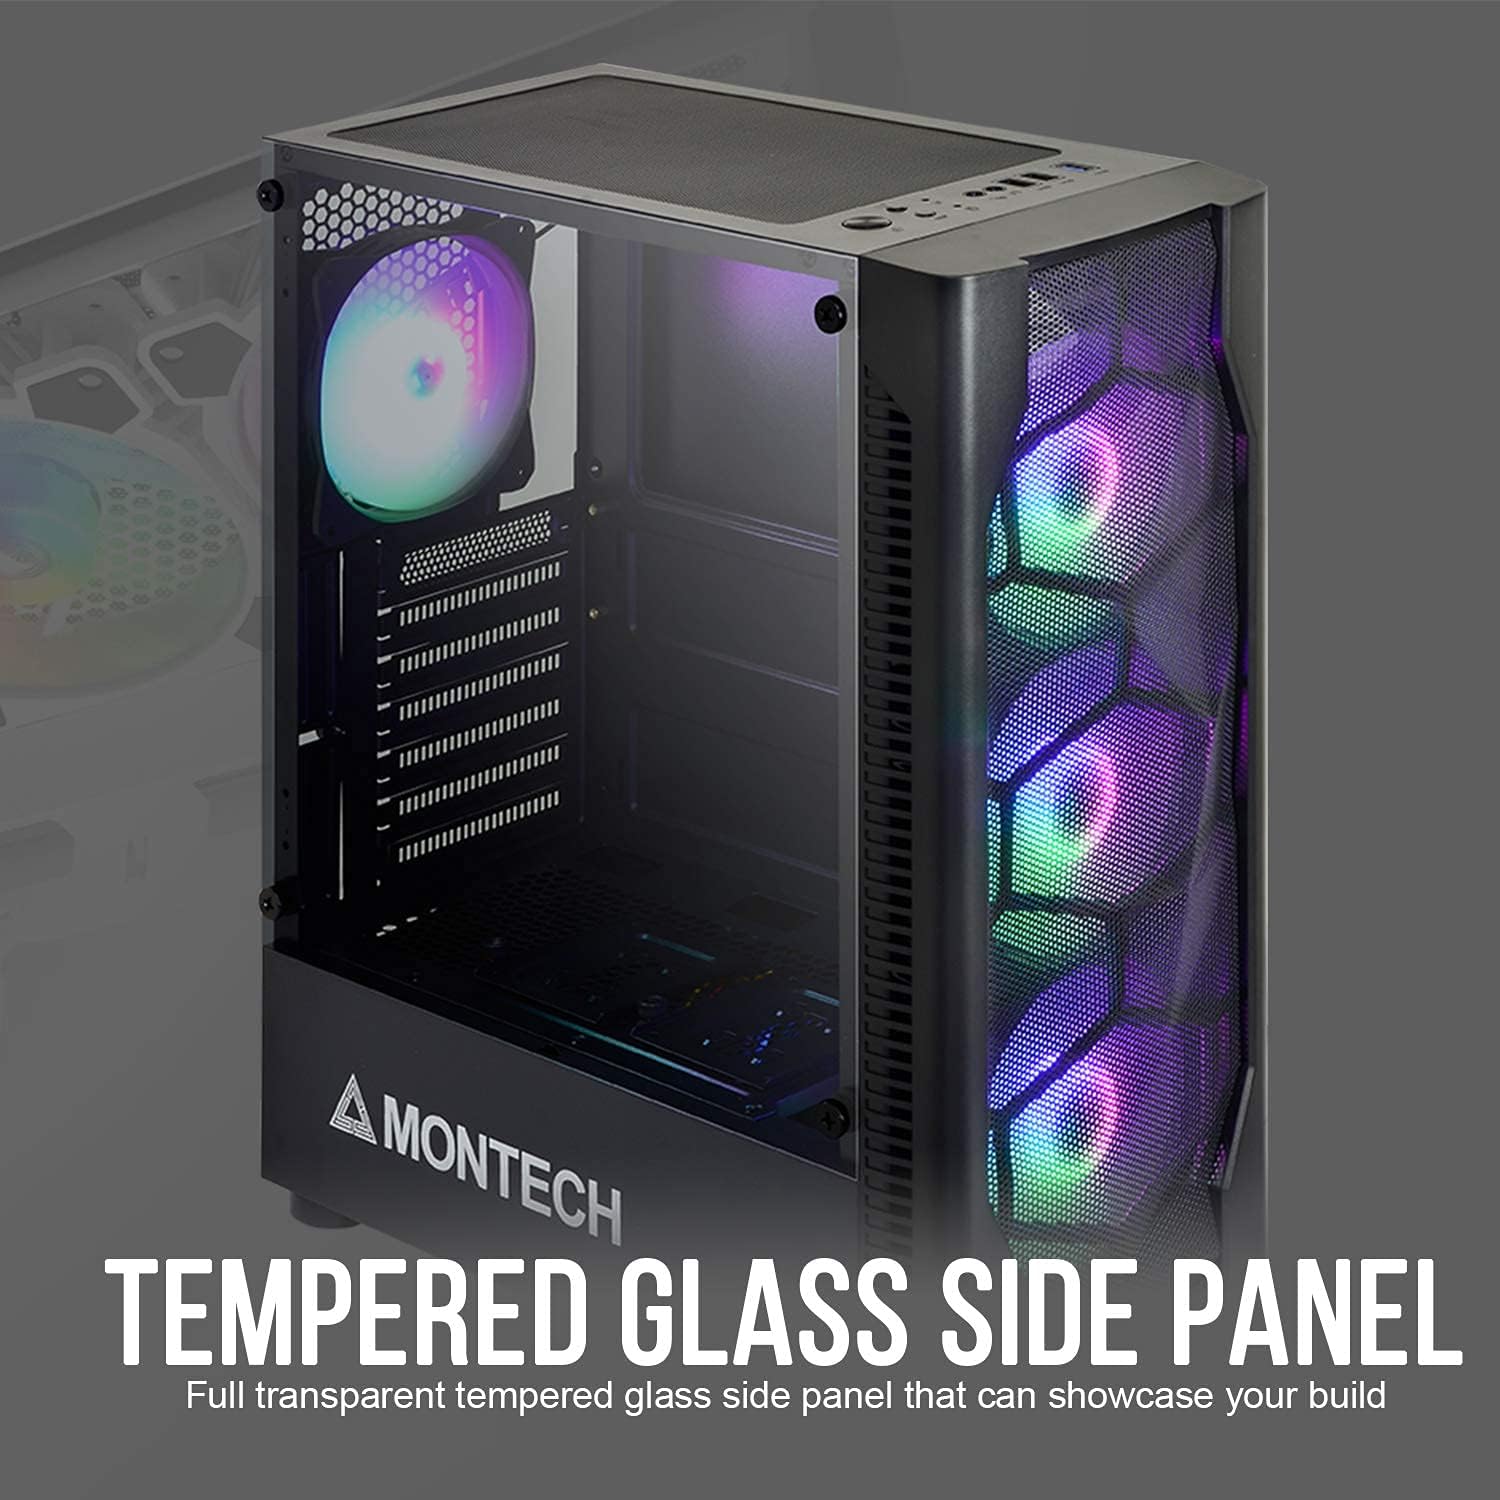
Image: The Montech X1 case with its full transparent tempered glass side panel installed, showcasing the internal components and the illuminated RGB fans.
תַחזוּקָה
תחזוקה שוטפת מסייעת להבטיח ביצועים אופטימליים ואורך חיים של רכיבי המחשב שלך.
- מסנני אבק: The Montech X1 includes dust filters at the top and bottom. Periodically remove and clean these filters to prevent dust buildup inside the case, which can impede airflow and component cooling. Use compressed air or a soft brush to remove dust.
- ניקיון כללי: Use a soft, dry cloth to wipe down the exterior of the case. For the tempered glass panel, use a glass cleaner and a microfiber cloth to avoid streaks.
- אבק פנימי: Every few months, open the side panel and use compressed air to gently clear dust from internal components like CPU cooler fins, GPU heatsinks, and fan blades.
פתרון בעיות
If you encounter issues with your Montech X1 case, consider the following common troubleshooting steps:
- Fans Not Lighting Up: Ensure all fan power cables are securely connected to the motherboard or power supply. Verify that the system is receiving power. Remember, the fans have fixed RGB lighting and are not controllable.
- אין חשמל למערכת: Double-check all power connections, including the 24-pin ATX power, 8-pin CPU power, and GPU power cables. Ensure the PSU switch is in the 'ON' position.
- Front Panel I/O Not Working: Verify that the USB, audio, and power/reset switch cables from the front panel are correctly connected to the corresponding headers on your motherboard. Refer to your motherboard manual for correct pinouts.
- זרימת אוויר לקויה/התחממות יתר: Ensure dust filters are clean and not obstructed. Verify that all pre-installed fans are spinning. Ensure proper cable management to avoid obstructing airflow paths.
מפרטים
| תכונה | פְּרָט |
|---|---|
| שם המוצר | X1 |
| צבע זמין | שָׁחוֹר |
| מידות (LxWxH) | 380 x 190 x 447 מ"מ |
| תמיכה בלוח אם | ATX / Micro ATX / Mini ITX |
| חריצי הרחבה | 7 |
| דרייב בייס | 2.5" x 3 / 3.5" x 1 |
| יציאת I/O | USB2.0 x 2, USB3.0 x 1, Audio x 1, Mic x 1 |
| מאווררים מותקנים מראש | Front: 120mm x 3 (Fixed Lighting Fan), Rear: 120mm x 1 (Fixed Lighting Fan) |
| תמיכת מעריצים | Front: 120mm x 3, Rear: 120mm x 1, Top: 120mm x 2 |
| VGA Clearance | 305 מ"מ |
| פינוי מצנן מעבד | 165 מ"מ |
| מסנני אבק | למעלה, למטה |
| תמיכה באספקת חשמל | הר תחתון, ATX |
| סוג חומר | זכוכית מחוסמת |
| משקל פריט | 1 ק"ג |
אחריות ותמיכה
Montech products are manufactured to high quality standards. For warranty information and technical support, please refer to the official Montech webאתר או צרו קשר ישירות עם שירות הלקוחות שלהם. שמרו את הוכחת הרכישה שלכם לצורך תביעות אחריות.
לסיוע נוסף, בקר בכתובת: מונטק רשמי Webאֲתַר
Ask a question about this manual
Ask about setup, troubleshooting, compatibility, parts, safety, or missing instructions. Manuals+ will review the question and use this page’s manual context to help answer it.