
1. הקדמה
Thank you for choosing the Reebok RDVNEG9P2S2B2N Digital Watch. This manual provides essential information for the proper setup, operation, and maintenance of your new timepiece. Please read this manual thoroughly before using the watch to ensure optimal performance and longevity.
2. מידע בטיחות
- עמידות במים: This watch is water resistant up to 100 meters. It is suitable for swimming and snorkeling but not for diving. Do not operate buttons underwater.
- טֶמפֶּרָטוּרָה: Avoid exposing the watch to extreme temperatures (hot or cold) for extended periods, as this may affect its accuracy and battery life.
- כימיקלים: הרחק את השעון מממסים, חומרי ניקוי, בשמים וקוסמטיקה, מכיוון שאלה עלולים לפגוע ברצועה, במארז או באטמים.
- פְּגִיעָה: Protect the watch from strong impacts or drops, which can damage internal components or the crystal.
- סוֹלְלָה: Do not attempt to open the watch case or replace the battery yourself, as this may void the warranty and damage the watch. Refer to qualified service personnel.
3. תכולת החבילה
ודא שכל הפריטים נמצאים בחבילה שלך:
- Reebok RDVNEG9P2S2B2N Digital Watch (with Stainless Steel Strap)
- Extra Silicone Strap
- Spring Bar Tool for strap replacement
- מדריך למשתמש (מסמך זה)
4. המוצר נגמרview
Familiarize yourself with the main components of your Reebok digital watch.
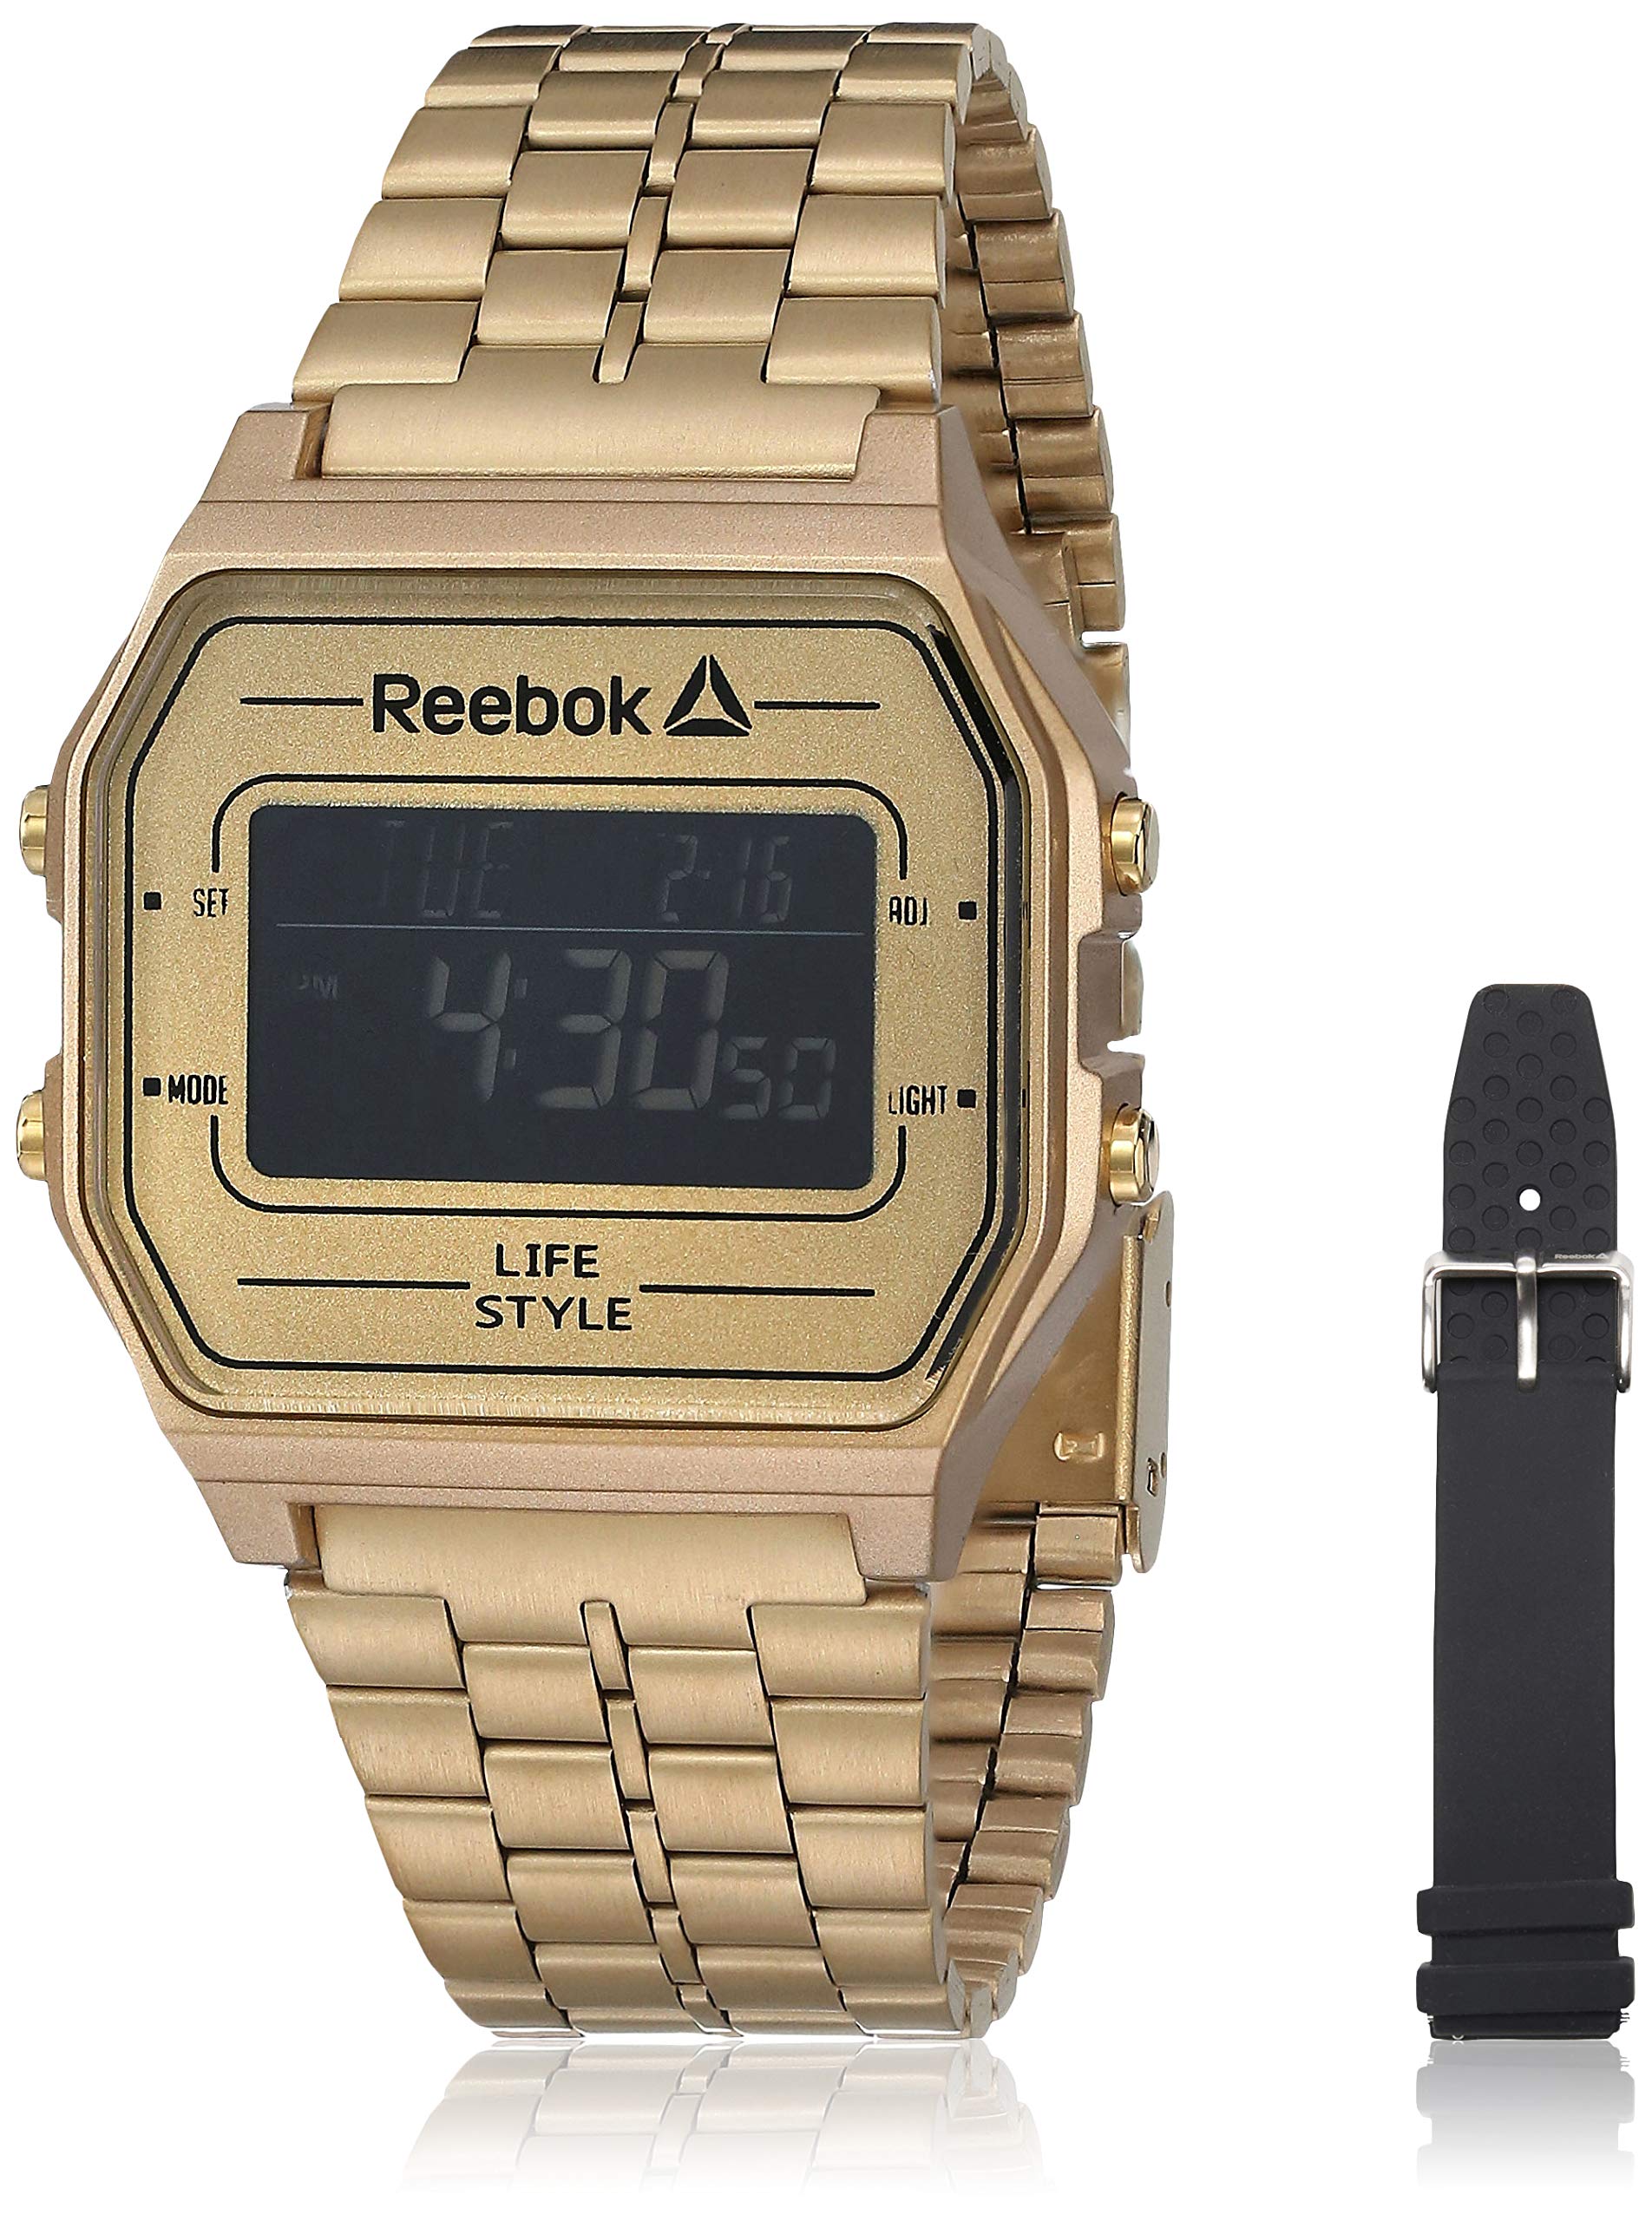
תמונה 1: חֲזִית view of the Reebok RDVNEG9P2S2B2N Digital Watch with its gold stainless steel strap. The digital display shows time and date, and control buttons are visible on the sides.
- לְהַצִיג: מסך דיגיטלי המציג זמן, תאריך ופונקציות נוספות.
- לחצן SET: משמש להזנה ואישור של הגדרות.
- לחצן MODE: Cycles through different watch modes (Time, Alarm, Stopwatch, etc.).
- כפתור ADJ: Adjusts values during setting.
- לחצן LIGHT: מפעיל את התאורה האחורית לנראות בתנאי תאורה חלשים.
- מִקרֶה: Gold-colored stainless steel case.
- רְצוּעָה: Interchangeable straps (Stainless Steel and Silicone).
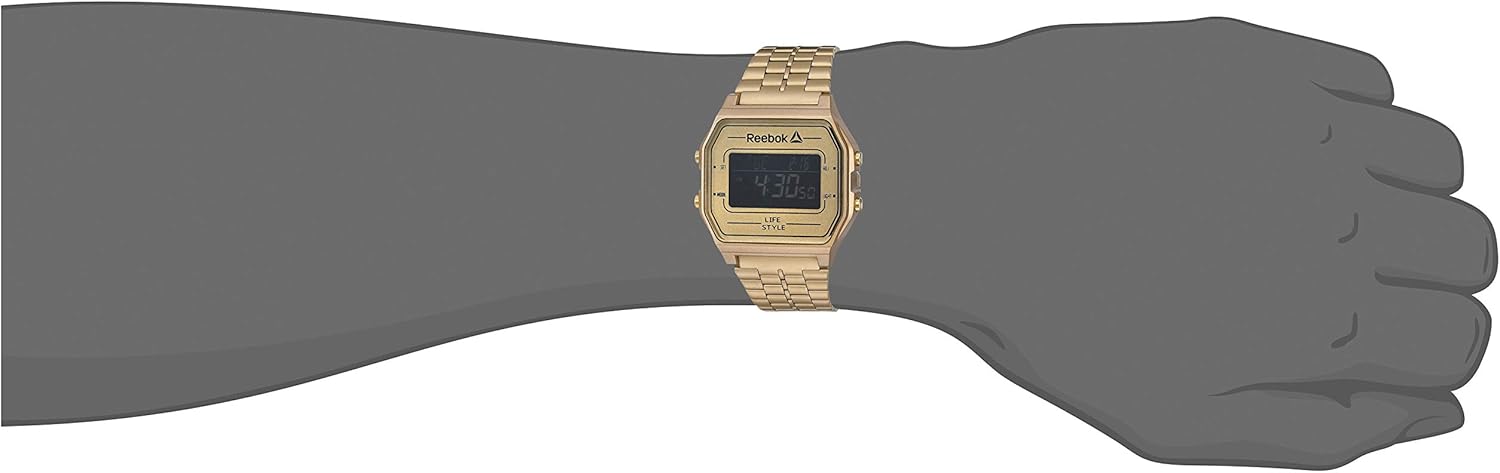
תמונה 2: The Reebok RDVNEG9P2S2B2N Digital Watch worn on a wrist, showcasing its size and fit with the gold stainless steel strap.
5. התקנה
5.1 הגדרת זמן ותאריך ראשוניים
- במצב שמירת זמן רגיל, לחצו והחזיקו את הלחצן מַעֲרֶכֶת עד שהשניות יתחילו להבהב. משמעות הדבר היא שאתה במצב הגדרה.
- הקש על MODE לחץ על הכפתור כדי לעבור בין ההגדרות: שניות ← שעה ← דקה ← שנה ← חודש ← יום.
- השתמש ב- ADJ button to increase the flashing value. Hold the ADJ כפתור כדי לקדם את הערך במהירות.
- לאחר שכל ההגדרות מותאמות, לחצו על הלחצן מַעֲרֶכֶת שוב כדי לצאת ממצב ההגדרות ולשמור את השינויים.
5.2 פורמט 12/24 שעות
במצב הגדרת זמן (שניות מהבהבות), לחצו על ADJ לחץ על הכפתור כאשר השעה מהבהבת כדי לעבור בין פורמטים של 12 שעות (עם מחוון AM/PM) לפורמטים של 24 שעות.
6. הפעלת השעון
6.1 בחירת מצבים
הקש על MODE לחצו שוב ושוב על הלחצן כדי לעבור בין הפונקציות הזמינות:
- מצב שמירת זמן (מציג את השעה והתאריך הנוכחיים)
- מצב אזעקה
- מצב שעון עצר
6.2 שימוש בתאורה האחורית
הקש על אוֹר כדי להאיר את הצג למשך מספר שניות. זה שימושי בסביבות חשוכות.
6.3 פונקציית אזעקה
- ממצב שמירת זמן, לחצו MODE until "AL" or "Alarm" appears on the display.
- לחץ והחזק את מַעֲרֶכֶת עד ששעת האזעקה תהבהב.
- השתמש ב- ADJ לחצן כדי להגדיר את השעה הרצויה. ללחוץ MODE לעבור לדקות.
- השתמש ב- ADJ כפתור כדי להגדיר את הדקות הרצויות.
- לִלְחוֹץ מַעֲרֶכֶת כדי לאשר ולצאת מהגדרת האזעקה.
- כדי להפעיל/לכבות את האזעקה, לחצו על ADJ button while in Alarm Mode (without holding SET). An alarm icon will appear/disappear.
6.4 פונקציית שעון עצר
- ממצב שמירת זמן, לחצו MODE until "ST" or "Stopwatch" appears on the display.
- הקש על ADJ כפתור כדי להפעיל את שעון העצר.
- הקש על ADJ לחץ שוב על הכפתור כדי לעצור את שעון העצר.
- הקש על מַעֲרֶכֶת כפתור כדי לאפס את שעון העצר.
- To exit Stopwatch Mode, press the MODE לַחְצָן.
7. החלפת רצועה
Your Reebok watch comes with an extra silicone strap and a spring bar tool for easy strap changes. Follow these steps carefully to avoid scratching your watch or damaging the spring bars.
7.1 Removing the Current Strap
- Place the watch face down on a soft, clean cloth to prevent scratches.
- Locate the spring bar tool. It typically has a forked end.
- Insert the forked end of the tool between the strap and the watch lug (the part of the watch case where the strap attaches).
- Gently push the spring bar inwards (towards the center of the strap) to compress it.
- Once one end of the spring bar is disengaged from the lug hole, carefully pull the strap away from the watch.
- Repeat for the other side of the strap and for the second strap piece.
- Keep the spring bars in a safe place if you intend to reuse the strap.
7.2 Attaching a New Strap
- Insert one end of a spring bar into one of the lug holes on the watch case.
- With the spring bar tool, compress the other end of the spring bar.
- Guide the compressed end into the opposite lug hole.
- Release the spring bar tool, ensuring both ends of the spring bar are securely seated in the lug holes. Gently tug on the strap to confirm it is firmly attached.
- Repeat for the second strap piece.
8. תחזוקה
8.1 ניקוי
- Watch Case and Stainless Steel Strap: Wipe regularly with a soft, dry cloth. For stubborn dirt, use a slightly damp בד וסבון עדין, ולאחר מכן יבש היטב.
- רצועת סיליקון: Wash with mild soap and water, then rinse and dry completely.
- Avoid using abrasive cleaners or chemical solvents.
8.2 טיפול בעמידות למים
- Ensure the watch crown (if applicable, though this is a digital watch with buttons) and buttons are fully pressed in before any contact with water.
- אין להפעיל את הכפתורים בזמן שהשעון שקוע במים.
- לאחר חשיפה למי מלח, יש לשטוף את השעון במים מתוקים ולייבש אותו היטב.
- Water resistance is not a permanent condition and may decrease over time. Have the seals checked periodically by a qualified technician.
8.3 החלפת סוללה
When the display becomes dim or the watch stops functioning, the battery may need replacement. It is recommended to have the battery replaced by a professional watch technician to ensure proper sealing and water resistance integrity.
9. פתרון תקלות
| בְּעָיָה | סיבה אפשרית | פִּתָרוֹן |
|---|---|---|
| תצוגת השעון ריקה או עמומה. | סוללה חלשה או ריקה. | החלף את הסוללה (מומלץ על ידי איש מקצוע). |
| הזמן אינו מדויק. | הגדרת זמן שגויה; חשיפה לשדות מגנטיים חזקים; סוללה חלשה. | Reset the time and date (refer to Section 5.1). Keep away from strong magnets. Replace battery if issue persists. |
| הכפתורים אינם מגיבים. | השעון רטוב; תקלה פנימית. | ודא שהשעון יבש. אם הבעיה נמשכת, צור קשר עם תמיכת הלקוחות. |
| מים בתוך השעון. | עמידות למים נפגעת; הכפתורים מופעלים מתחת למים. | קח את השעון מיד לאיש מקצוע לבדיקה ותיקון כדי למנוע נזק נוסף. |
10. מפרטים
- מספר דגם: RDVNEG9P2S2B2N
- סוג תצוגה: דִיגִיטָלי
- תְנוּעָה: קְוָרץ
- חומר המארז: נירוסטה
- קוטר המארז: 42 מ"מ
- עובי מארז: 5 מ"מ
- חומר רצועה: Stainless Steel (Gold), Silicone (Extra)
- רוחב רצועה: 4 ס"מ
- גָבִישׁ: מִינֵרָלִי
- עמידות במים: 100 מטר (330 רגל)
- מקור כוח: סוֹלְלָה
- סוג אבזם: Buckle (for silicone), Elegant Clasp (for stainless steel)
11. אחריות ותמיכה
11.1 אחריות יצרן
This Reebok watch is covered by a manufacturer's warranty. Please refer to the warranty card included in your original packaging for specific terms, conditions, and duration. The warranty typically covers manufacturing defects but does not cover damage resulting from misuse, accidents, unauthorized repairs, or normal wear and tear.
11.2 תמיכת לקוחות
For technical assistance, warranty claims, or service inquiries, please contact Reebok customer support through their official website or the contact information provided with your purchase documentation. When contacting support, please have your watch model number (RDVNEG9P2S2B2N) and proof of purchase readily available.