1. מבוא ומעלהview
The Unify OpenScape DeskPhone CP200T is an entry-level digital IP phone designed for essential communication needs in a professional environment. This manual provides detailed instructions for setting up, operating, and maintaining your CP200T phone, ensuring optimal performance and longevity.
Key features include a clear black and white display, programmable function keys, and hands-free operation. The phone is built for reliability and ease of use, making it suitable for various business communication requirements.
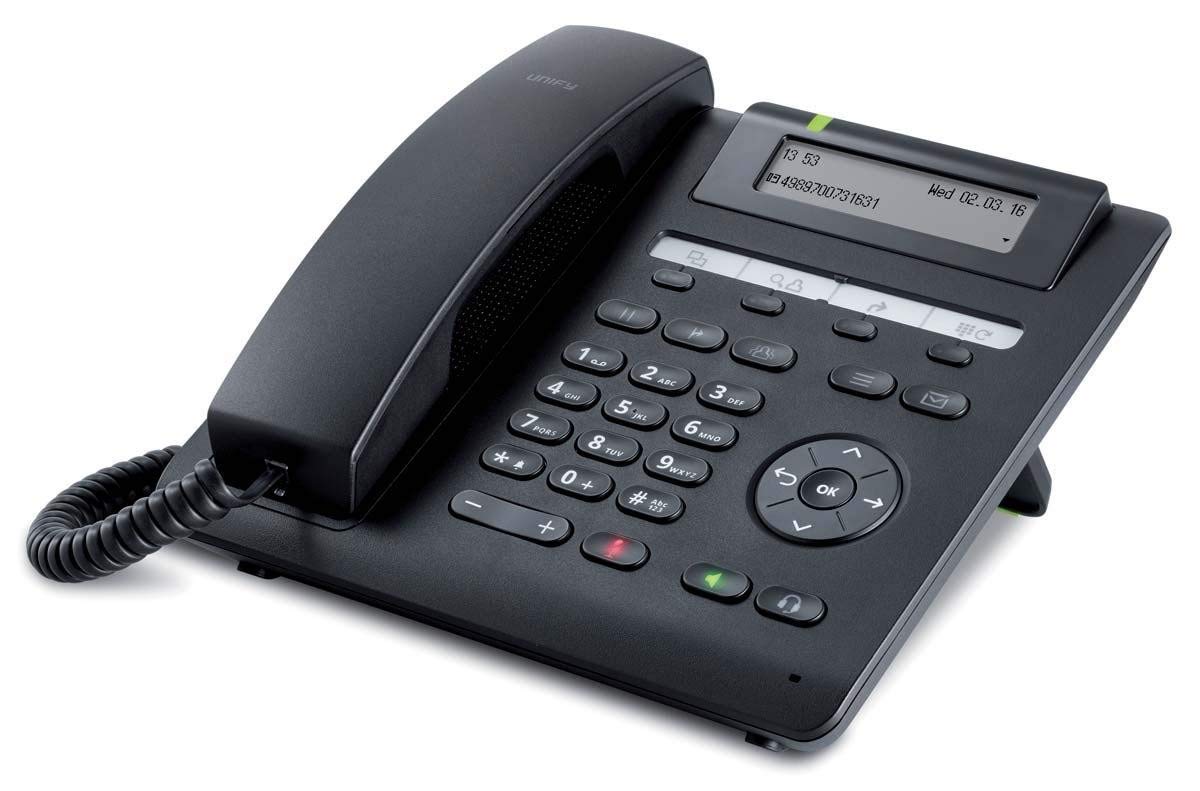
איור 1: חזית view of the Unify OpenScape DeskPhone CP200T IP Phone, showcasinהתצוגה והלוח המקשים שלה.
2. תכונות מוצר
- לְהַצִיג: 2.7-inch black and white graphical display, 2-line view for clear information.
- מקשים ניתנים לתכנות: 4 freely programmable function keys with LED indicators for quick access to features.
- מקשי פונקציה קבועים: 5 dedicated keys for common functions such as call transfer, message access, and speakerphone.
- הפעלה ללא ידיים: Full-duplex speakerphone for clear conference calls and hands-free communication.
- Headset Support: Connect a wired headset via an adapter (sold separately) for private conversations.
- ניתן לתלייה על הקיר: The phone can be mounted on a wall using an optional installation kit (sold separately).
- זיהוי מתקשר: Supports caller identification for incoming calls.
3. הוראות התקנה
Follow these steps to set up your Unify OpenScape DeskPhone CP200T:
- פתיחת האריזה של הטלפון: Carefully remove all components from the packaging. Ensure you have the phone unit, handset, handset cord, and Ethernet cable.
- חבר את השפופרת: Plug one end of the coiled handset cord into the handset and the other end into the designated port on the phone base (usually marked with a handset icon).
- התחבר לרשת: Connect one end of the Ethernet cable to the LAN port on the back of the phone (often labeled "LAN" or with a network icon) and the other end to an active network port (e.g., a wall jack or network switch).
- חיבור חשמל (אם רלוונטי): If your network does not provide Power over Ethernet (PoE), connect an appropriate power adapter (sold separately) to the power port on the phone and then to a power outlet. The phone will power on automatically.
- Initial Boot-Up: The phone will display a boot-up sequence. This may take a few moments. It will then attempt to connect to your network and register with your IP PBX system.
- תְצוּרָה: Network and system configuration is typically handled by your IT administrator. If the phone does not register automatically, contact your IT department for assistance.
4. הוראות הפעלה
4.1 ביצוע וקבלת שיחות
- להתקשר: Lift the handset or press the speakerphone button. Dial the desired number using the keypad. Press the "Dial" or "Send" soft key (if available) or wait for the call to connect automatically.
- כדי לענות לשיחה: כאשר הטלפון מצלצל, הרם את השפופרת או לחץ על כפתור הרמקול.
- כדי לסיים שיחה: הניחו את השפופרת או לחצו שוב על כפתור הרמקול.
4.2 שימוש במקשים הניתנים לתכנות
The 4 programmable keys can be configured by your system administrator for various functions such as speed dial, line appearance, or feature access. Refer to your system's specific configuration for their assigned functions. The LED indicator next to each key shows its status (e.g., active, ringing).
4.3 התאמת עוצמת הקול
Use the volume control buttons (typically located on the side or bottom of the keypad) to adjust the handset, speakerphone, or ringer volume during a call or when idle.
4.4 Speakerphone and Mute
- רמקול: Press the dedicated speakerphone button to activate or deactivate hands-free mode.
- לְהַשְׁתִיק: Press the mute button (often indicated by a microphone icon with a slash) to mute your microphone during a call. Press it again to unmute.
4.5 העברת שיחות
To transfer an active call, press the "Transfer" fixed function key. Dial the number of the party you wish to transfer the call to. You may then either announce the call (consultative transfer) or complete the transfer directly (blind transfer) depending on your system's configuration and the soft key options displayed on the screen.
5. תחזוקה
Proper care and maintenance will extend the life of your Unify OpenScape DeskPhone CP200T.
- ניקוי: Use a soft, dry, lint-free cloth to clean the phone's display and casinז. עבור סימנים עקשניים, מעט דחוסיםampשטפו את המטלית במים. אין להשתמש בכימיקלים חזקים, חומרי ניקוי שוחקים או ממסים.
- הימנע מנוזלים: Keep the phone away from liquids and moisture. Do not immerse the phone in water or expose it to excessive humidity.
- טֶמפֶּרָטוּרָה: Operate and store the phone within recommended temperature ranges. Avoid extreme heat or cold.
- ניהול כבלים: Ensure all cables are securely connected and not strained or tangled to prevent damage.
6. פתרון תקלות
If you encounter issues with your Unify OpenScape DeskPhone CP200T, refer to the following common problems and solutions:
| בְּעָיָה | סיבה אפשרית | פִּתָרוֹן |
|---|---|---|
| הטלפון לא נדלק. | אין ספק כוח או כבל פגום. | Check if the Ethernet cable is properly connected (for PoE) or if the power adapter is securely plugged into both the phone and a working outlet. |
| אין צליל חיוג / לא ניתן לבצע שיחות. | Network connection issue or phone not registered. | Verify the Ethernet cable connection. Restart the phone. Contact your IT administrator to check network connectivity and phone registration status. |
| התצוגה ריקה או קפואה. | תקלת תוכנה או בעיית חשמל. | Unplug the power/Ethernet cable, wait 10 seconds, then plug it back in to restart the phone. If the problem persists, contact IT support. |
| איכות שמע ירודה (הד, רעשים סטטיים). | Network congestion, faulty cable, or handset issue. | Check network connection. Try adjusting volume. If using a headset, ensure it's properly connected. Contact IT support if the issue continues. |
For issues not listed here or if the suggested solutions do not resolve the problem, please contact your IT support department or the product vendor for further assistance.
7. מפרטים
| תכונה | פְּרָט |
|---|---|
| מותג | לאחד |
| מספר דגם | L30250-F600-C435 |
| לְהַצִיג | 2.7-inch black and white, 2-line |
| מקשים ניתנים לתכנות | 4 with LED indicators |
| מקשי פונקציה קבועים | 5 |
| מקור כוח | Wired (PoE or optional power adapter) |
| חוֹמֶר | פּלָסטִי |
| מִשׁקָל | 1.1 קילוגרם |
| מידות (חבילה) | 25 x 22 x 10 ס"מ |
| זיהוי מתקשר | כֵּן |
| סוג התקנה | Wall (with separate kit) |
8. אחריות ותמיכה
מידע על אחריות: For specific warranty terms and conditions, please refer to the warranty card included with your product or contact your point of purchase. Warranty coverage typically includes defects in materials and workmanship under normal use.
תמיכה טכנית: If you require technical assistance, have questions about advanced features, or encounter issues not covered in this manual, please contact your IT administrator or the authorized Unify service provider. Ensure you have your product model number (L30250-F600-C435) and serial number ready when contacting support.