BESDER BES-MH03
מדריך למשתמש של מצלמת IP לאבטחה ביתית של BESDER
Model: BES-MH03
1. הקדמה
Thank you for choosing the BESDER Home Security IP Camera. This wireless smart WiFi camera is designed to provide reliable surveillance, audio recording, and baby monitoring capabilities with high-definition video. This manual will guide you through the setup, operation, and maintenance of your new device to ensure optimal performance and security.
2. מידע בטיחות
- Ensure the camera is powered by the correct voltage (DC 5V) as specified.
- Do not expose the camera to water or moisture. It is designed for indoor use only.
- הימנעו מהנחת המצלמה באור שמש ישיר או בקרבת מקורות חום.
- Do not attempt to disassemble or repair the camera yourself. Contact qualified personnel for service.
- הרחיקו את המצלמה והאביזרים שלה מהישג ידם של ילדים.
- Use only the provided power adapter and cable to prevent damage.
3. תכולת החבילה
אנא בדקו את החבילה כדי לוודא שכל הפריטים נמצאים ובמצב תקין:
- BESDER Home Security IP Camera
- כבל חשמל USB
- מתאם מתח (DC 5V)
- ברגי הרכבה ותקעים לקיר
- מדריך למשתמש (מסמך זה)

Image showing the BESDER IP Camera along with its accessories: a USB power cable, a power adapter, and a packet of mounting screws.
4. המוצר נגמרview
Familiarize yourself with the main components of your BESDER IP Camera:
- עדשת מצלמה: מצלם וידאו footage.
- נוריות אינפרא אדום: לראיית לילה.
- מִיקרוֹפוֹן: לכניסת שמע.
- רַמקוֹל: לתקשורת שמע דו כיוונית.
- חריץ לכרטיס SD: לאחסון וידאו מקומי (תומך בעד 64GB).
- Power Interface (DC 5V): מתחבר למתאם החשמל.
- לחצן איפוס: משמש לשחזור הגדרות יצרן.

Diagram illustrating the side view of the BESDER IP Camera, highlighting the SD Card slot, Power interface (DC 5V), and Reset button.
5. התקנה
5.1. הפעלה
- Connect the USB power cable to the camera's power interface.
- חבר את מתאם החשמל לשקע חשמל רגיל.
- The camera will power on, and its indicator light will begin to flash, indicating it's ready for setup.
5.2. App Installation (iCSee)
The BESDER IP Camera uses the iCSee application for remote monitoring and control.
- Download the iCSee app from your mobile device's app store (App Store for iOS or Google Play Store for Android).
הורד עבור iOS | הורד עבור אנדרואיד - פתח חשבון חדש או התחבר אם כבר יש לך אחד.
5.3. חיבור אינטרנט אלחוטי
Follow these steps to connect your camera to your home Wi-Fi network:
- Open the iCSee app and tap the "+" icon to add a new device.
- Select "Add My Device" or "Add Camera".
- Choose the "Wi-Fi Camera" option.
- Follow the on-screen prompts to enter your Wi-Fi network name (SSID) and password. Ensure your phone is connected to a 2.4GHz Wi-Fi network, as the camera may not support 5GHz.
- The app will generate a QR code. Position your phone's screen in front of the camera lens (approx. 15-20 cm away) until you hear a confirmation sound from the camera.
- Once connected, the camera's indicator light will turn solid blue. You can now name your camera and start monitoring.
5.4. הַרכָּבָה
ניתן להניח את המצלמה על משטח ישר או להתקין אותה על קיר או תקרה.
- בחרו מיקום מתאים עם שטח ברור view and within Wi-Fi range.
- If mounting, use the provided mounting screws and wall plugs to secure the camera base.
- Adjust the camera's angle as needed within the app after mounting.
6. הפעלה
6.1. לחיות View
Access real-time video feed from your camera through the iCSee app.
- Open the iCSee app and select your camera from the device list.
- The live video feed will appear. You can pan and tilt the camera remotely using the controls in the app.

Screenshot of a multi-camera monitoring interface, likely from the iCSee application, displaying live feeds from multiple cameras and recording controls.
6.2. הקלטה ואחסון
The camera supports local storage via a MicroSD card.
- Insert a MicroSD card (up to 64GB, Class 10 recommended) into the SD card slot.
- In the iCSee app settings, navigate to "Storage Settings" to format the SD card and configure recording modes (e.g., continuous, motion-triggered).
- פו מוקלטtage יכול להיות viewעורך והורד ישירות מהאפליקציה.
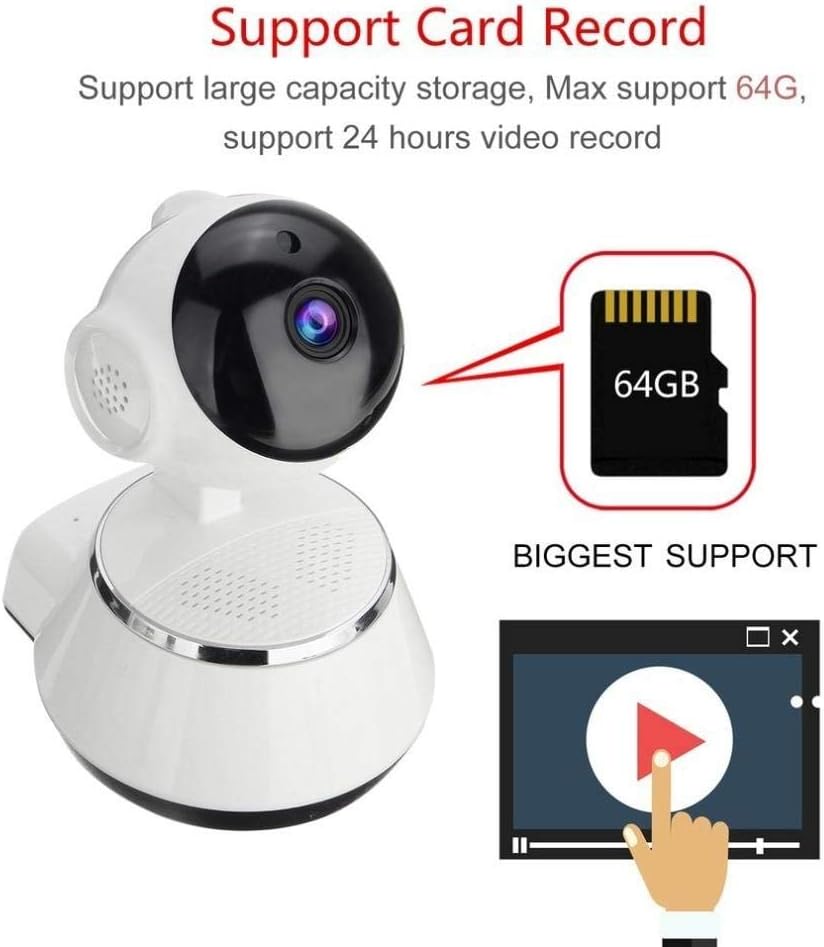
Image demonstrating the camera's support for large capacity storage, specifically showing a 64GB MicroSD card, indicating support for 24-hour video recording.
6.3. זיהוי תנועה
Receive alerts when motion is detected in the camera's field of view.
- Enable "Motion Detection" in the camera settings within the iCSee app.
- Adjust sensitivity levels and set up notification preferences (e.g., push notifications, email alerts).
6.4. ראיית לילה
המצלמה עוברת אוטומטית לראיית לילה בתנאי תאורה חלשה.
- Infrared LEDs provide clear black-and-white video up to 10 meters in complete darkness.
- No manual intervention is required for night vision activation.

Comparison image displayed on a smartphone screen, showing the difference between daytime and nighttime monitoring views, highlighting the infrared night vision capability.
6.5. שמע דו-כיווני
לתקשר דרך המצלמה באמצעות המיקרופון והרמקול המובנים.
- בזמן שידור חי view, tap the microphone icon in the iCSee app to speak through the camera.
- הקש על סמל הרמקול כדי להאזין לשמע מסביבת המצלמה.
6.6. גישה מרחוק
Monitor your property from anywhere with an internet connection.
- As long as your camera is connected to Wi-Fi and your phone has internet access, you can view live feeds and manage settings remotely via the iCSee app.
7. תחזוקה
- ניקוי: השתמשו במטלית רכה ויבשה לניקוי עדשת המצלמה וגוף המצלמה. אין להשתמש בחומרי ניקוי נוזליים או בתרסיסים.
- עדכוני קושחה: Regularly check for firmware updates through the iCSee app to ensure your camera has the latest features and security patches.
- ניהול כרטיסי SD: Periodically back up important recordings and format the SD card to maintain optimal performance.
- אִחסוּן: כאשר המצלמה אינה בשימוש למשך תקופות ממושכות, יש לאחסן אותה במקום קריר ויבש הרחק מאור שמש ישיר.
8. פתרון תקלות
| בְּעָיָה | סיבה / פתרון אפשרי |
|---|---|
| המצלמה לא נדלקת | Ensure the power adapter is securely connected to both the camera and the power outlet. Try a different outlet. |
| לא ניתן להתחבר ל-Wi-Fi | Check if your Wi-Fi network is 2.4GHz. Ensure the Wi-Fi password is correct. Move the camera closer to the router. Reset the camera and try again. |
| לִחיוֹת view מטושטש או כהה | Clean the camera lens. Check lighting conditions. Ensure night vision is functioning correctly in low light. |
| כרטיס SD לא מקליט | Ensure the SD card is inserted correctly and formatted in the app. Check if the card is full or corrupted. Try a different SD card. |
| אין שמע או איכות שמע ירודה | Check microphone and speaker settings in the app. Ensure there are no obstructions blocking the microphone or speaker. |
| המצלמה מתנתקת לעתים קרובות | Weak Wi-Fi signal. Move the camera closer to the router or consider a Wi-Fi extender. Reduce network congestion. |
9. מפרטים
| תכונה | פְּרָט |
|---|---|
| מספר דגם | BES-MH03 |
| טכנולוגיית קישוריות | אלחוטי (Wi-Fi) |
| שימוש מומלץ | Baby Monitoring, Home Security |
| תכונות מיוחדות | Motion Sensor, Night Vision (Infrared distance 10m) |
| גורם צורה | כיפה |
| מהtage | 3 וואט |
| תמיכה באחסון | כרטיס MicroSD (מקסימום 64GB) |
| שֶׁמַע | Two-way audio (Audio Record) |
10. אחריות ותמיכה
BESDER products are manufactured to high-quality standards. For warranty information, please refer to the terms and conditions provided at the point of purchase or contact your retailer. For technical support or further assistance, please refer to the support section within the iCSee application or visit the official BESDER webהאתר (אם קיים).