
מָבוֹא
This manual provides detailed instructions for the safe and efficient operation, maintenance, and troubleshooting of your Gastroback 42709 Design Espresso Pro Machine. Please read all instructions carefully before using the appliance and retain this manual for future reference.
The Gastroback 42709 is designed for preparing espresso, cappuccino, latte macchiato, and other coffee specialties. It features a professional ULKA espresso pump with 15 bar pressure, a thermoblock heating system for quick use, and a rotating milk frothing nozzle.
הוראות בטיחות חשובות
- ודאו תמיד שהמכשיר ממוקם על משטח יציב, ישר ועמיד בחום.
- אין לטבול את המכשיר, כבל החשמל או התקע במים או בנוזלים אחרים.
- הרחיקו ילדים ואנשים לא מורשים מהמכשיר במהלך הפעולה.
- נתקו את המכשיר משקע החשמל לפני ניקויו וכאשר אינו בשימוש.
- אין להפעיל את המכשיר עם כבל או תקע פגומים, או לאחר שהמכשיר פגום או ניזוק בכל דרך שהיא.
- השתמש רק באביזרים וחלקי חילוף מקוריים.
- Hot surfaces: Avoid contact with hot parts of the machine, such as the brewing head, portafilter, and steam wand, during and immediately after operation.
- Steam hazard: Be cautious when using the steam wand as hot steam can cause burns.
רכיבי מוצר
הכירו את החלקים השונים של מכונת האספרסו שלכם.
- מיכל מים: נשלף, קיבולת של 1.5 ליטר.
- צלחת חימום כוסות: ממוקם על גבי המכונה.
- לוּחַ בַּקָרָה: Power button, espresso brewing button, steam function button.
- פורטהפילטר: Heavy stainless steel portafilter.
- מוסיף מסנן: Stainless steel filters for 1 cup, 2 cups, and E.S.E. pads.
- Steam Wand/Milk Frothing Nozzle: Rotatable for frothing milk and dispensing hot water.
- מגש טפטוף: ניתן להסרה לניקוי קל.
- כף מדידה עם Tampאה: For dosing and tampקפה טחון.
- קנקן הקצפת חלב מנירוסטה: Included accessory.
תמונה: חזית view of the Gastroback 42709 Design Espresso Pro Machine, showcasinגימור נירוסטה ולוח הבקרה שלו.
התקנה ושימוש ראשון
- פריקת אריזה: Carefully remove all packaging materials. Check that all accessories are present.
- ניקוי ראשוני: Before first use, clean the water tank, portafilter, and filter inserts with warm water and a mild detergent. Rinse thoroughly. Wipe the exterior of the machine with a damp בַּד.
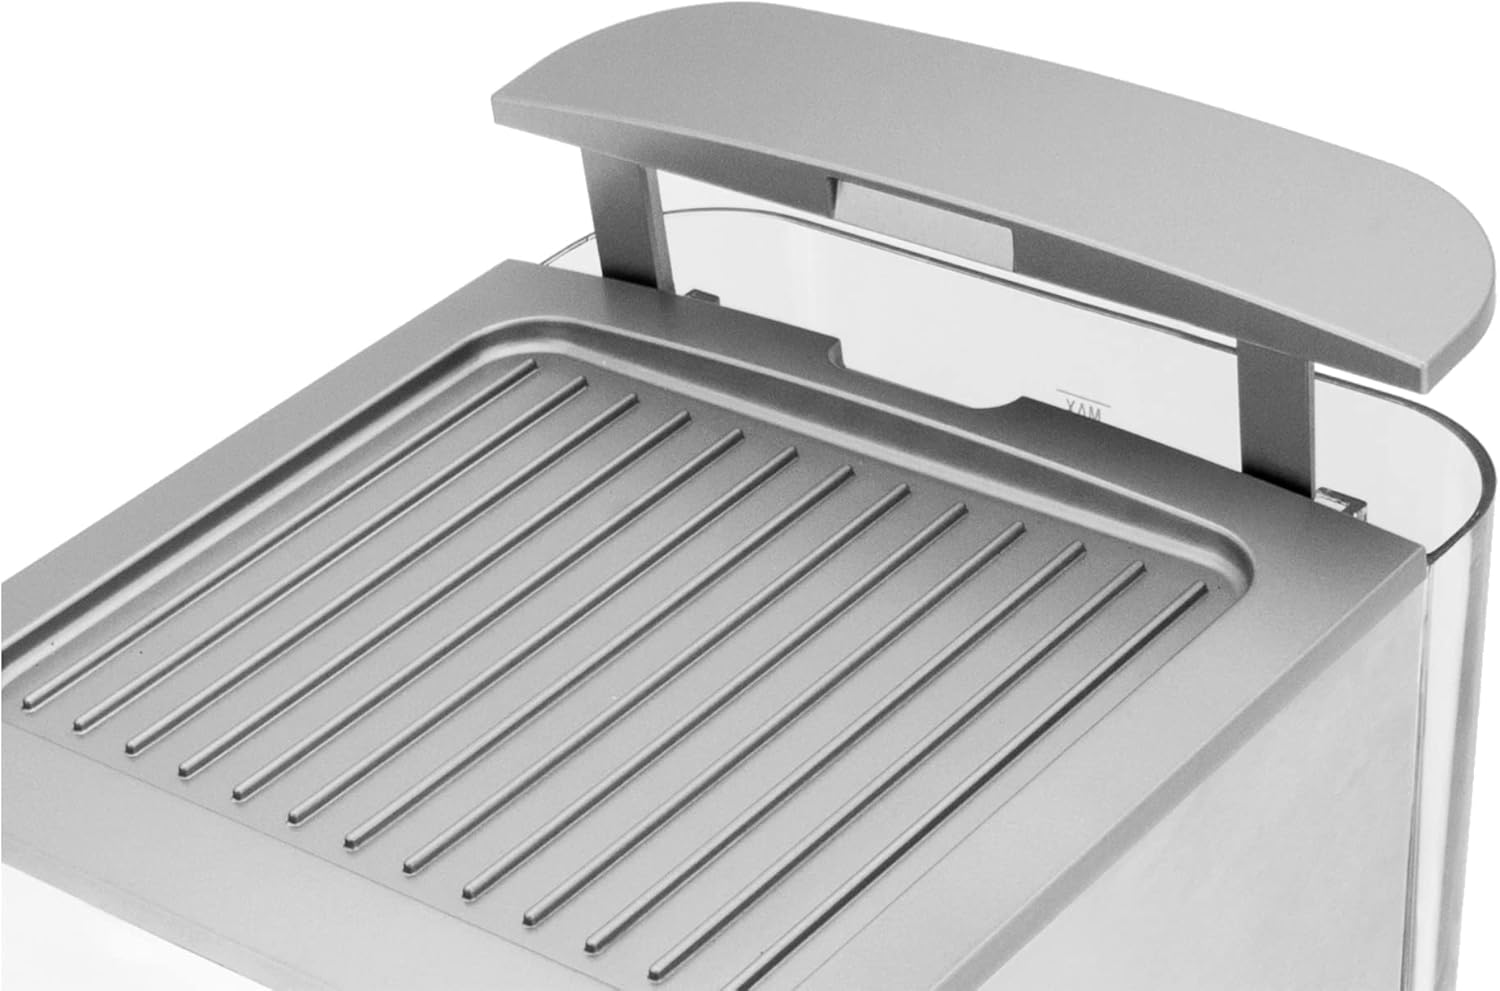
- מילוי מיכל המים: Remove the water tank from the back of the machine. Fill it with fresh, cold water up to the MAX mark. Replace the water tank securely.
- הכנת המערכת:
- חברו את המכונה לשקע חשמל מוארק.
- Press the POWER button. The indicator light will flash as the machine heats up.
- Once the light stops flashing and remains steady, the machine is ready.
- Place a cup under the steam wand. Turn the steam/hot water knob to the hot water position to dispense about 100ml of hot water. This primes the pump and heating system.
- Turn the knob back to the closed position. The machine is now ready for use.
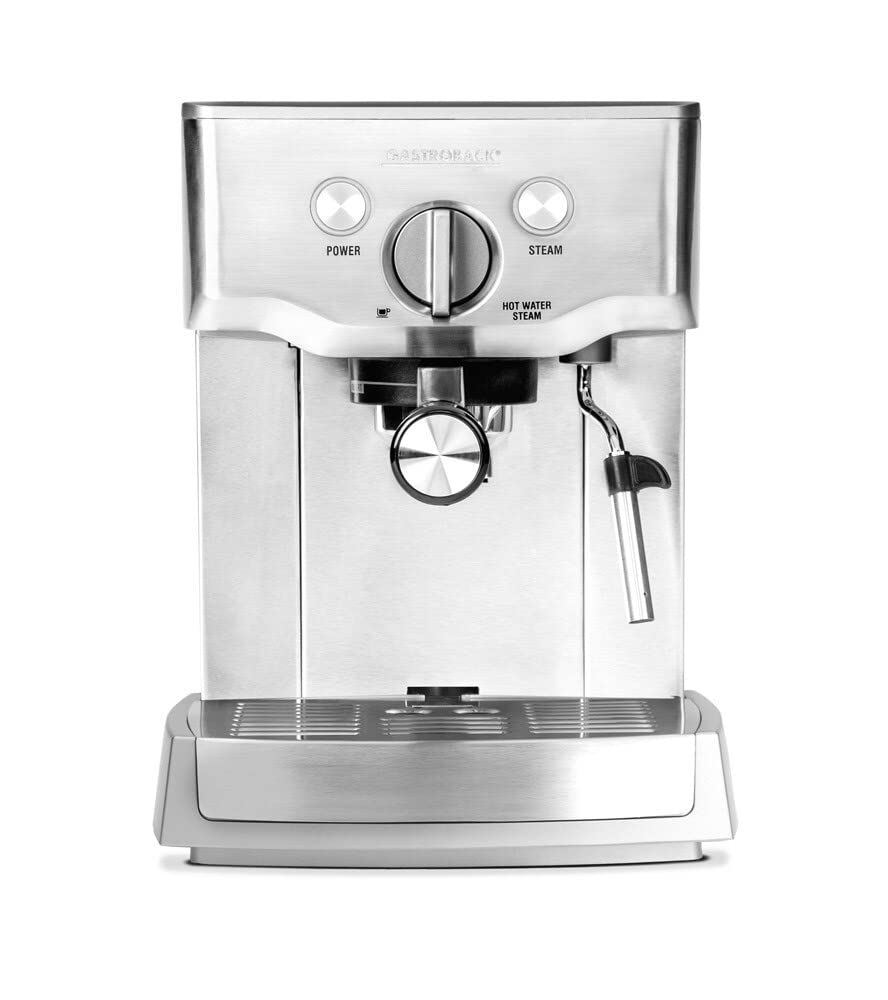
Image: Close-up of the removable water tank with its lid open, showing the MAX fill line.
הוראות הפעלה
הכנת אספרסו
- הכנת הפורטהפילטר: Insert the desired filter (1-cup or 2-cup) into the portafilter.
- הוספת קפה טחון: Fill the filter with finely ground espresso coffee. Use the measuring spoon provided. For a single espresso, use one level spoon; for a double, use two.
- Tamp הקפה: השתמש ב-tampבקצה השני של כף המדידה כדי ללחוץ בחוזקה על גרגירי הקפה. ודאו שהמשטח ישר.
- חברו את הפורטה-פילטר: Align the portafilter with the brewing head and insert it. Turn it firmly to the right until it is securely locked.
- מבשלת אספרסו: Place one or two pre-warmed espresso cups under the portafilter spouts. Press the ESPRESSO button. The machine will start brewing. Press the button again to stop brewing when the desired amount of espresso is reached.

Image: Stainless steel portafilter with various filter inserts for single, double espresso, and E.S.E. pads, alongside a measuring spoon.

Image: A hand using the measuring spoon to scoop ground coffee into the portafilter.

Image: A hand firmly tamping ground coffee in the portafilter using the integrated tampאה.
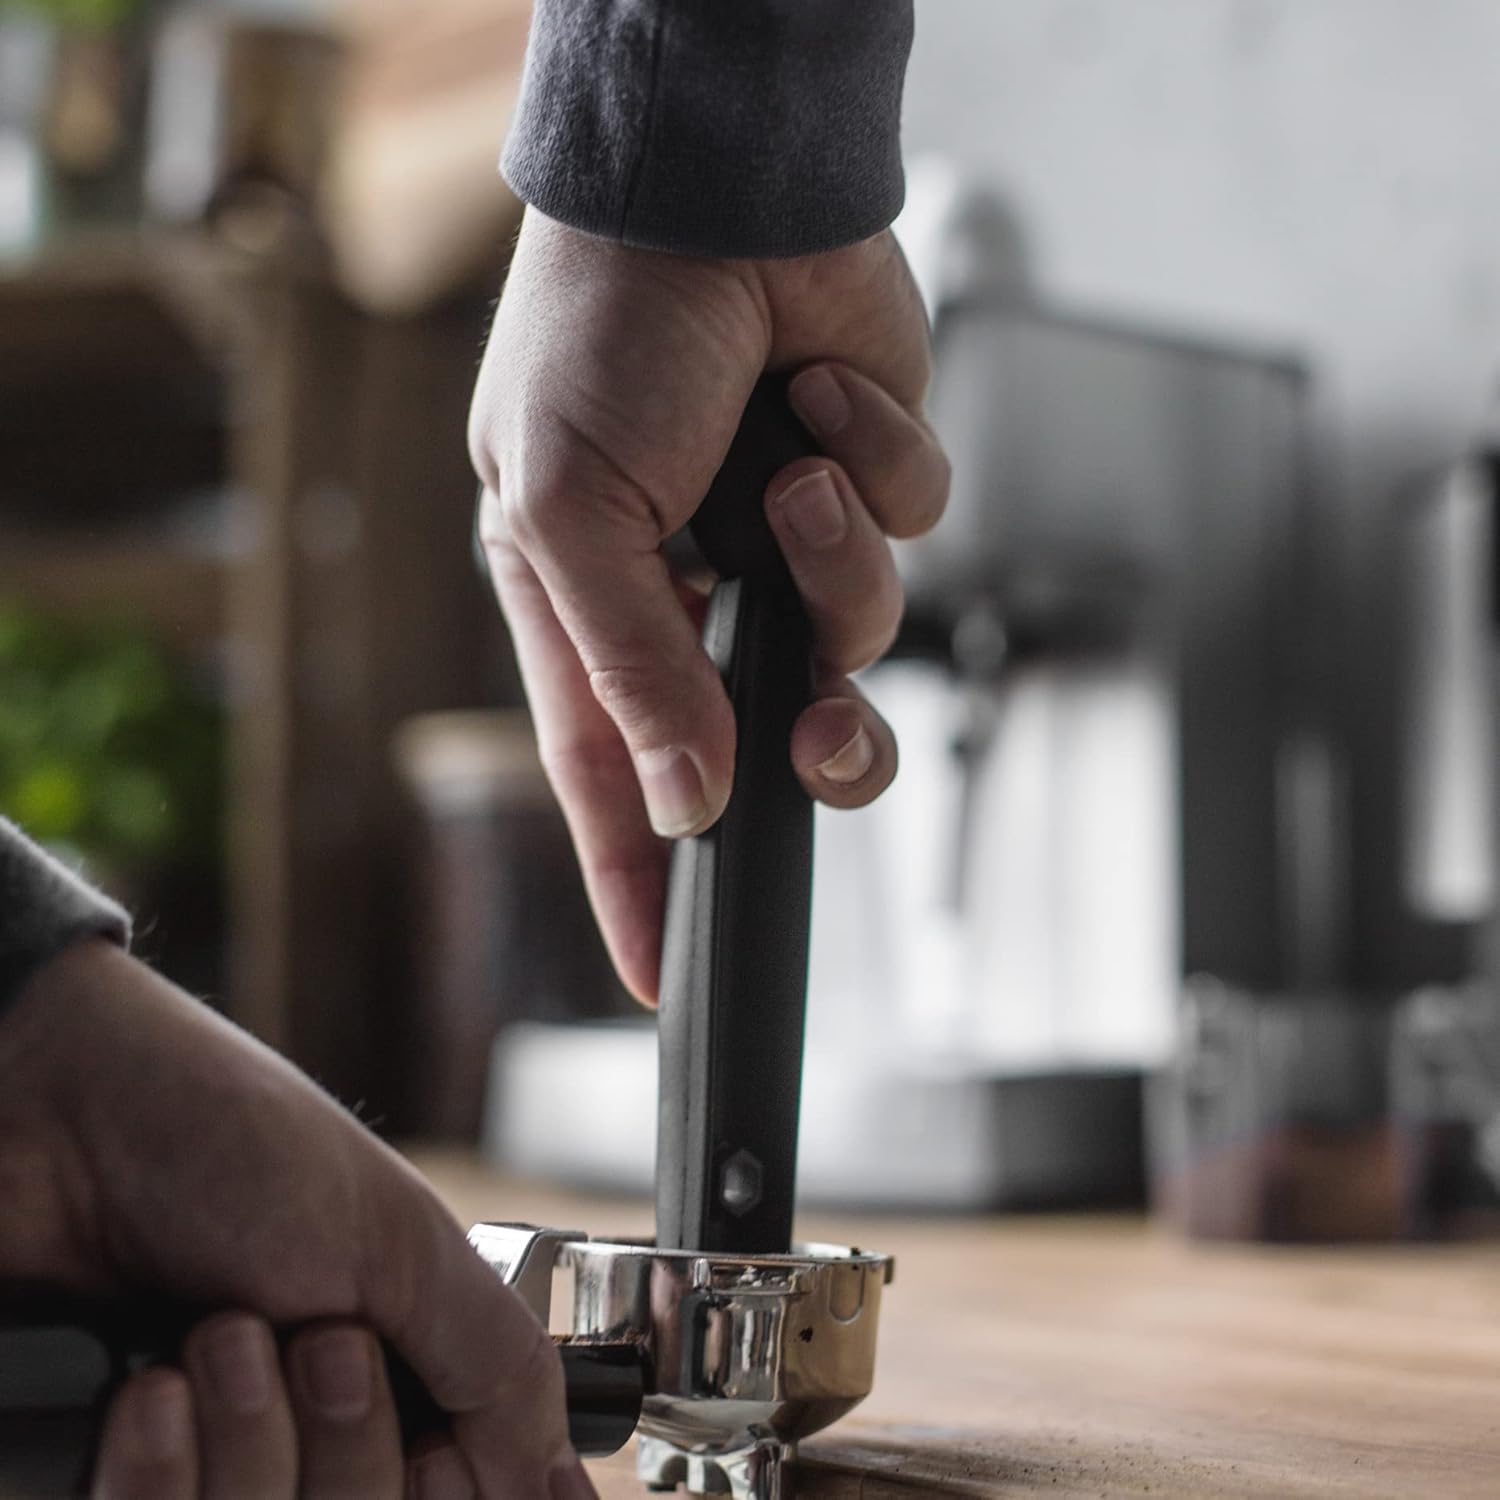
Image: A hand attaching the portafilter to the brewing head of the espresso machine.
Using E.S.E. Pads
- Insert the E.S.E. pad filter into the portafilter.
- Place one E.S.E. pad into the filter.
- Follow steps 4 and 5 from "Making Espresso" to brew.

Image: A single E.S.E. (Easy Serving Espresso) pad next to its dedicated filter insert.
חלב מוקצף
- Fill the stainless steel milk frothing jug with cold milk (approximately 1/3 full).
- Press the STEAM button. The indicator light will flash as the machine heats up to steam temperature. Once steady, the machine is ready for steaming.
- מקמו את מוט הקיטור בתוך החלב, ממש מתחת לפני השטח.
- Turn the steam/hot water knob to the steam position. Steam will be released.
- Move the jug slowly up and down to create foam. Once the desired texture and temperature are reached, turn the knob back to the closed position.
- Immediately after frothing, clean the steam wand by wiping it with a damp בד ושחרר לזמן קצרasinאדים לתוך כוס ריקה כדי לפנות שאריות חלב.
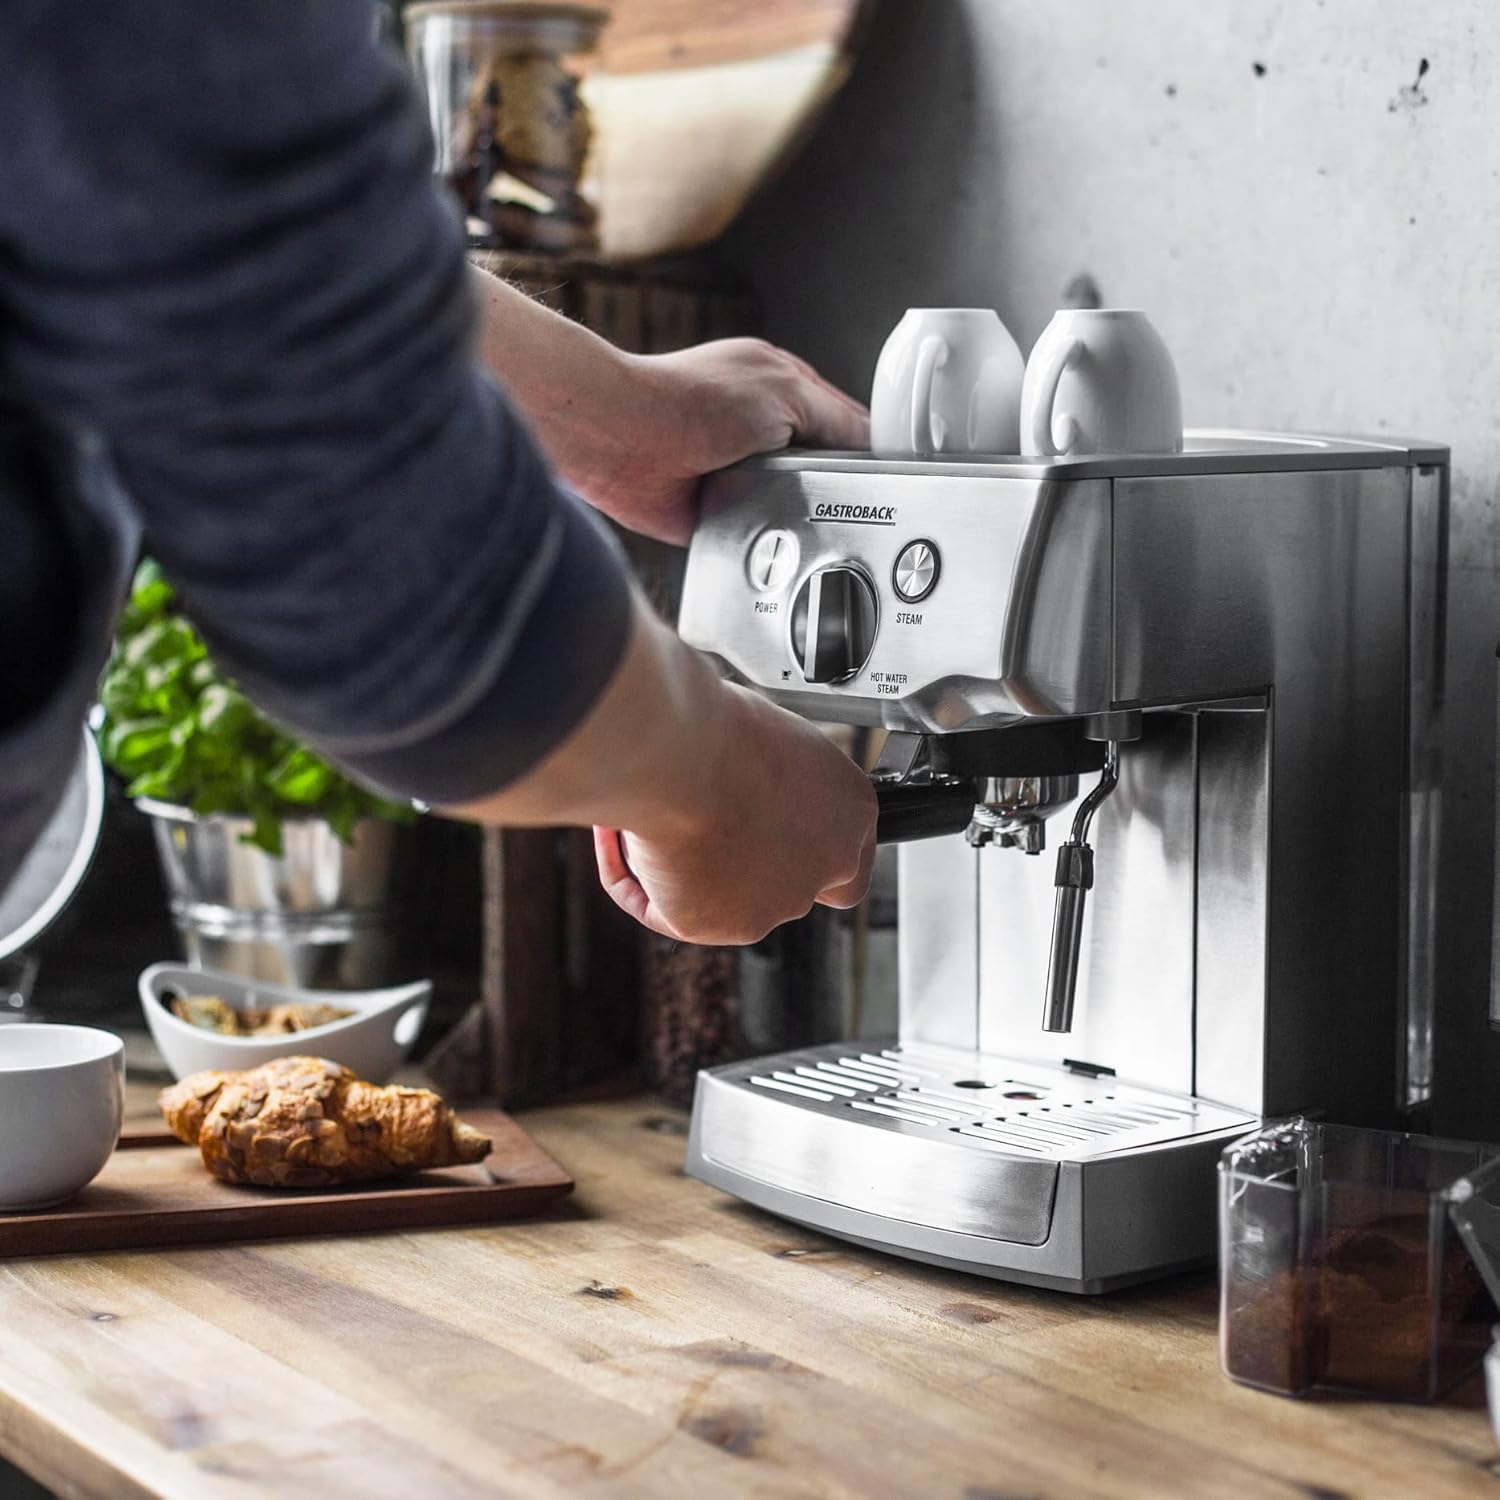
Image: A hand frothing milk in a stainless steel jug using the steam wand of the espresso machine.
פונקציית מים חמים
- Ensure the machine is heated (POWER light steady).
- מניחים כוס מתחת לשרביט הקיטור.
- Turn the steam/hot water knob to the hot water position to dispense hot water. Turn it back to close when done.
ניקיון ותחזוקה
Regular cleaning ensures optimal performance and extends the lifespan of your espresso machine. Always unplug the machine and allow it to cool before cleaning.
- מגש טפטוף: רוקנו ונקו את מגש הטפטוף באופן קבוע. הוא ניתן להסרה לגישה נוחה.
- מיכל מים: Clean the water tank weekly with warm water and a mild detergent. Rinse thoroughly to prevent mineral buildup.
- מסנן נייד ומסננים: After each use, remove the spent coffee grounds and rinse the portafilter and filter inserts under running water. Use a brush to remove any coffee residue.
- ראש בישול: נגב את ראש החליטה עם מודעהamp cloth after each use to remove any coffee grounds.
- מוט קיטור: As mentioned in the operating section, clean the steam wand immediately after each use to prevent milk residue from drying and blocking the nozzle.
- הסרת אבנית: Depending on water hardness and frequency of use, descaling should be performed every 2-3 months. Use a suitable descaling solution for espresso machines and follow the manufacturer's instructions for the descaler.
- חִיצוֹנִי: נגב את החלק החיצוני של המכונה בחומר רך, דamp בַּד. אין להשתמש בחומרי ניקוי שוחקים או בכריות קרצוף.
פתרון בעיות
| בְּעָיָה | סיבה אפשרית | פִּתָרוֹן |
|---|---|---|
| לא יוצא קפה. | No water in tank; machine not primed; portafilter not correctly inserted; coffee too finely ground/tampאד קשה מדי. | Fill water tank; prime the machine; re-insert portafilter correctly; use coarser grind or less pressure when tamping. |
| הקפה מתחלח לאט מדי או מטפטף. | קפה טחון דק מדי; יותר מדי קפה בפילטר; קפה לאampחזק מדי; יש צורך להסיר אבנית מהמכונה. | השתמשו בטחינה גסה יותר; הפחיתו את כמות הקפה;amp פחות חזק; הסירו אבנית מהמכונה. |
| Coffee brews too quickly, weak coffee. | Coffee too coarsely ground; too little coffee in filter; coffee tamped קל מדי. | השתמשו בטחינה עדינה יותר; הגדילו את כמות הקפה;amp בתקיפות רבה יותר. |
| אין קיטור ממוט הקיטור. | Steam button not pressed; steam wand blocked; machine not at steam temperature. | Press STEAM button; clean steam wand nozzle; wait for steam indicator light to become steady. |
| נזילת מים מהמכונה. | Water tank not correctly seated; drip tray full; portafilter not correctly inserted. | Ensure water tank is secure; empty drip tray; re-insert portafilter correctly. If problem persists, contact customer support. |
מפרט טכני
| תכונה | פְּרָט |
|---|---|
| מותג | גסטרובק |
| מספר דגם | 42709 |
| צֶבַע | כסף/נירוסטה |
| מידות (L x W x H) | 27.4 x 24 x 31.8 ס"מ |
| מִשׁקָל | 5.81 קילוגרם |
| קיבולת (מיכל מים) | 1.5 ליטר |
| כּוֹחַ | 1000 וואט |
| חוֹמֶר | נירוסטה |
| לחץ משאבה | 15 bar (ULKA professional pump) |
| מערכת חימום | תרמבלוק |
| תכונות מיוחדות | E.S.E. Pad compatibility, heavy stainless steel portafilter, rotating milk frothing nozzle. |
אחריות ותמיכת לקוחות
Your Gastroback 42709 Design Espresso Pro Machine comes with a manufacturer's warranty. Please refer to the warranty card included with your product for specific terms and conditions, including the warranty period and coverage details.
For technical assistance, spare parts, or service inquiries, please contact Gastroback customer support. Contact information can typically be found on the manufacturer's official webבאתר או על אריזת המוצר.
Note: Information regarding spare parts availability was not provided in the product data.