1. הקדמה
This manual provides detailed instructions for setting up, operating, and maintaining your Epson L485 Wi-Fi Inktank Printer. Please read this manual thoroughly to ensure proper use and to maximize the performance and longevity of your device.
המוצר נגמרview
The Epson L485 is a versatile all-in-one printer offering print, scan, and copy functionalities with the added convenience of Wi-Fi Direct. It features an innovative ink tank system designed for high-volume printing with impressive page yields and a high print resolution for quality output.

איור 1: חזית view of the Epson L485 Wi-Fi Inktank Printer.
מה יש בקופסה
- יחידת מדפסת אפסון L485
- תקליטור תוכנה
- כבל חשמל
- תעודת אחריות
- Set of Original Epson Ink Bottles (Black, Cyan, Magenta, Yellow)
סרטון 1: אוברview of the Epson L485 Wi-Fi Inktank Printer's features and design.
2. מדריך התקנה
Follow these steps to set up your Epson L485 printer for the first time.
Video 2: Step-by-step guide on how to set up your Epson InkTank Printer.
2.1 Initial Printer Preparation
- הוצא את המדפסת מהאריזה: הוצא בזהירות את המדפסת מאריזתה. הסר את כל הסרטים והחומרים המגנים.
- Check Valve Position: Locate the ink tank valve on the side of the printer. Ensure it is in the upright (printing) position.
- Open Ink Tank Unit: Gently unhook the ink tank unit from the side of the printer and open its lid to access the ink tanks.
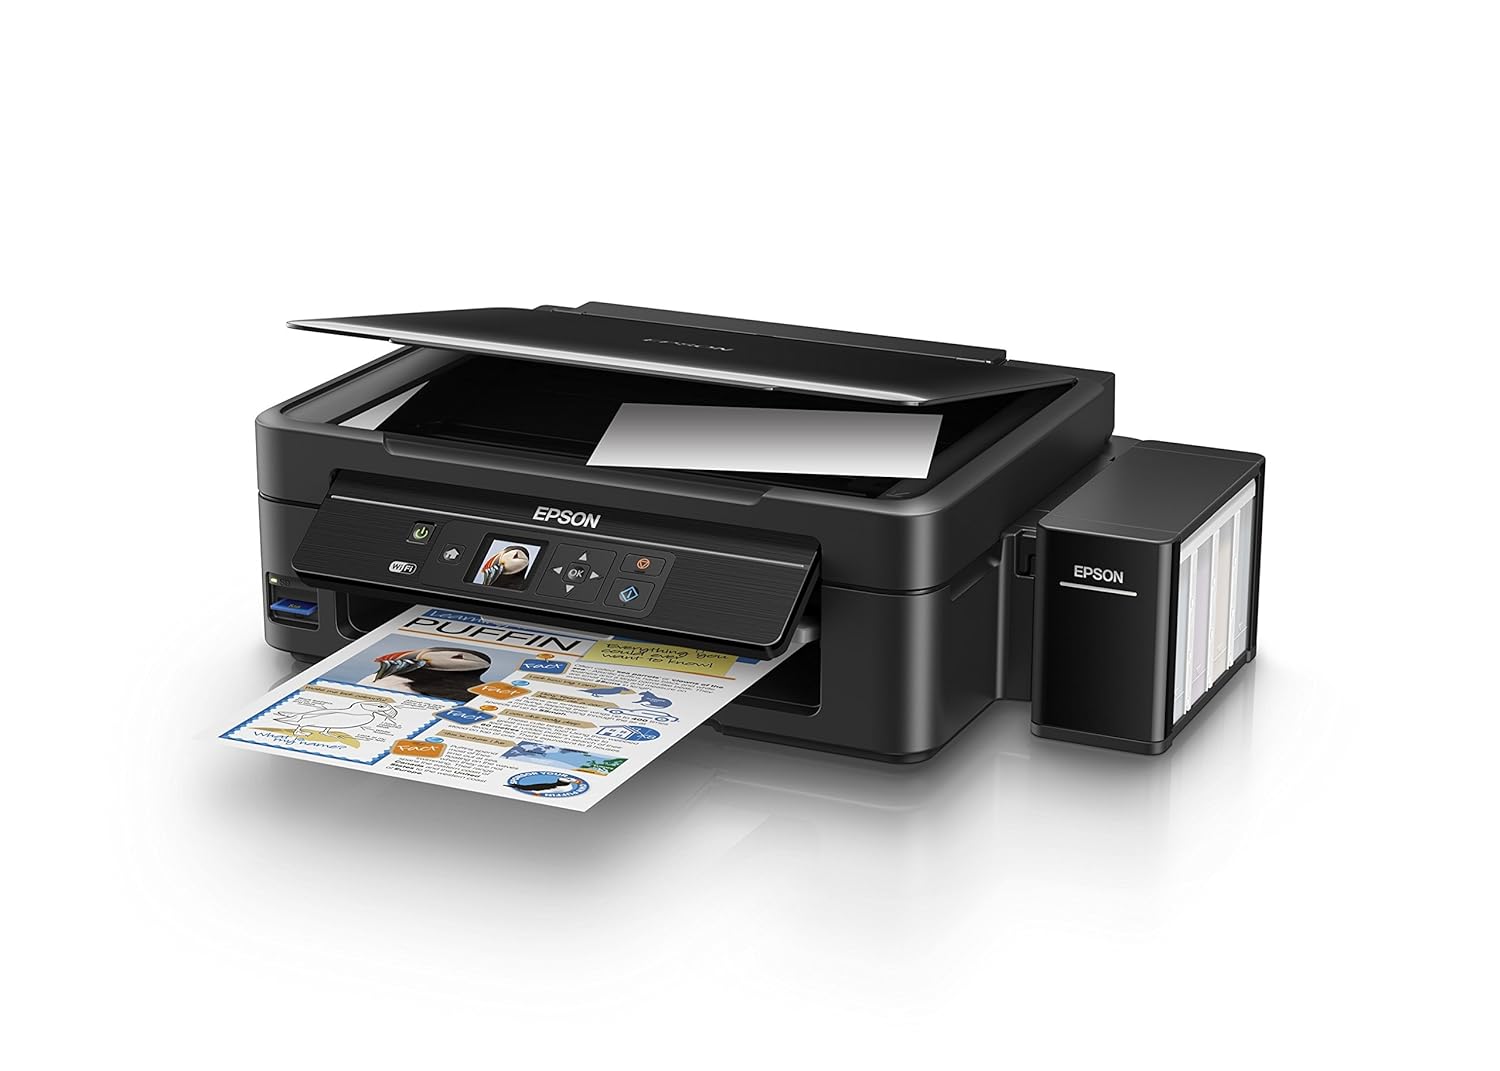
Figure 2: The ink tank unit unhooked and open, showing the ink reservoirs.
2.2 מילוי מיכלי הדיו
- Prepare Ink Bottles: Snap off the tip of each ink bottle and remove the cap.
- מילוי מיכלי דיו: Match the color of the ink bottle with the corresponding ink tank. Carefully pour the entire contents of each ink bottle into its respective tank. Do not overfill.
- כובעים מאובטחים: Once all tanks are filled, replace the caps securely on the ink tanks.
- Close Ink Tank Unit: Close the lid of the ink tank unit and re-hook it to the printer.

Figure 3: Demonstrating the process of filling an ink tank with a yellow ink bottle.

Figure 4: The four color ink bottles used for the Epson L485 printer.
2.3 Power On and Ink Charging
- חבר חשמל: חבר את כבל החשמל למדפסת ולאחר מכן לשקע בקיר.
- הפעלת המדפסת: לחץ על לחצן ההפעלה כדי להפעיל את המדפסת.
- Initiate Ink Charge: Press and hold the 'Ink Charge' button (usually indicated by a droplet icon) for 3 seconds until the lights start blinking. The initial ink charging process takes approximately 20 minutes. Do not turn off or unplug the printer during this process.
- סִיוּם: The lights will stop blinking when ink charging is complete.
2.4 התקנת דרייבר
- הכנס תקליטור תוכנה: Insert the provided Software CD into your computer's CD/DVD drive. If your computer does not have a CD drive, download the latest drivers from the official Epson support webאֲתַר.
- פעל לפי ההוראות על המסך: Follow the prompts on your computer screen to install the printer drivers and utilities. Agree to the license agreement and select 'Start & Connection' for setup.
- Connect USB Cable (if prompted): If setting up via USB, connect the USB cable between the printer and your computer when prompted by the installation software.
2.5 Connectivity Setup
The Epson L485 supports both USB and Wi-Fi connectivity.
חיבור USB
Connect the USB cable from the printer to an available USB port on your computer. The printer should be recognized automatically after driver installation.
הגדרת Wi-Fi
The printer features an LCD screen for easy Wi-Fi setup without needing a PC.
- Access Wi-Fi Setup: On the printer's control panel, navigate to the 'Wi-Fi Setup' option using the arrow keys and press 'OK'.
- בחר רשת: Choose your desired wireless network from the list and enter the password if required.
- אשר חיבור: Once connected, the Wi-Fi indicator light will be solid, and the LCD screen will confirm the setup is complete.

Figure 5: Demonstrating wireless printing from a smartphone to the Epson L485 printer.
3. הפעלת המדפסת
3.1 הדפסה
The Epson L485 delivers high-quality prints with a resolution of 5760 dpi. It offers print speeds of up to 33 ppm for black and 15 ppm for color documents.
- הכנס נייר: טען נייר במזין הנייר האחורי. כוונן את מכווני הנייר לגודל הנייר.
- בחר משימת הדפסה: From your computer or mobile device, select the document or image you wish to print.
- התאם הגדרות: Choose your print settings (e.g., paper size, print quality, color/black & white) in the print dialog box.
- הֶדפֵּס: לחץ על 'הדפס' כדי לשלוח את העבודה למדפסת.

Figure 6: The Epson L485 printer in action, producing a vibrant print.
3.2 סריקה
The printer features a sheetfed scanner with an optical resolution of 1200 dpi x 2400 dpi for clear and detailed scans.
- מסמך מקום: Lift the scanner lid and place your document face-down on the scanner glass, aligning it with the corner mark.
- התחל סריקה: מהמחשב שלך, פתח את תוכנת Epson Scan או השתמש בפונקציית הסריקה בלוח הבקרה של המדפסת.
- התאם הגדרות: בחר הגדרות סריקה כגון רזולוציה, מצב צבע ותיקיית יעד.
- התחל סריקה: Begin the scanning process.

Figure 7: The scanner bed of the Epson L485 printer with the lid open.
3.3 העתקה
צור עותקים ישירות מלוח הבקרה של המדפסת.
- מסמך מקום: Place the document you wish to copy on the scanner glass.
- בחר פונקציית העתקה: On the printer's LCD screen, navigate to the 'Copy' option.
- התאם הגדרות: Select the number of copies, color or black & white, and other copy settings.
- התחל העתקה: לחץ על כפתור 'התחל' כדי להתחיל בהעתקה.
3.4 Wi-Fi Direct
Wi-Fi Direct allows you to connect your mobile devices directly to the printer without a router, enabling convenient wireless printing.
- Enable Wi-Fi Direct: On the printer's control panel, go to 'Wi-Fi Setup' and select 'Wi-Fi Direct'. Follow the on-screen instructions to enable it and view שם הרשת והסיסמה.
- חבר מכשיר נייד: On your mobile device, go to Wi-Fi settings, find the printer's Wi-Fi Direct network, and connect using the provided password.
- הֶדפֵּס: Use an Epson printing app (e.g., Epson iPrint) or your device's native print function to print directly to the printer.
4. תחזוקה
4.1 מילוי דיו
When ink levels are low, refill the tanks using genuine Epson ink bottles. Refer to section 2.2 for detailed ink filling instructions. Always use the correct color ink for each tank.
4.2 ניקוי
ניקוי קבוע מסייע בשמירה על איכות ההדפסה ומאריך את חיי המדפסת.
- ניקוי חיצוני: נגבו את החלק החיצוני של המדפסת בעזרת מטלית רכהamp בַּד. הימנע משימוש בחומרי ניקוי שוחקים.
- ניקוי ראש הדפסה: If print quality declines (e.g., missing lines, incorrect colors), perform a print head cleaning using the printer's utility software on your computer or through the printer's control panel menu.
- בדיקת חרירים: Run a nozzle check pattern to diagnose print quality issues before performing a head cleaning.
5. פתרון תקלות
סעיף זה מטפל בבעיות נפוצות שאתה עשוי להיתקל בהן במדפסת Epson L485 שלך.
5.1 המדפסת אינה מגיבה
- ודא שהמדפסת דולקת ומחוברת היטב לשקע החשמל.
- Check the USB cable connection to both the printer and computer, or verify the Wi-Fi connection status.
- הפעל מחדש את המדפסת ואת המחשב/המכשיר הנייד שלך.
5.2 איכות הדפסה ירודה
- Perform a nozzle check to identify clogged nozzles. If necessary, run a print head cleaning cycle.
- בדוק את מפלסי הדיו ומלא מחדש כל מיכל דיו שמתרוקן.
- Ensure you are using genuine Epson ink and appropriate paper types for your print job.
5.3 חסימות נייר
- Turn off the printer and carefully remove any jammed paper from the paper tray, output tray, or inside the printer.
- ודא שהנייר טעון כהלכה ואינו מקומט או מקומטurled.
6. מפרטים
| מותג | אפסון |
| שם הדגם | L485 |
| טכנולוגיית קישוריות | Wi-Fi |
| טכנולוגיית הדפסה | הזרקת דיו |
| תכונה מיוחדת | חריץ לכרטיס זיכרון |
| צֶבַע | שָׁחוֹר |
| פלט מדפסת | צֶבַע |
| מהירות הדפסה מרבית (צבע) | 15 עמודים לדקה |
| מהירות הדפסה מרבית (מונוכרום) | 33 עמודים לדקה |
| משקל פריט | 6001 גרם |
| סוג המדפסת | הזרקת דיו |
| סוג סורק | Sheedfed |
| מהירות העתקה מרבית (שחור-לבן) | 33 עמודים לדקה |
| סוג תצוגה | LCD |
| מכשירים תואמים | סמארטפונים |
| צבע דיו | שחור, ציאן, מג'נטה, צהוב |
| הַחְלָטָה | 5760 x 5760 DPI |
| פונקציות מדפסת נוספות | הכל באחד (הדפסה, סריקה, העתקה) |
| גודל מדיה מקסימלי | A4 |
| גודל נייר | A4 |
| הדפסה דו צדדית | לֹא |
7. אחריות ותמיכה
Your Epson L485 Wi-Fi Inktank Printer comes with a free installation service and an onsite warranty.
7.1 Free Installation and Onsite Warranty
To avail free installation for your printer, please contact Epson support after receiving your product. The onsite warranty covers manufacturing defects and ensures professional assistance at your location.
7.2 צור קשר עם התמיכה
For installation, support, or any technical assistance, please contact Epson customer service:
- טֵלֵפוֹן: 1860 3000 1600 (Timings: 9 am - 6 pm)