
Power Probe PP401AS
מדריך למשתמש של כלי בדיקת אבחון לרכב Power Probe IV
Model: PP401AS
1. הקדמה
The Power Probe IV is an advanced automotive diagnostic tool designed to assist technicians in testing electrical circuits and signals within vehicles. It combines multiple diagnostic functions into a single, ergonomic device, providing detailed information for efficient troubleshooting. This manual provides essential information for the safe and effective use of your Power Probe IV.
For more information, visit the official Power Probe webאֲתַר: Power Probe IV

Image 1.1: The Power Probe IV diagnostic tool kit, including the main unit, carrying case, and various connection accessories.
2. תכונות עיקריות
The Power Probe IV offers a comprehensive set of features for automotive electrical diagnostics:
- Power and Ground Supply: Capable of supplying battery ground and power for functional component testing.
- Digital Volt and Ohmmeter: Integrated for precise circuit testing, measuring AC/DC Voltage, Resistance, Hertz, Frequency, and Pulse Width.
- Large Color LCD Screen: Provides clear, easy-to-read information with an intuitive user menu.
- בדיקת אותות: Supports AC-RMS, AC peak-to-peak, frequency, and pulse width measurements.
- עיצוב ארגונומי: Features a heavy-duty, water and solvent-resistant housing for durability and comfortable use.
- הגנת מעגלים: Equipped with an automatic resetting 8 Amp מפסק.
- כרך רחבtagטווח e: Operates within a 12-24 Volt range.
- תְאִימוּת: Works with all Power Probe test leads and accessories.
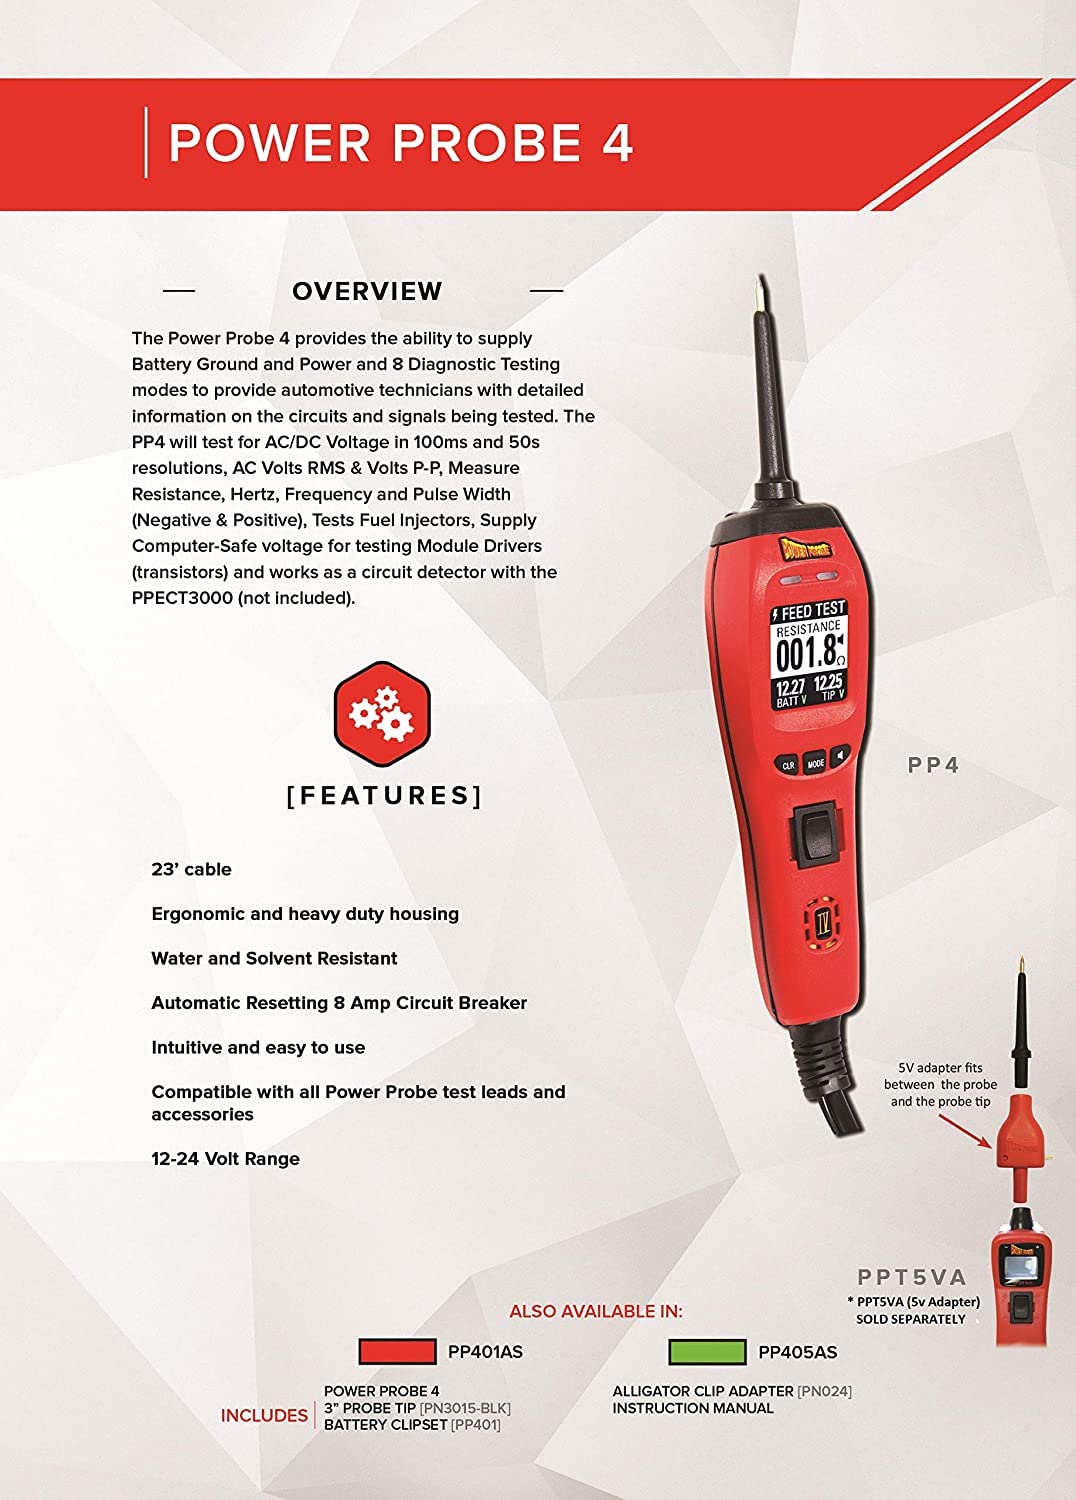
Image 2.1: Visual representation of the Power Probe IV's key features and design elements.
3. מה בקופסה
Your Power Probe IV package typically includes the following items:
- Power Probe IV Unit (Model PP401AS)
- Battery Clip Set
- מדריך הוראות
- תיק נשיאה מגן
4. התקנה וחיבור ראשוני
Before using your Power Probe IV, ensure a proper connection to the vehicle's battery.
- Connect the Red Clip: Attach the red battery clip to the positive (+) terminal of the vehicle's 12V or 24V battery.
- Connect the Black Clip: Attach the black battery clip to the negative (-) terminal of the vehicle's battery or a suitable chassis ground point.
- הפעלה: The Power Probe IV will power on automatically once connected. The LCD screen will illuminate, indicating it is ready for use.
הערת בטיחות: Always ensure secure connections to prevent accidental disconnections or short circuits. Do not connect the Power Probe IV to voltages exceeding its specified operating range (12-24V).
5. הוראות הפעלה
The Power Probe IV features an intuitive interface with various modes for different diagnostic tasks. Familiarize yourself with the tool's controls and display.
5.1 הכלי נגמרview ובקרות
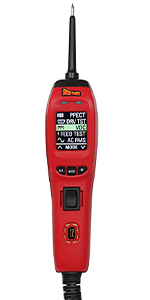
Image 5.1: Diagram illustrating the main components and controls of the Power Probe IV.
- טיפ לבדיקה: Used to contact circuits for testing.
- פָּנַס כִּיס: מאיר את אזור העבודה.
- Red/Green LEDs: Indicate positive (red) or negative (green) voltage at the probe tip.
- מסך צבעוני: Displays measurement data and menu options.
- CLR Button (Left): Clears minimum/maximum readings or scrolls up in menus.
- MODE Button (Center): בוחר מצבי הפעלה שונים.
- מתג נדנדה: Applies battery positive or negative voltage to the probe tip.
- רַמקוֹל: Provides audible feedback for certain functions.
5.2 Diagnostic Modes and Functions
הקש על MODE button to cycle through the available diagnostic modes:

תמונה 5.2: נגמרview of the Power Probe IV's primary diagnostic capabilities.
- Power Up Mode:
Actively tests components like motors, lights, and fans by supplying power or ground. Use the rocker switch to apply voltage to the probe tip.

Image 5.3: Using the Power Probe IV to measure voltage at a battery terminal.
- קריאות מינימום/מקסימום:
Captures and displays minimum and maximum voltage spikes or drop-outs in circuits, useful for intermittent fault detection.
- המשכיות והתנגדות:
Tests the continuity of wires and components, and measures resistance (Ohms) to identify open circuits or shorts.

Image 5.4: Testing a fuse for continuity within a vehicle's fuse box.
- תדר (הרץ):
Measures the frequency of signals, essential for testing computer sensors and Pulse Width Modulation (PWM) circuits.

Image 5.5: The Power Probe IV displaying a frequency reading.
- Driver Test Mode:
Safely tests computer circuits that control relays, solenoids, and motors without causing damage.
- AC RMS, Peak to Peak:
Measures AC Root Mean Square (RMS) and Peak-to-Peak voltage outputs from alternators and sensors to verify correct operation.

Image 5.6: AC RMS Voltagתצוגה e.

Image 5.7: AC Peak to Peak Voltagתצוגה e.
- Fuel Injector Test Mode:
Reads operating values of individual fuel injectors, allowing technicians to compare them and identify faulty injectors.

Image 5.8: Testing a fuel injector with the Power Probe IV.
6. תחזוקה
Proper maintenance ensures the longevity and accuracy of your Power Probe IV.
- ניקוי: נגב את הכלי עם מודעהamp מטלית להסרת לכלוך וזוהמה. הימנעו מכימיקלים חזקים או חומרי ניקוי שוחקים.
- אִחסוּן: Store the Power Probe IV in its protective carrying case when not in use to prevent damage. Keep it in a dry environment.
- בדיקת כבלים: Regularly inspect the power cable and test leads for any signs of wear, cuts, or damage. Replace damaged components immediately.
- טיפ לבדיקה: Ensure the probe tip is clean and sharp for optimal contact.
7. פתרון תקלות
If you encounter issues with your Power Probe IV, consider the following common troubleshooting steps:
| בְּעָיָה | סיבה אפשרית | פִּתָרוֹן |
|---|---|---|
| הכלי לא נדלק. | Incorrect or loose battery connection. Vehicle battery is dead. | Ensure red and black clips are securely connected to the correct battery terminals. Verify vehicle battery voltage. |
| No reading on screen. | Probe tip not making good contact. Circuit is open or dead. | Ensure firm contact with the circuit. Check for continuity or voltage במעגל. |
| מפסק החשמל מופעל לעתים קרובות. | Overload on the circuit being tested. Short circuit detected. | Reduce the load on the circuit or investigate for a short circuit before reapplying power. The breaker resets automatically. |
| קריאות לא מדויקות. | Poor connection. Damaged probe tip or cable. | Clean probe tip and ensure solid connection. Inspect cables for damage. |
If problems persist, contact Power Probe customer support for assistance.
8. מפרטים
| תְכוּנָה | פְּרָט |
|---|---|
| מספר דגם | PP401AS |
| מותג | בדיקת כוח |
| מקור כוח | Battery Powered (Vehicle Battery 12-24V) |
| משקל פריט | 3 פאונד |
| מידות המוצר | 4 x 8 x 4 אינץ' |
| אורך כבל | 23 רגל (בערך) |
| מפסק חשמל | Automatic Resetting 8 Amp |
| לְהַצִיג | LCD צבעוני גדול |
9. אחריות ותמיכה
For warranty information, technical support, or service inquiries, please refer to the official Power Probe webאתר או צרו קשר עם מחלקת שירות הלקוחות שלהם. שמרו את קבלת הרכישה כהוכחת קנייה.
Optional protection plans may be available for extended coverage. Please check with your retailer or Power Probe for details.
Ask a question about this manual
Ask about setup, troubleshooting, compatibility, parts, safety, or missing instructions. Manuals+ will review the question and use this page’s manual context to help answer it.