
1. המוצר נגמרview
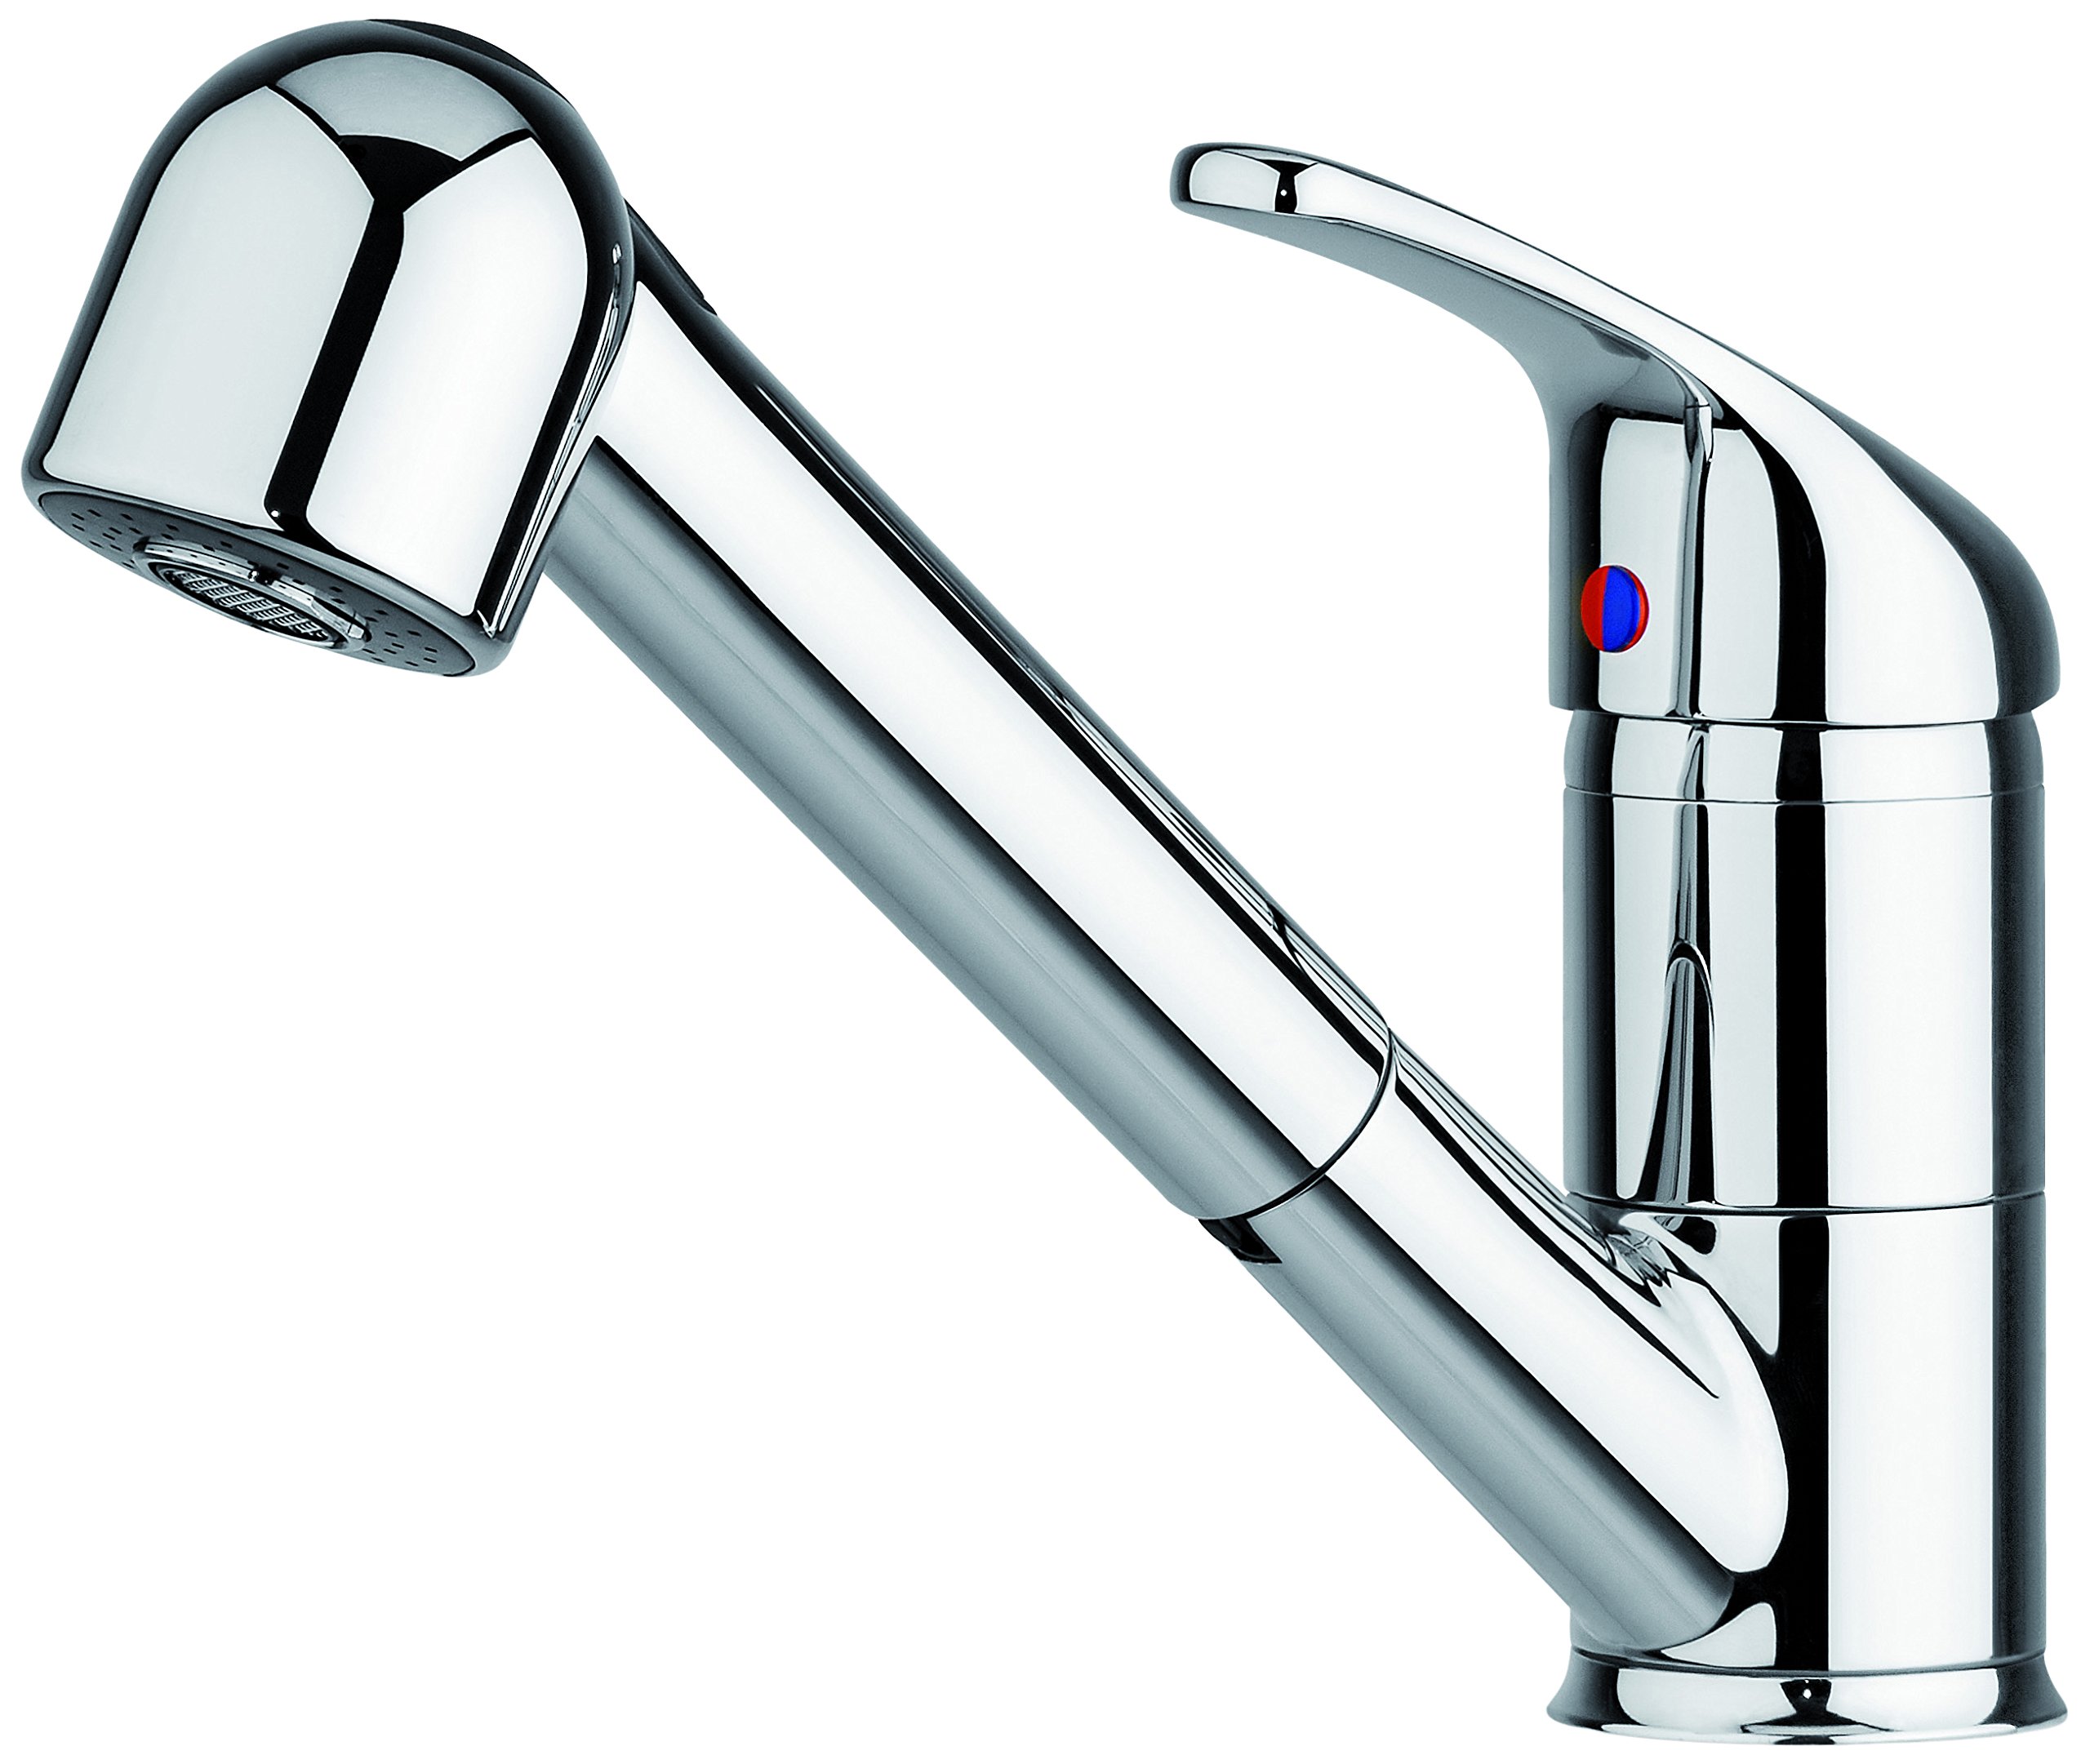
The Pyramis Festivo ND kitchen faucet is a single-lever mixer designed for use with low-pressure water heater systems. It features a high-quality chrome-plated brass construction, a swiveling spout, and an extendable pull-out spray for versatile use. The faucet is equipped with a durable ceramic cartridge and a removable, washable aerator for easy maintenance. Its design provides convenience for rinsing sinks and dishes.
2. מידע בטיחות
- Always turn off the main water supply before attempting any installation, maintenance, or repair work on the faucet.
- ודאו שכל החיבורים מאובטחים כדי למנוע דליפות.
- Do not use abrasive cleaners, scouring pads, or chemicals that may damage the chrome finish.
- אם אינכם בטוחים לגבי שלבי ההתקנה, התייעצו עם אינסטלטור מוסמך.
- This faucet is specifically designed for low-pressure water heater systems. Do not connect to high-pressure systems.
3. תכולת החבילה
ודא שכל הרכיבים קיימים לפני תחילת ההתקנה:
- Pyramis Festivo ND Kitchen Faucet (chrome-plated brass body)
- Plastic Pull-Out Spray Head
- צינורות חיבור
- Mounting Material (gaskets, nuts, washers)
- Ceramic Cartridge (pre-installed)
- Removable Aerator (pre-installed)
4. מפרטים
| מספר דגם | 095201004 |
| מותג | Pyramis |
| מידות (L x W x H) | 5.5 x 20.5 x 18.5 ס"מ |
| מִשׁקָל | 1.96 ק"ג |
| חוֹמֶר | Brass (faucet body), Plastic (spray head), Chrome (finish) |
| סוג גימור | כרום |
| צֶבַע | כֶּסֶף |
| מספר ידיות | 1 (מנוף) |
| סוג הרכבה | Deck Mounted, Single-hole |
| Recommended Faucet Hole Diameter | 35 מ"מ (מינימום) |
| תכונה מיוחדת | Extendable Pull-Out Spray |
| תְאִימוּת | Low-pressure water heater systems |
5. התקנה והתקנה
Before installation, ensure you have the necessary tools (e.g., adjustable wrench, screwdriver, sealant tape). This faucet requires a minimum faucet hole diameter of 35 mm. It is not designed for direct connection to angle valves.
5.1 תרשים התקנה
5.2 התקנה שלב אחר שלב
- הכן את משטח ההרכבה: Ensure the sink or countertop has a pre-drilled hole with a diameter of at least 35 mm. Clean the area around the hole.
- התקנת הברז: Insert the faucet body through the mounting hole. Ensure the base gasket is correctly positioned between the faucet and the mounting surface.
- אבטח את הברז: From underneath the sink, slide the rubber washer, metal washer, and mounting nut onto the threaded shank of the faucet. Tighten the mounting nut securely with an appropriate wrench.
- חבר צינורות מים: Connect the hot and cold water supply hoses to the corresponding inlets on the faucet body. Use sealant tape on the threads if necessary to ensure a watertight seal. Connect the other ends of the hoses to your low-pressure water supply lines.
- Install Pull-Out Spray Hose: Connect the pull-out spray hose to the designated outlet on the faucet body. Ensure the hose moves freely and does not kink.
- Attach Counterweight (if included): If a counterweight is provided for the pull-out spray hose, attach it to the hose at the recommended position to ensure smooth retraction.
- בדיקת דליפות: Slowly turn on the main water supply. Check all connections for any signs of leaks. If leaks occur, tighten the connections carefully.
- Check Faucet Functionality: Operate the lever to check hot and cold water flow. Extend and retract the pull-out spray to ensure it functions correctly.
6. הוראות הפעלה
- בקרת זרימת מים וטמפרטורה: The single lever controls both water flow and temperature. Lift the lever to increase water flow. Move the lever left for hot water and right for cold water.
- פיה מסתובבת: The faucet spout can be swiveled from side to side, allowing you to direct water flow across different areas of your sink.
- תרסיס נשלף: To use the pull-out spray, simply grasp the spray head and pull it out from the spout. The hose extends, providing flexibility for rinsing. After use, guide the spray head back into the spout until it clicks into place.
7. תחזוקה
7.1 ניקוי הברז
- Clean the chrome surface regularly with a soft cloth and mild soap or a non-abrasive cleaner specifically designed for chrome finishes.
- יש לשטוף היטב במים נקיים ולייבש בעזרת מטלית רכה כדי למנוע כתמי מים.
- Avoid using abrasive cleaners, acids, alcohol, or harsh chemicals, as these can damage the chrome finish.
7.2 Cleaning the Aerator
The aerator can be removed and cleaned to maintain optimal water flow and prevent mineral buildup.
- Unscrew the aerator from the tip of the spout (a coin or aerator key may be needed).
- Separate the mesh screens and rinse them under running water to remove any debris or mineral deposits.
- For stubborn deposits, soak the aerator components in a solution of equal parts white vinegar and water for a few hours.
- Rinse thoroughly and reassemble the aerator, then screw it back onto the spout.
8. פתרון תקלות
| בְּעָיָה | סיבה אפשרית | פִּתָרוֹן |
|---|---|---|
| זרימת מים נמוכה | מאוורר סתום; שסתום סגירה סגור חלקית; פסולת בצינורות המים. | Clean the aerator (see Section 7.2). Ensure shut-off valves are fully open. Flush water lines if necessary. |
| Leaks from faucet base | אום הרכבה רופף; אטם פגום. | Tighten the mounting nut underneath the sink. Inspect and replace the gasket if damaged. |
| דליפות מחיבורים | Loose hose connections; worn washers. | Tighten hose connections. Replace washers if they appear worn or damaged. |
| תרסיס נשלף אינו נסוג במלואו | Hose obstruction; counterweight dislodged or missing. | Check for any obstructions under the sink that might impede the hose. Ensure the counterweight is properly attached and positioned on the hose. |
9. אחריות ותמיכה
For information regarding warranty coverage or technical support, please refer to the warranty card included with your product or contact Pyramis customer service directly. Keep your purchase receipt as proof of purchase.